
About
Try It! Nail Art
The Galaxy manicure uses a simple technique that puts the cosmos at your ngertips. By layering colours with a sponge and adding lots of sparkle, you can create a whole universe of designs.
Tags
© 2024 DK Books / DK Books · Reproduced with permission. · This tutorial is from Try It! Nail Art, published by DK, £9.99, www.dk.com
-
 Luna D. favorited Galaxy Nails
25 Apr 07:04
Luna D. favorited Galaxy Nails
25 Apr 07:04
-
 liza.minelli.564 favorited Galaxy Nails
02 Feb 22:21
liza.minelli.564 favorited Galaxy Nails
02 Feb 22:21
-
 Linda of Nice dress! Thanks, I made it!! added Galaxy Nails to An Excellent Way to Start a Day!
22 Jul 02:59
Linda of Nice dress! Thanks, I made it!! added Galaxy Nails to An Excellent Way to Start a Day!
22 Jul 02:59
-
Linda of Nice dress! Thanks, I made it!! favorited Galaxy Nails
22 Jul 02:50
-
Vi F. favorited Galaxy Nails
18 Jun 17:37
-
kiki w. added Galaxy Nails to Makeup
28 Jan 14:10
-
 Ambyr L. favorited Galaxy Nails
13 Dec 00:17
Ambyr L. favorited Galaxy Nails
13 Dec 00:17
-
 asia.pearce added Galaxy Nails to Nails
27 Jul 00:24
asia.pearce added Galaxy Nails to Nails
27 Jul 00:24
-
 Tara D. favorited Galaxy Nails
08 Mar 04:14
Tara D. favorited Galaxy Nails
08 Mar 04:14
-
 PinKween favorited Galaxy Nails
06 Mar 21:28
PinKween favorited Galaxy Nails
06 Mar 21:28
You Will Need
-
 Step 1
Polish your nails black. Let them dry for a few minutes.
-
 Step 2
Apply a shimmer top coat over the black polish and let it dry completely.
-
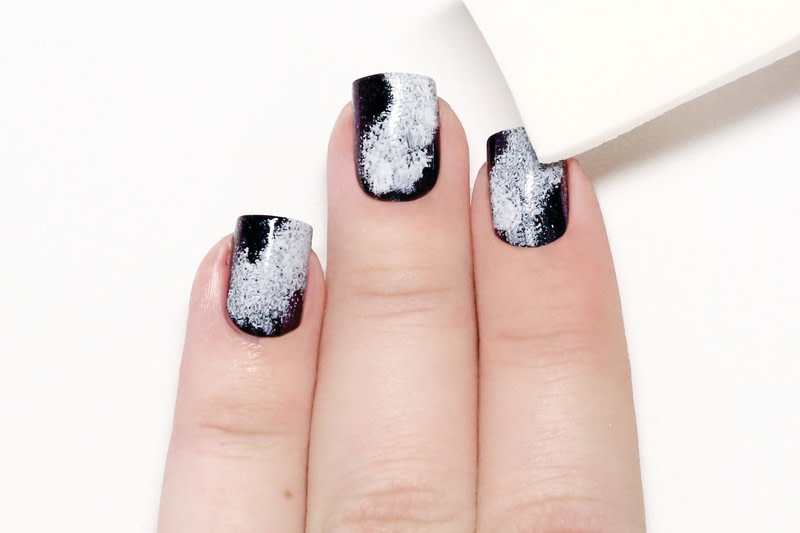
 Step 3
Use a cosmetic sponge to apply a textured band of white polish across each nail. Do not cover the whole nail.
-
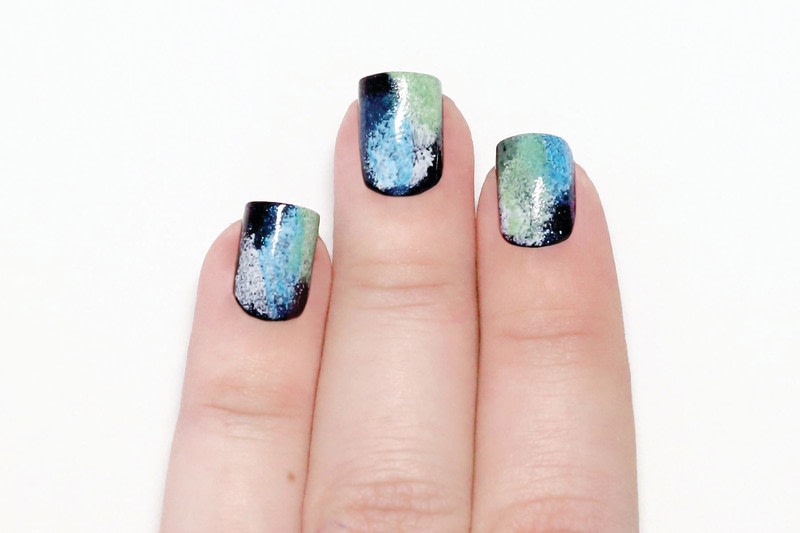
 Step 4
Use a cosmetic sponge to apply some blue polish over the white areas.
-
 Step 5
Repeat step 4 with green polish, filling in more of the white space.
-
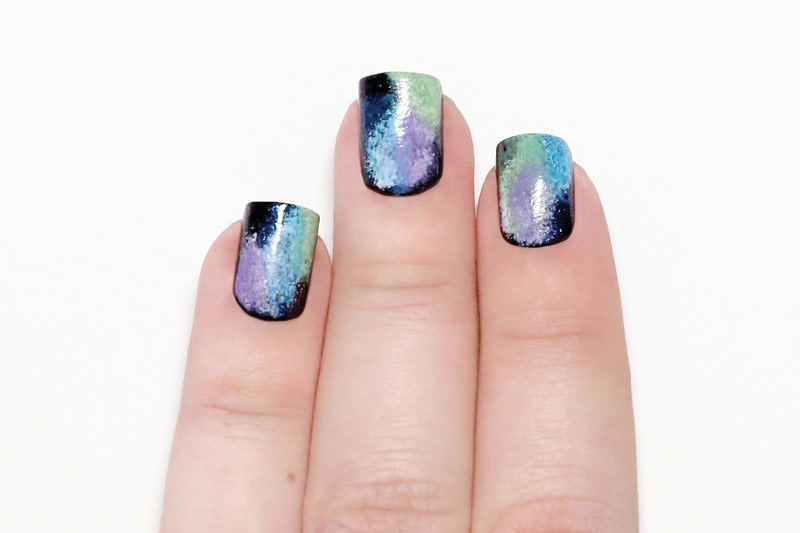
 Step 6
Fill the remainder of the white space by sponging purple polish onto the nails.
-
 Step 7
If needed, sponge some black polish around the colours you added to define the galaxies.
-
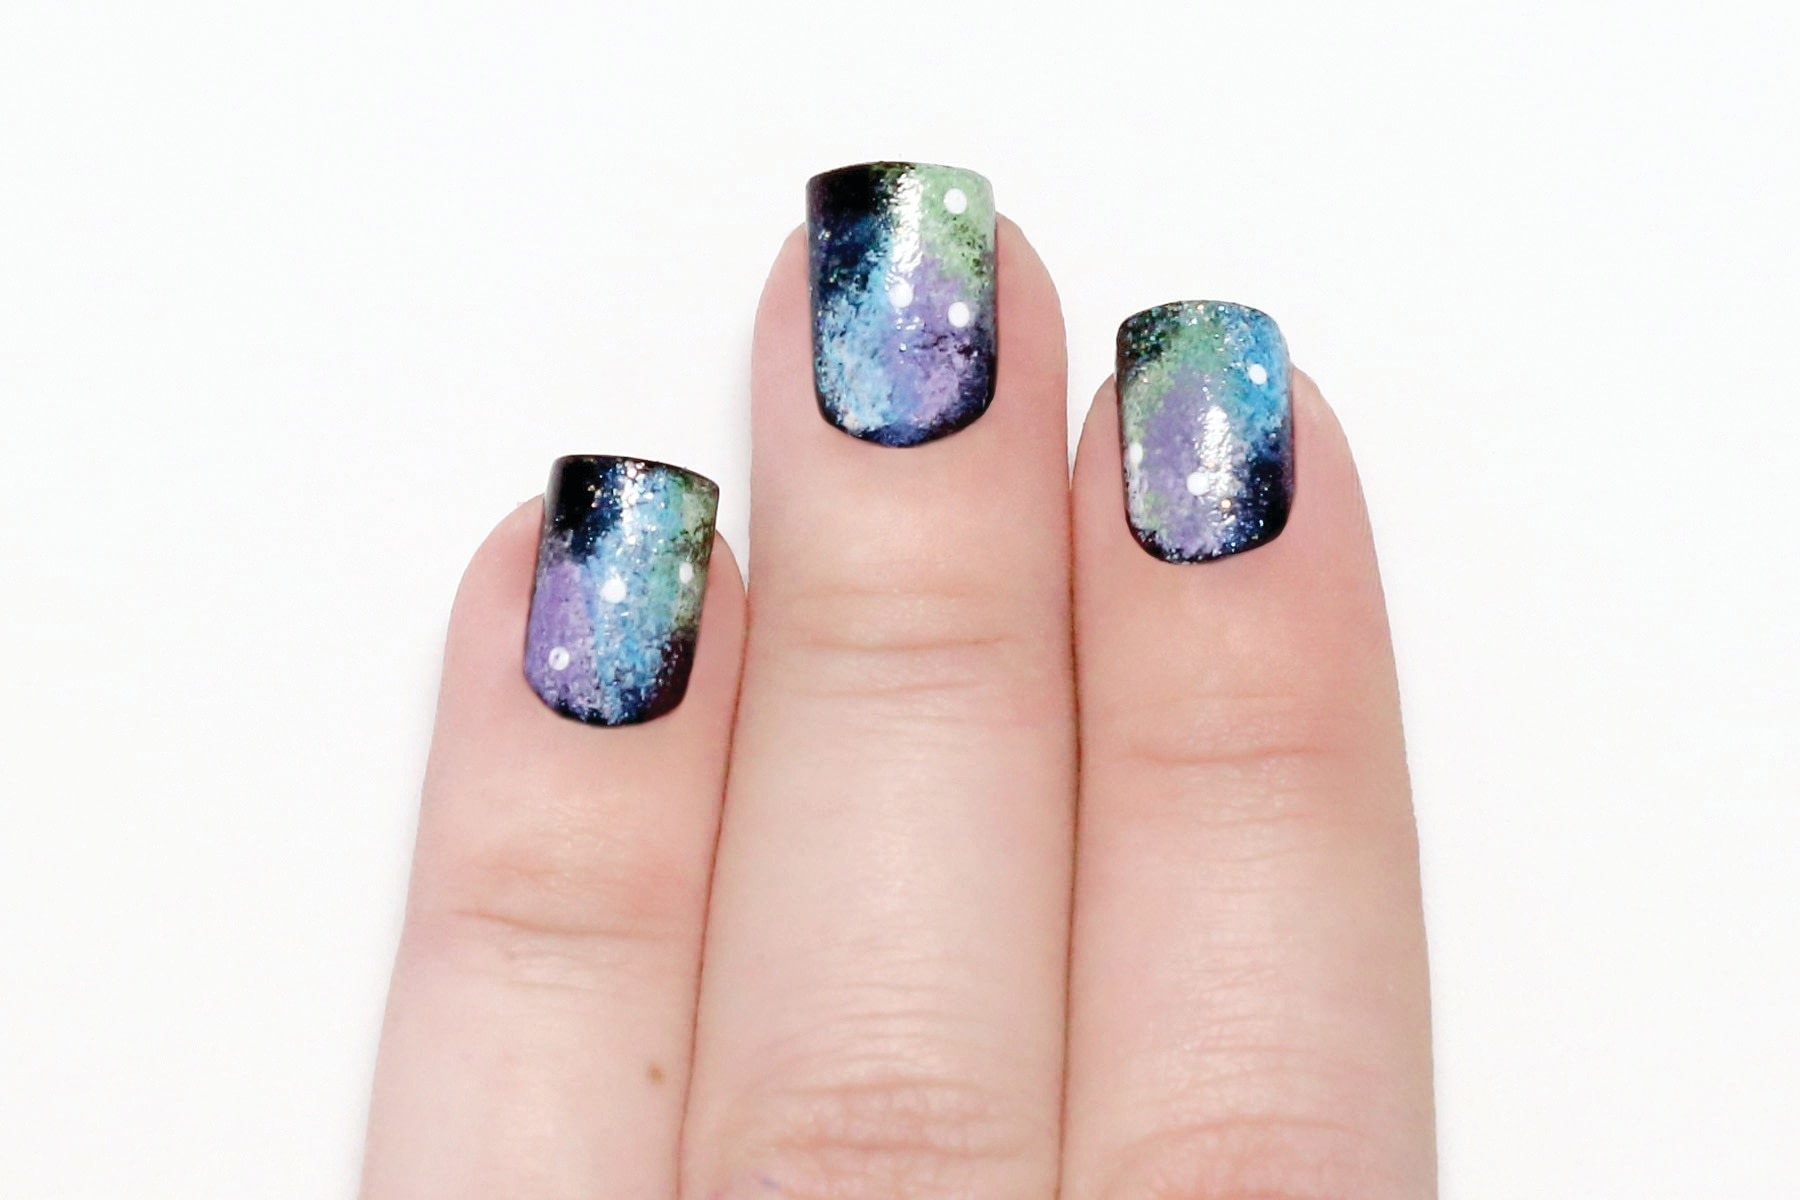
 Step 8
Using a small dotting tool and white polish, apply a few ‘stars‘ to your nails. Let your nails dry.
-
 Step 9
Finish by sponging your nails with fine glitter polish to add a subtle amount of sparkle.