About
Finish Off Your Project From the Framed Stamped Image Tutorial
Once you have your stamped image framed now you can assemble your card to share it with others.
Tags
-
 Peg R. published her project Framed Stamped Images
24 Nov 06:00
Peg R. published her project Framed Stamped Images
24 Nov 06:00
-
 Step 1
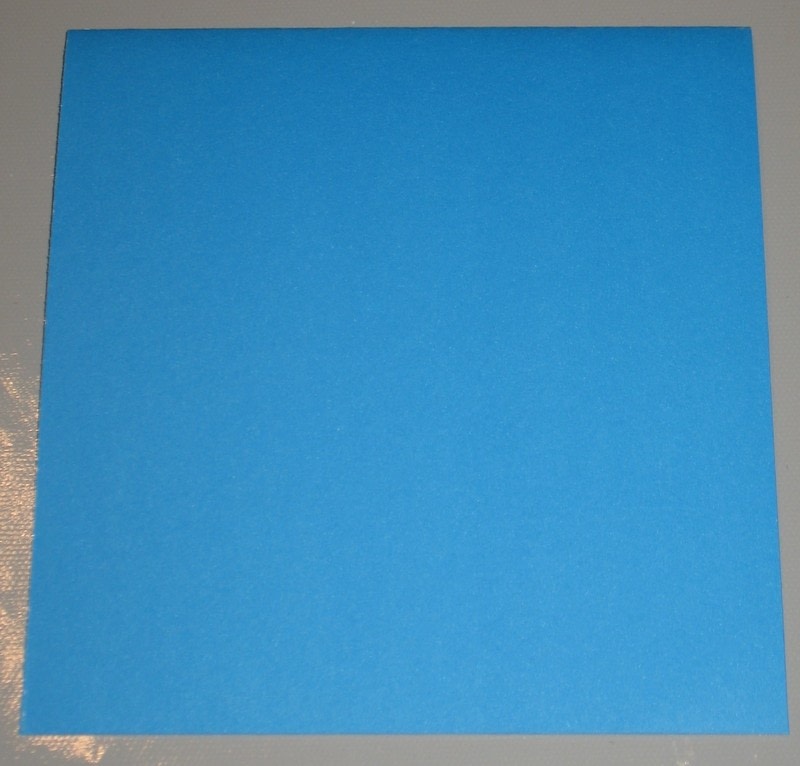
Cut the cardstock into the size of card that you are want to make using the paper trimmer. This card is a 5 1/2" x 5 1/2" one.
-
 Step 2
Trim the patterned paper a little smaller than the card base. This one measures 4 7/8" square.
-
 Step 3
Trim the image to size, too. The snowman is 4 5/8".
-
 Step 4
Attach the patterned paper to the card base using the tape runner.
-
 Step 5
Run a line of glue across the width of the card from edge to edge.
-
 Step 6
Place a piece of ribbon over the glue and trim the ribbon to fit the card. Allow it to dry.
-
 Step 7
Add glue to the back of the Glitter Glue pieces that you previously created and add them around the frame to finish it off.
-
Step 8
You now have a card that is ready for giving and sharing!