

About
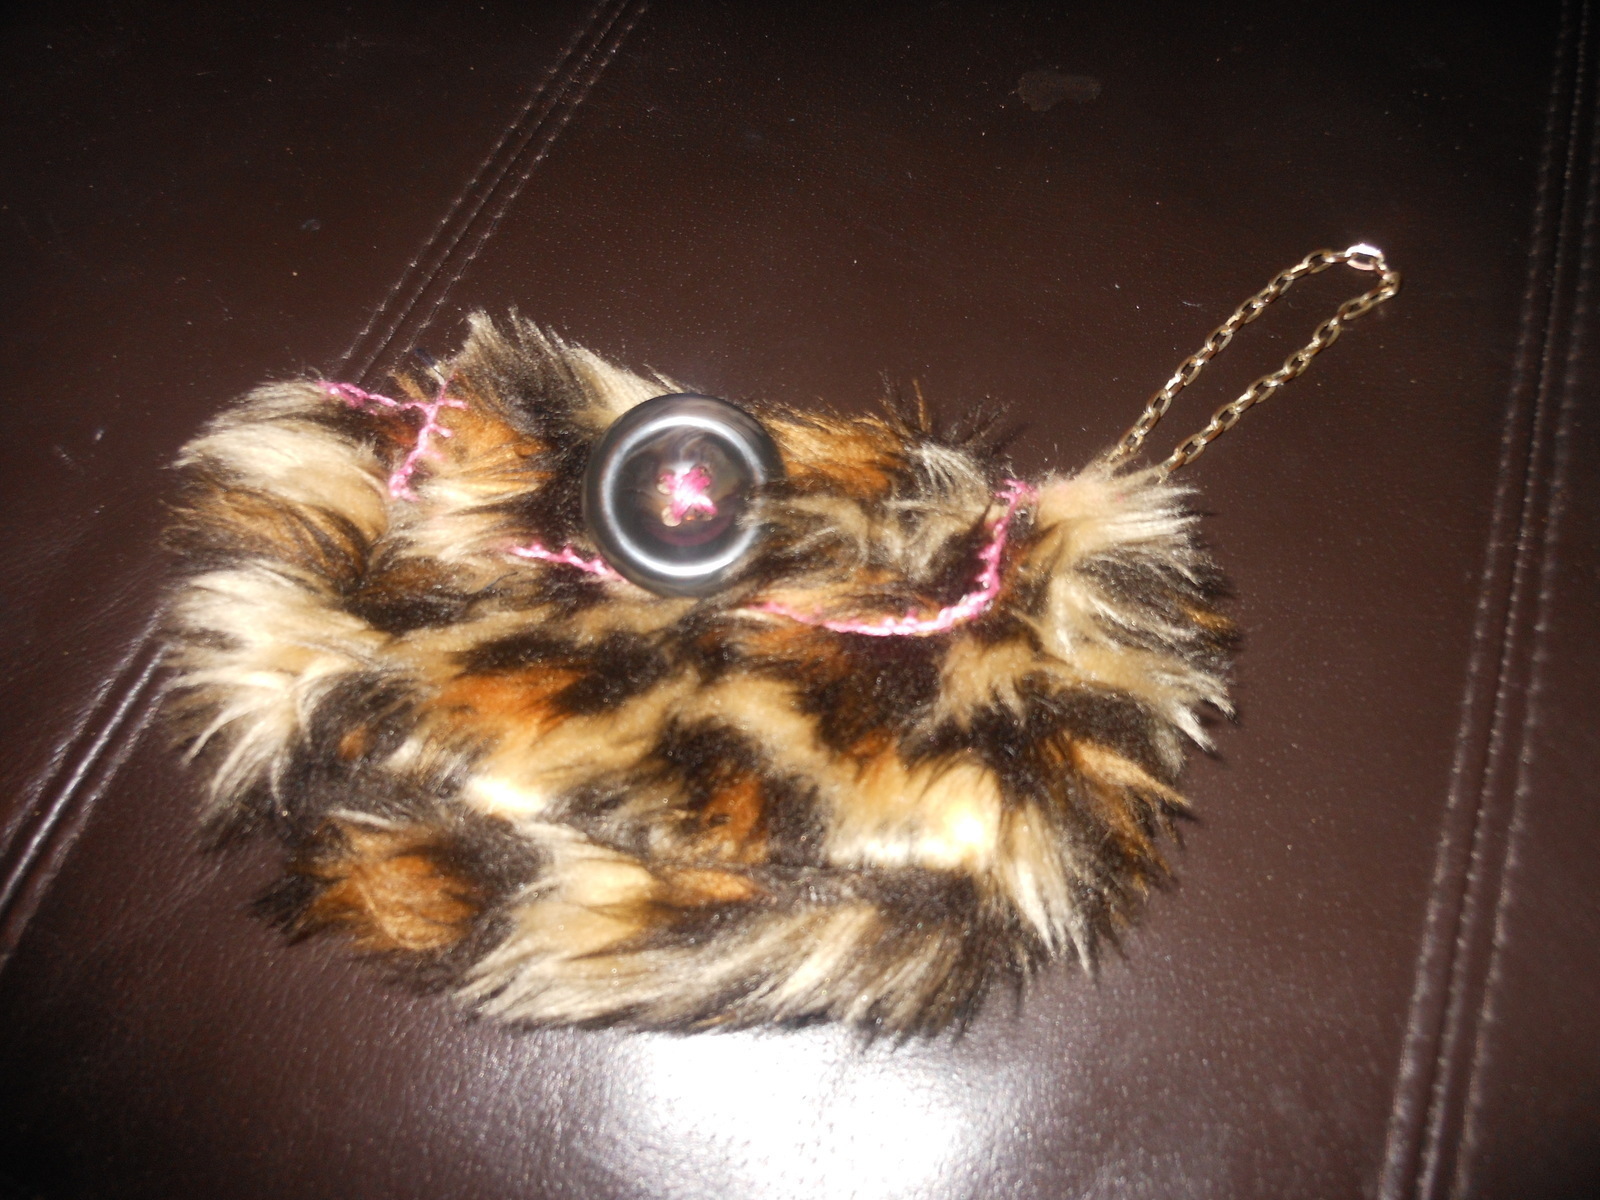
First ever creation, fluffy and frugle ^_^
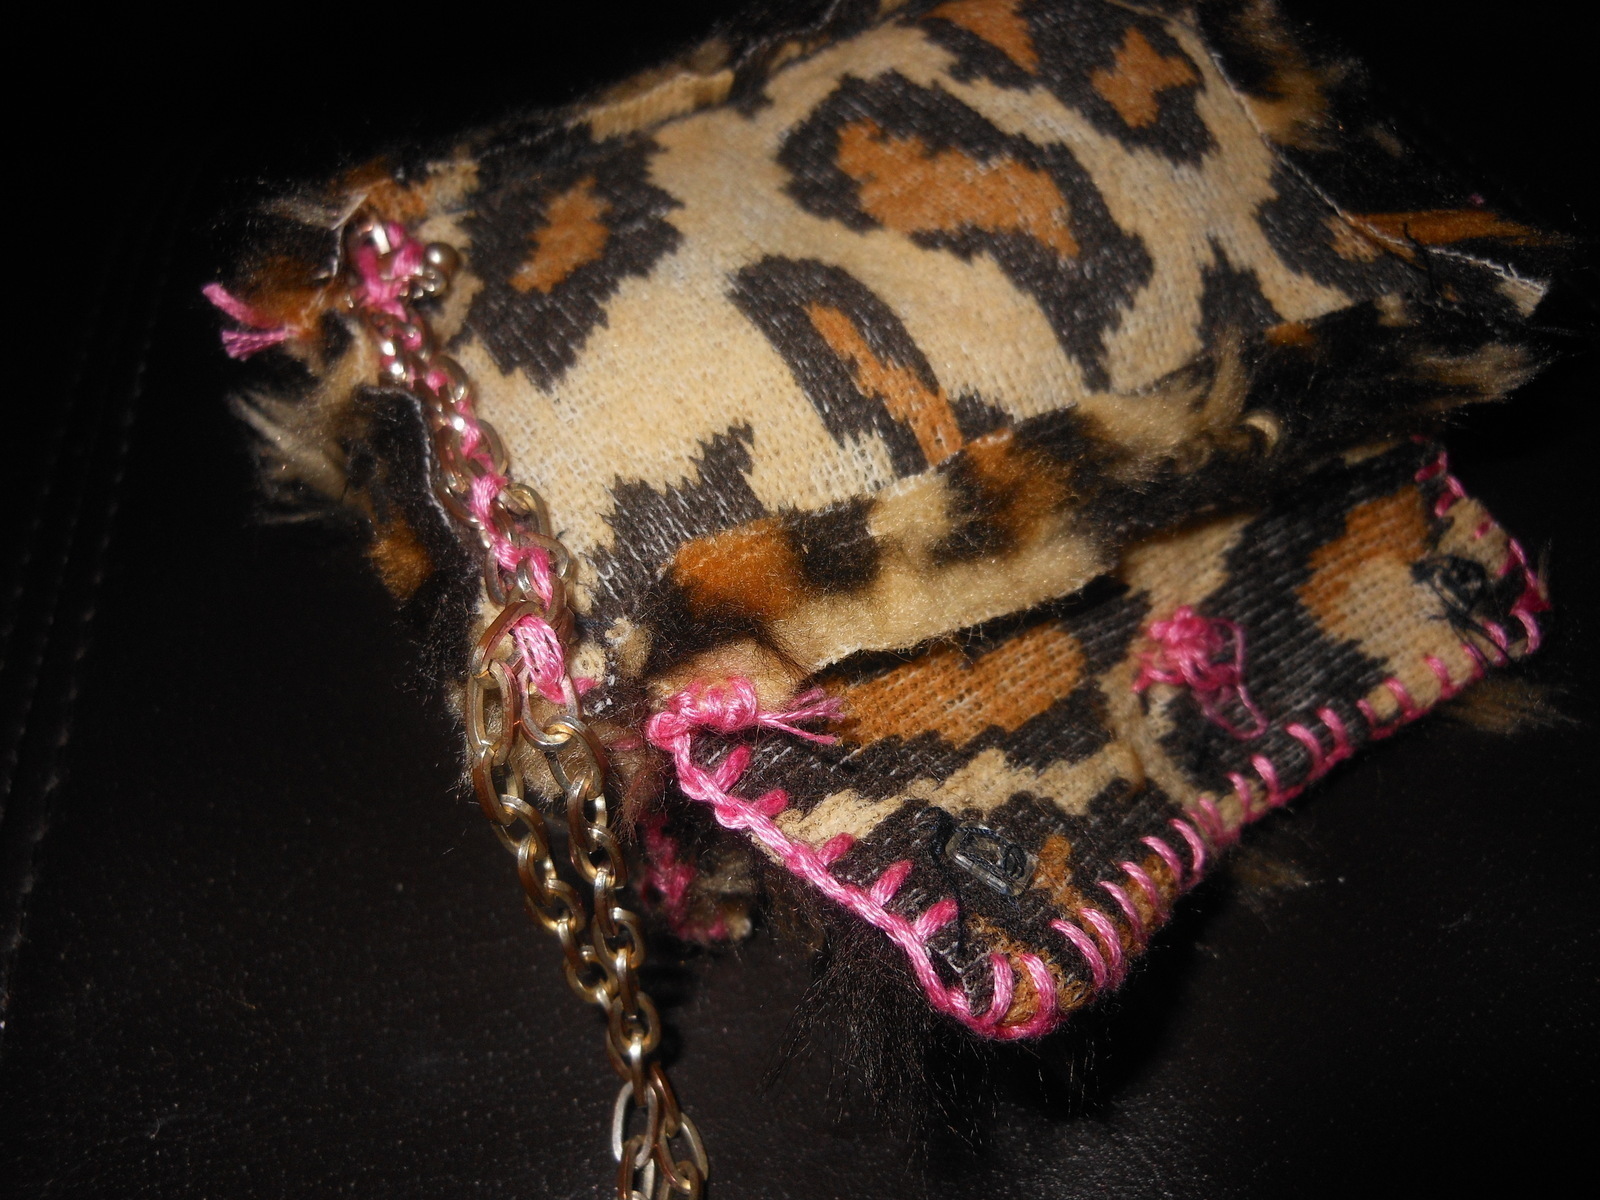
My new nikon didnt come with a case and i didnt like leaving it rattling round my bag unprotected. I recently got some cheap scraps from a haberdashary, some of which was a cute leopard-y fake-fur. I used this and a slightly damaged necklace chain for the handle, what you use is up to you.
Tags
-
 drevanhoussen favorited Fluffy Camera Case
20 Dec 07:48
drevanhoussen favorited Fluffy Camera Case
20 Dec 07:48
-
 Young Heart Vintage Soul favorited Fluffy Camera Case
23 Aug 20:35
Young Heart Vintage Soul favorited Fluffy Camera Case
23 Aug 20:35
-
Step 1
measure the dimensions of your camera; height, width and length. Use these to draw 3 cardboard templates for each face of the camera.
-
Step 2
Cut out the templates and use the to draw 2 of each in either soft pencil or dressmakers chalk (i personally used a very soft artist pencil) onto the back of whatever fabric you have chosen.
You may want to make one piece slightly bigger for the 'lid', however i didnt and as you can see it made little/no difference
Cut out the six pieces leaving a boarder for the stitching (you can trim it down later).
-
Step 3
Pin two pieces together, with the sides which'll be on the inside facing out and stitch along the pencil marks.
Repeat in whatever order you like until you have all pieces, bar the 'lid', together. I used what i think is called double stitch - I sewing a tight running stitch in one direction then took it the other way.
You can either use split embroidery thread (i split mine to 3), or use cotton thread.
-
Step 4
For the lid, only attach one side.
You'll then be left with a number of 'raw', unstitched, sides. To stop these sides shedding the fake fur etc i used a full width of embroidery thread to blanket stitch; do this separately for the main case and the lid.
-
Step 5
Nearly done!
Now attach poppers to the lid and case so it can close; but make sure they're not too strong (i made this mistake and added another 10-20 minutes onto the make as i had to unpick 6 popper halves.
I then added a button on the lid face for decoration
-
Step 6
This final step is optional, depending on if you want a handle.
Take a chain, or similar, and flip your case inside out. Line the chain up alongside one of the back corners of the case and securely stitch it in place.

