
About
Learn to create an easy floral border to make any paper look extraordinary.
Adding borders to any piece of paper such as cards , gift tags or notebook helps to transform it from something ordinary to something totally extraordinary. This tutorial is a detailed step by step instructions along with a video on how to create a gorgeous floral border to add the flower power to your paper.
Downloads
- 114248_2F2016-05-13-104401-image-11-1024x768.jpg 78.1 KB [ Download ]
-
 Coyote added Floral Motif Border Tutorial to Coyote Do A Art
13 Jun 03:41
Coyote added Floral Motif Border Tutorial to Coyote Do A Art
13 Jun 03:41
-
 Alissa B. favorited Floral Motif Border Tutorial
24 May 19:10
Alissa B. favorited Floral Motif Border Tutorial
24 May 19:10
-
 Drishti D. published her project Floral Motif Border Tutorial
23 May 09:00
Drishti D. published her project Floral Motif Border Tutorial
23 May 09:00
You Will Need
-
 Step 1
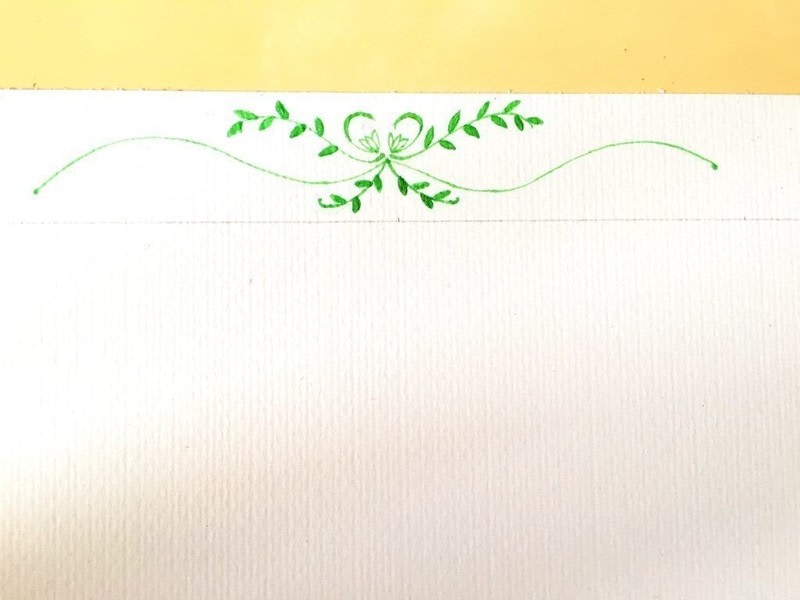
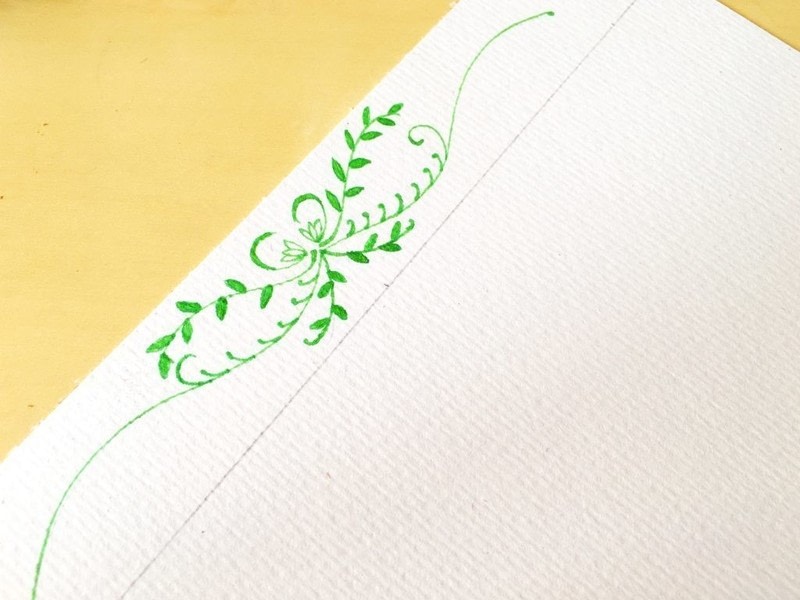
Use a pencil to create a guideline of approx 3 cm on top of the paper. This is the space for you to create your border.
-
 Step 2
Symmetry is the key element in creating a border which involves mirrored pattern. I always create the mirror image of the element simultaneously. Start by creating wavy branch from the centre and branch outwards in both the directions
-
 Step 3
Now draw leafy branches emerging diagonally upwards from the center as shown. Then add a little semicircular stem right next to the top diagonal leafy branch.
-
 Step 4
Adjacent to the semicircle, draw a teardrop and several pointy petals extending in teardrop shape. Bingo! you are already done with the middle portion of the border.
-
 Step 5
Draw a similar leafy branch emerging diagonally downwards from the center.
-
 Step 6
Key point to every floral border is to add design elements to make it look sophisticated. Add tiny semicolons along the main wavy branch unit the middle.Play with sizes and shapes!
-
 Step 7
From the middle until the end of the wavy branch you can add leaves, semicolons or some floral elements. In my drawing I continued with semicolons.
-
 Step 8
Next, its time to sprout another small wavy branch from the end of the longer wavy branch. Embellish this branch with leaves and make a curly tip. Repeat the same on both sides. This marks the end of your complex looking yet easy to create floral motif border.
-
 Step 9
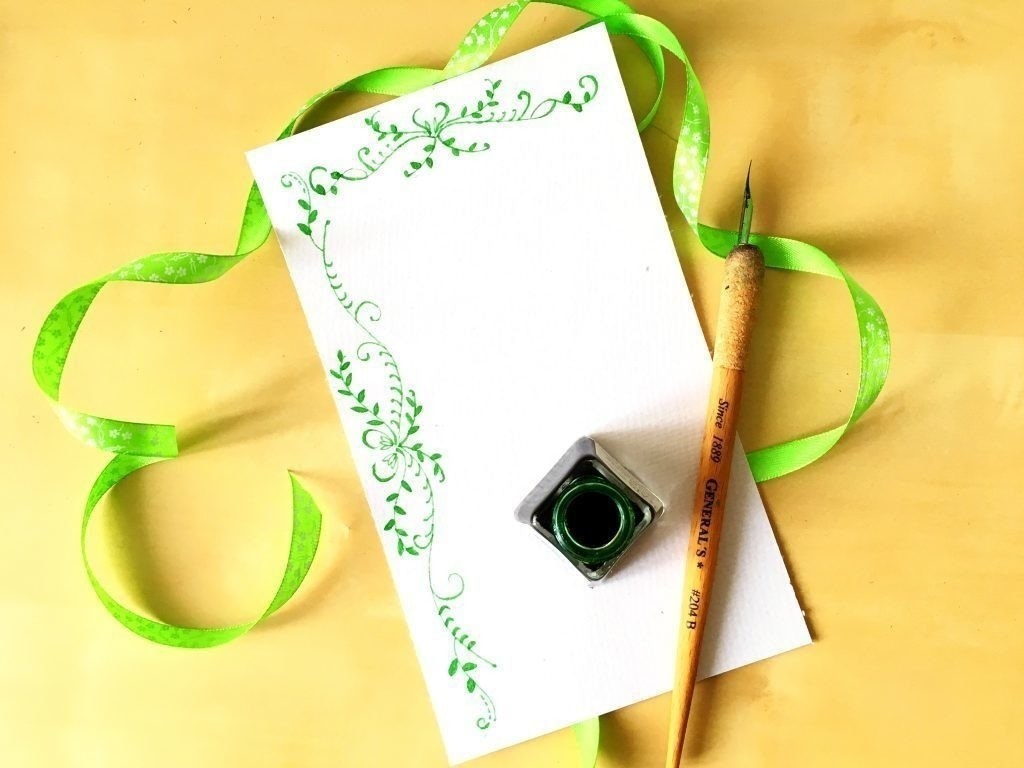
If you are using pencil guidelines do not forget to erase them only after the ink of your pen has dried. You can repeat this similar pattern along the four sides of your paper as well. Now you are a proud creator of a sophisticated floral border!
-
Step 10
I have also created a video because its easier to perceive things when we see!