

About
This easy diy shelves make organizing a cinch!
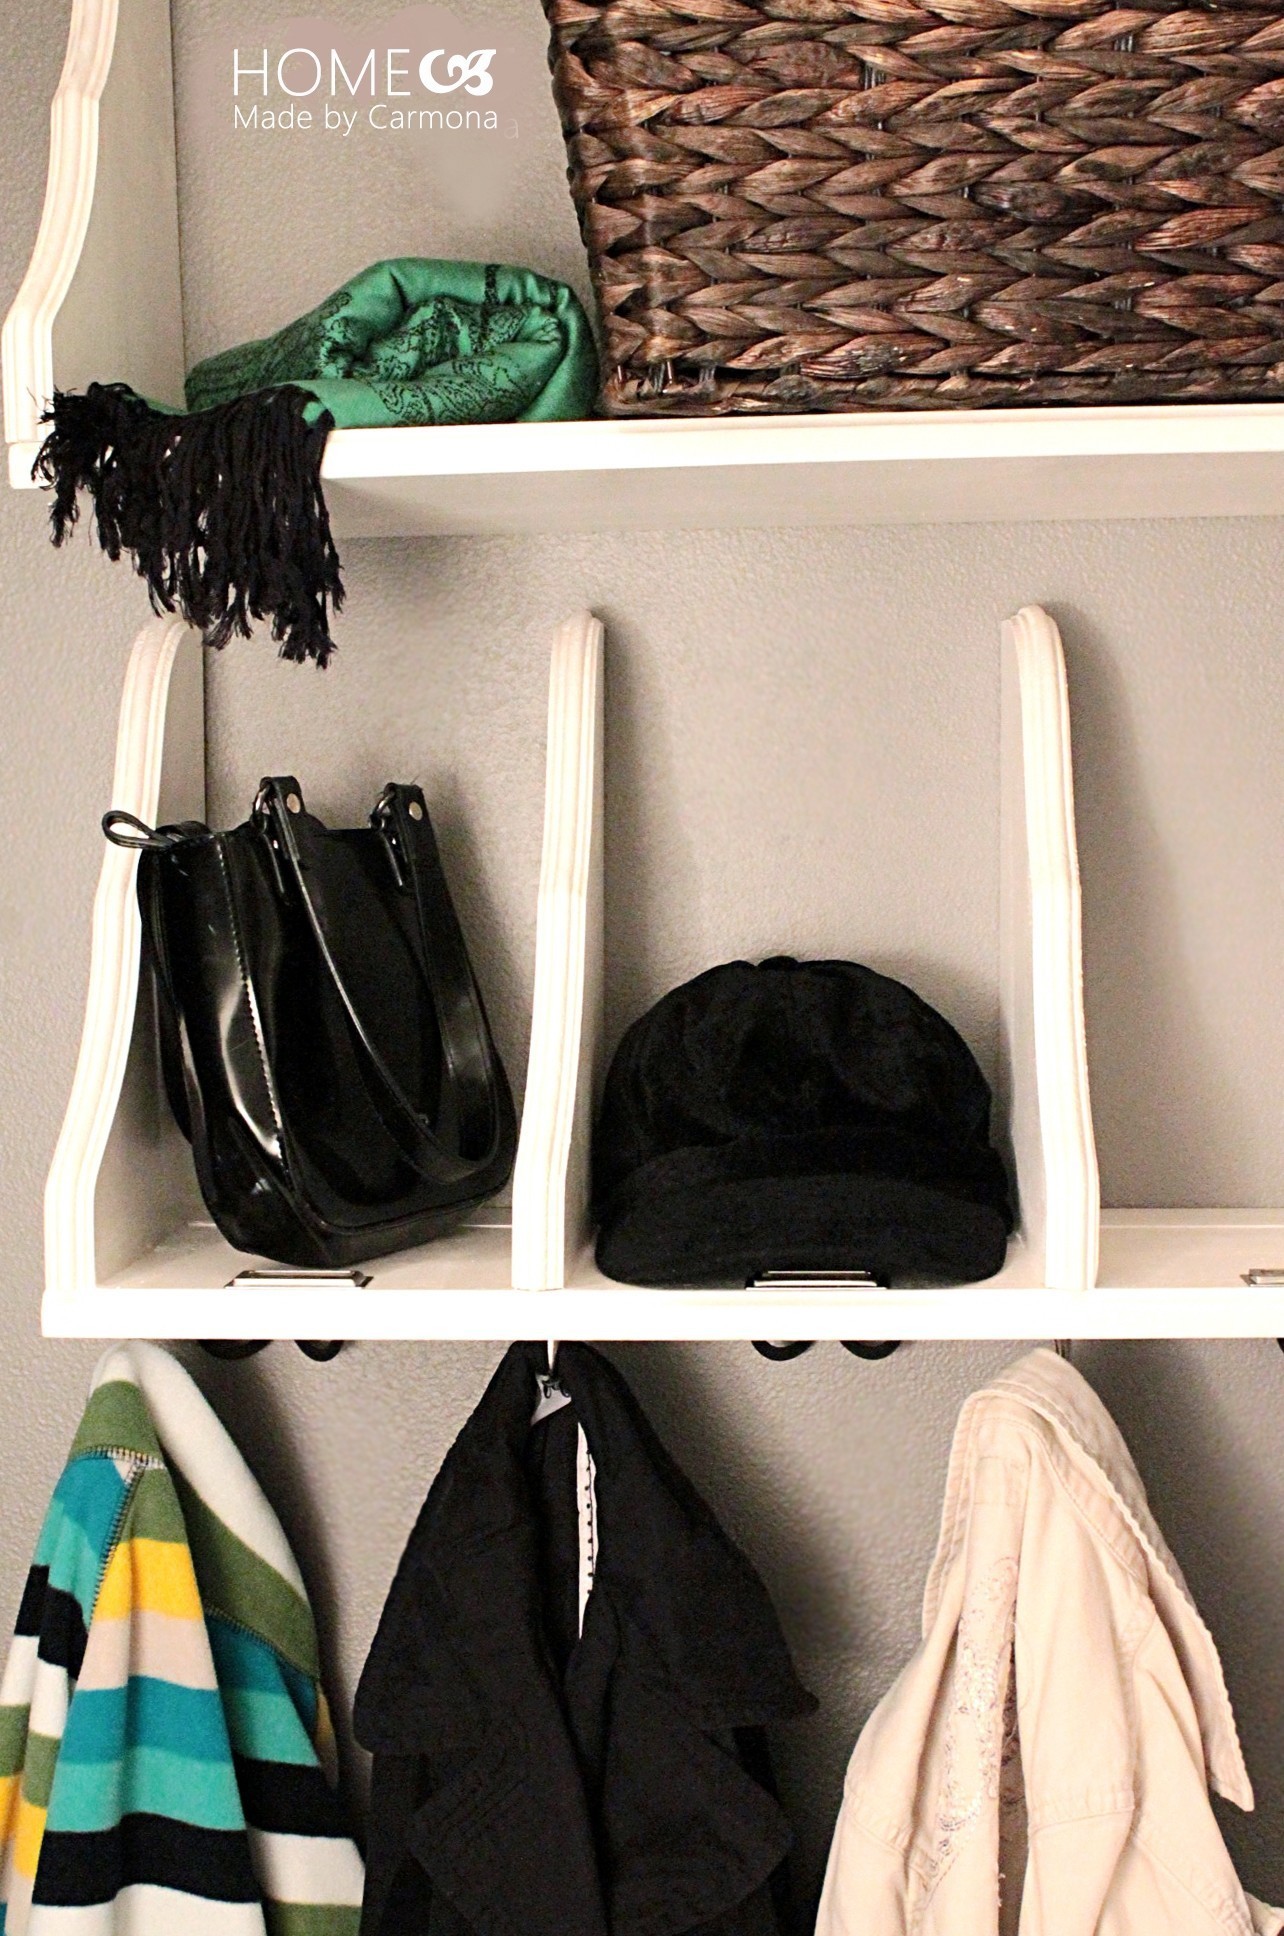
Creating flipped shelves from wooden brackets makes a natural divider for organizing. Adding hooks to the underside makes these shelves ideal for every type of storage!
-
 Taylor K. favorited Flipped Shelf Tutorial
12 Feb 23:15
Taylor K. favorited Flipped Shelf Tutorial
12 Feb 23:15
- Monika Gottindottir favorited Flipped Shelf Tutorial 16 Nov 00:48
-
 LaughWithMeAgain favorited Flipped Shelf Tutorial
12 Sep 19:58
LaughWithMeAgain favorited Flipped Shelf Tutorial
12 Sep 19:58
-
 HylianWriter534 favorited Flipped Shelf Tutorial
04 Aug 00:53
HylianWriter534 favorited Flipped Shelf Tutorial
04 Aug 00:53
-
 Tamra T. favorited Flipped Shelf Tutorial
03 Aug 15:45
Tamra T. favorited Flipped Shelf Tutorial
03 Aug 15:45
-
Suzi T. favorited Flipped Shelf Tutorial
30 Jul 14:44
-
 dippydiscoball added Flipped Shelf Tutorial to maybe one day
21 Jul 04:56
dippydiscoball added Flipped Shelf Tutorial to maybe one day
21 Jul 04:56
-
 Toxic Cupcake Killjoy favorited Flipped Shelf Tutorial
18 Jul 20:30
Toxic Cupcake Killjoy favorited Flipped Shelf Tutorial
18 Jul 20:30
-
 Home Made by Carmona published her project Flipped Shelf Tutorial
27 May 17:40
Home Made by Carmona published her project Flipped Shelf Tutorial
27 May 17:40
You Will Need
-
 Step 1
Begin by flipping the keyhole on your purchased wooden brackets. Simply unscrew, and place so that the brackets can now hang upside down.
-
 Step 2
Use leftover wood the same depth as your wooden brackets, and cut to the desired custom length. If you are purchasing new wood, you can have it cut to size at your hardware store.
-
 Step 3
Attach wood piece and brackets (as many brackets as you want dividers) using wood glue and wooden screws. Drill pilot holes before sinking your screws.
-
 Step 4
Use a little wood filler (if necessary) to fill any unsightly cracks, and paint your shelves.
-
 Step 5
Add hooks to the underside of your shelves. Attach shelves to wall using the keyholes on your brackets to hang. Presto! Useful, cute, inexpensive, and customized to your spaces!


