About
for your hair, your coat or anywhere else you would like to put it!
Tags
-
 Olivia l. favorited Felt Sunflower
04 Jul 02:55
Olivia l. favorited Felt Sunflower
04 Jul 02:55
-
 Sarah Sylvia S. favorited Felt Sunflower
22 Jul 07:04
Sarah Sylvia S. favorited Felt Sunflower
22 Jul 07:04
-
 Alice N. added Felt Sunflower to Technique
19 Dec 13:52
Alice N. added Felt Sunflower to Technique
19 Dec 13:52
-
Alice N. added Felt Sunflower to Other
07 Dec 21:49
-
 mmotse03 favorited Felt Sunflower
16 Nov 15:58
mmotse03 favorited Felt Sunflower
16 Nov 15:58
-
Katrina P. favorited Felt Sunflower
16 Feb 17:10
-
 Miss_Fit favorited Felt Sunflower
26 Dec 00:25
Miss_Fit favorited Felt Sunflower
26 Dec 00:25
-
 Krissy K. favorited Felt Sunflower
08 Sep 00:49
Krissy K. favorited Felt Sunflower
08 Sep 00:49
-
 iscrafte added Felt Sunflower to To do
19 May 09:10
iscrafte added Felt Sunflower to To do
19 May 09:10
-
iscrafte added Felt Sunflower to Inspiration
19 May 09:10
-
 Step 1
A4 sheet of felt in yellow. I got mine from Hobby craft. It needs to be fairly stiff. Acrylic is fine.
Enough brown felt to cut out one, 3.5 in (9cm) diameter circle and one 2.75 ( 7cm) circle
A small amount of wadding to pad the centre of the flower.
5 or 6 small dark colour seed beads. ( I have gone a bit overkill in the photo)
Thread to match each of the felts.
A petal template.My template is cut from a 1.5in by 2 in rectangle of cereal packet card. Fold the card in half along the longest length to make sure your petal shape is symmetrical.
-
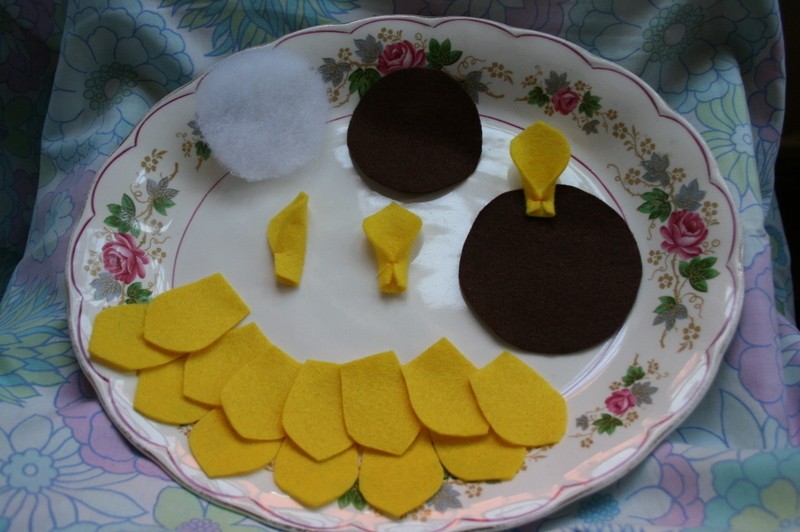
 Step 2
Cut out one, 3.5 in (9cm) diameter circle and one 2.75 ( 7cm) circle from the brown felt and one, 2.5 ( 6.5cm) circle from the wadding.
Next, cut out 15 petals from the yellow felt using your template.
It may be easier to cut three, 2 inch strips first and then cut that into 1.5 inch sections, especially if you have a rotary cutter.
-
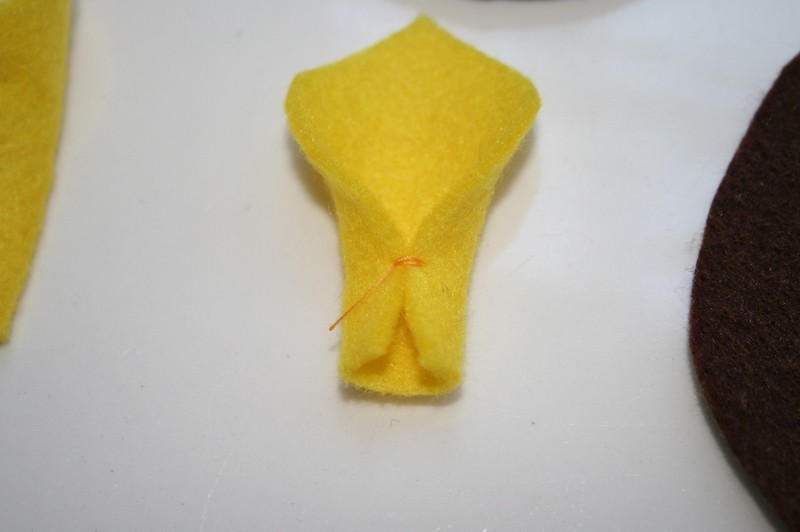
 Step 3
To shape the petals:
Fold in half down the length and over stitch with a small stitch, 3 or 4 times.
-
 Step 4
Next, squash it flat.
-
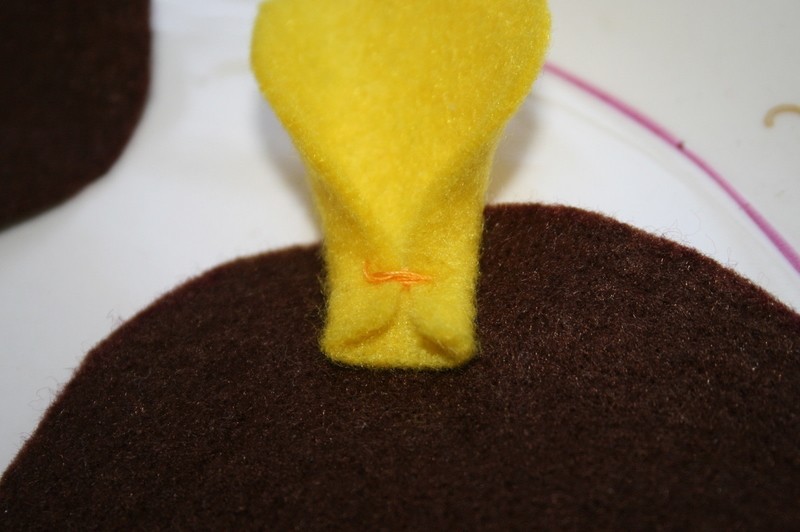
 Step 5
Now over stitch it on to the brown felt
-
 Step 6
Repeat with the rest of the petals evenly around the circle.
-
 Step 7
Place the circle of wadding in the centre and then place the smaller brown circle on top.
Carefully stitch around the circle using small stitches. Make sure the wadding is underneath all the way around and stitch through ALL layers.
-
Step 8
Now for the beads:
Secure your thread underneath the flower, either with a knot or a couple of over stitches and then push the needle through from the back out of the centre of the flower. Thread a seed bead onto your needle and push it past the eye onto the thread. Push the needle back through all the layers of the flower just to the side of your original hole. Repeat in a random pattern with the other beads.
-
Step 9
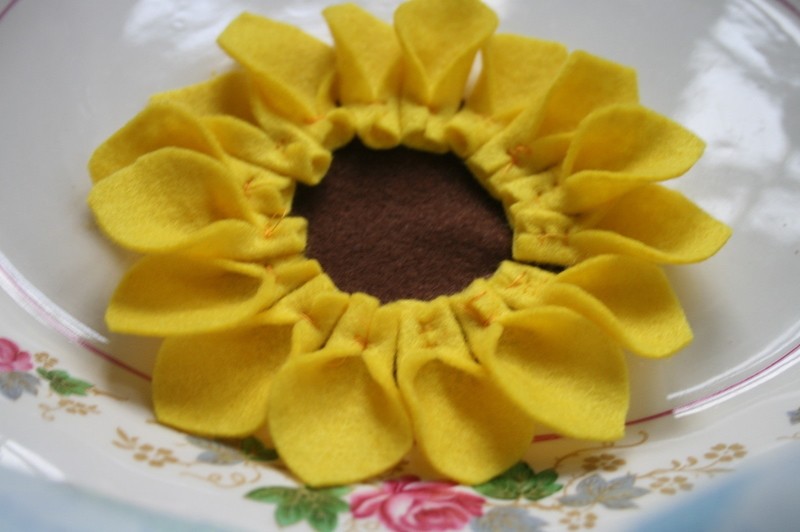
The next step are optional. I secured each of the petals to its neighbour with a small over stitch on the side of each one. This prevents any movement or spreading during wear.
You now have a completed flower TA -DA!
It now depends on what you want to use the flower for as to how you back it. To finish it neatly, I cut another piece of felt and glued it to the back to cover my stitching. If you want to use the flower as a pin brooch, you can sew either a safety pin or a brooch pin to the backing felt prior to gluing. If you would like to use it as a hair accessory, cut two slits in the backing felt and insert a slide grip or head band through prior to gluing.