About
Practice makes perfect!
How do you paint something difficult? It helps if you break it down into small parts and tackle them one at a time. We will paint a sheet of watercolor paper a soft, solid color, and when it’s dried we will practice painting individual eyes, noses, and mouths in various positions. It’s the easiest way to dip your artistic big toe into the ocean of portrait painting.
Downloads
- 2019-05-09-155723-Week-3-Instruction-Sheets-Workshop-1-2018-Realistic-Watercolor.pdf 1.47 MB [ Download ]
- 2019-05-09-155727-supply1.png 983 KB [ Download ]
- 2019-05-09-155731-supply2.png 1.49 MB [ Download ]
- 2019-05-09-155736-supply3.png 1.1 MB [ Download ]
-
 DawnRedwood favorited Facial Features
19 May 15:04
DawnRedwood favorited Facial Features
19 May 15:04
-
 Crafterella featured Facial Features
20 Aug 23:00
Crafterella featured Facial Features
20 Aug 23:00
-
 Kelly E. published their project Facial Features
12 Aug 09:00
Kelly E. published their project Facial Features
12 Aug 09:00
You Will Need
-
Step 1
Watch the video tutorial
-
 Step 2
Create homemade toned paper. Mix a mid-tone color from a combination of colors of your choice. Mix in a fair amount of water so your color is not too light or too dark. Use the biggest brush you have to cover an entire sheet of paper. If you are painting on loose sheet of watercolor paper, tape it securely to a board. If you are painting on a block, there’s no need to do this. Let this dry for a few hours or overnight.
-
 Step 3
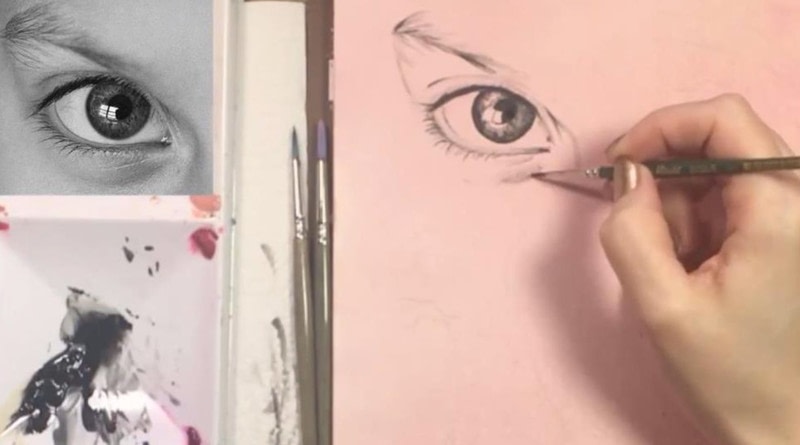
While studying the reference photo collage, draw the basic outlines of the features in pencil. A template for these is also available if you need help. Include outlines of major shadows where you see them.
-
 Step 4
Select a dark color (black, purple, blue, dark green, etc). You’ll be painting all of your shadows with this. The toned paper represents a medium skin tone color. We will add the white highlights last with acrylic paint. Thin your dark color with water to create various gray values. Less water results in a darker gray. More water makes a light gray. Your color with just a very small amount of water is your “black.”
-
 Step 5
Tips for painting eyes:
● Skip around and avoid painting next to wet areas if you don’t want them to run
together
● Lashes can be a single shape instead of a hundred little lines
● Isolate sparkles and do not paint there
● Paint what you see, not what you think is there
● Establish basic shapes then add darker parts
● Eyebrows: try sweeping a light gray over the entire brow; then add darks while
it’s wet -
 Step 6
Tips for painting noses:
● On profile noses, locate the nostril and any parts of the eye or eyebrow you can
see
● Block in the darker shadows with gray
● Deepen those shadows as the nose dries
● Use the right brush for the job: small brush for small things, big brush for big
things
● Sometimes the background will be the thing that defines your nose
● Draw any shadows you see, and outline highlights
● Build up darkest values with multiple layers (or glazes)
● Soften the shadows’ hard outlines -
 Step 7
Tips for painting mouths:
● The top lip is usually darker than the bottom lip
● Adding a shadow beneath the lower lip can help define it
● A dark shadow inside the mouth can define teeth
● Teeth are rarely blindingly white, especially as you reach the mouth’s corners
● Before you paint, check to see which side of the face is the dark side and light
side
● Sometimes shadows will move right into a feature
● Add details last -
 Step 8
Add white highlights using white acrylic paint. Put the paint where the features are whitest-- super white. Things we normally think are white, such as teeth or the whites of eyes, are not necessarily completely white, so study them carefully. Don’t overlap black with white if you can help it. Use the white sparingly. If your white doesn’t show up, give it a second or third coat.
Untape your painting, or, if you’re using a block, slip a ruler or knife into the gap on the side of the block and move it along the outside edge to free the paper.