


About
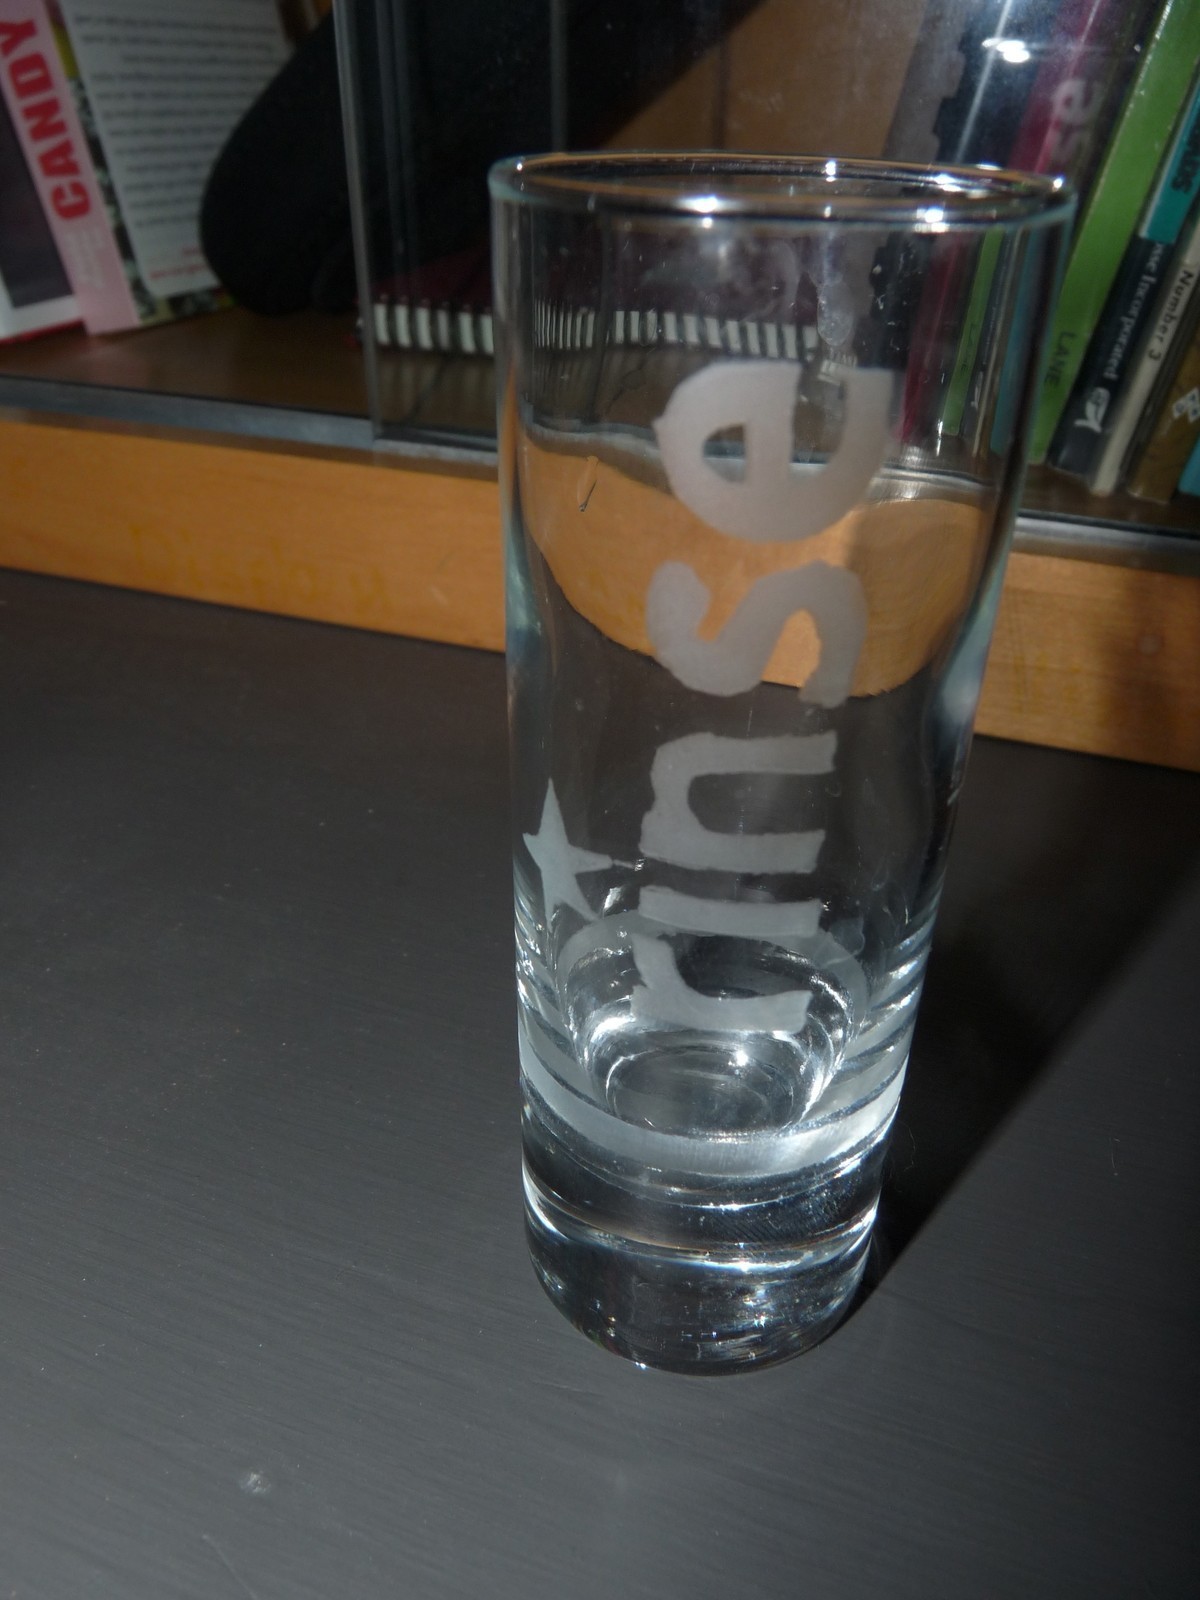
Custom glassware to keep your hands clean and smile bright!
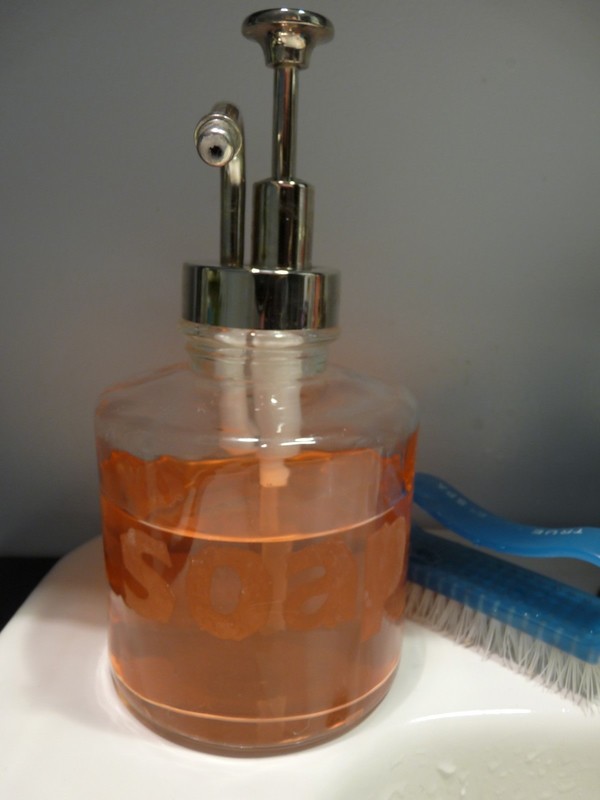
I've seen the glass etching paste used to label food jars, so i co-opted it for my own purposes- to label my bathroom stuffs, and banish ugly soap dispensers. etching the glass with a rotary tool could work great for this, but the armour etch was easier to get my hands on.
I am kinda neurotic about my bedtime toothbrushing routine, and i love to finish off with a good swirl of mouthwash. i hate the sticky residue that inevitably dribbles to the counter/ sides of the bottle. I came up with this design to eliminate that problem, and it has worked like a charm!
glass is hard to photograph, and the round bottles add an extra difficulty factor. hopefully you can see how cool these turn out, and will get inspired to make some of your own!
The basic techniques should work on any clear glass, and any stencil can be used.
-
 Pimke added Etched Glass Mouthwash Bottle And Rinse Glass to Upcycling
03 Mar 15:51
Pimke added Etched Glass Mouthwash Bottle And Rinse Glass to Upcycling
03 Mar 15:51
-
 Cortney R. favorited Etched Glass Mouthwash Bottle And Rinse Glass
17 Nov 20:37
Cortney R. favorited Etched Glass Mouthwash Bottle And Rinse Glass
17 Nov 20:37
-
 M1CHAEL5H1RLEY added Etched Glass Mouthwash Bottle And Rinse Glass to HAUS
02 Nov 08:23
M1CHAEL5H1RLEY added Etched Glass Mouthwash Bottle And Rinse Glass to HAUS
02 Nov 08:23
-
 Sarah B. added Etched Glass Mouthwash Bottle And Rinse Glass to Housewares
30 Oct 01:51
Sarah B. added Etched Glass Mouthwash Bottle And Rinse Glass to Housewares
30 Oct 01:51
-
 ninjaunicorn13 added Etched Glass Mouthwash Bottle And Rinse Glass to random
04 Oct 13:13
ninjaunicorn13 added Etched Glass Mouthwash Bottle And Rinse Glass to random
04 Oct 13:13
-
 Sharllette O. favorited Etched Glass Mouthwash Bottle And Rinse Glass
07 Aug 03:29
Sharllette O. favorited Etched Glass Mouthwash Bottle And Rinse Glass
07 Aug 03:29
-
 Taylor K. favorited Etched Glass Mouthwash Bottle And Rinse Glass
11 Jul 00:22
Taylor K. favorited Etched Glass Mouthwash Bottle And Rinse Glass
11 Jul 00:22
-
 kage j. entered her project Etched Glass Mouthwash Bottle And Rinse Glass to Way Basics
28 Jun 05:33
kage j. entered her project Etched Glass Mouthwash Bottle And Rinse Glass to Way Basics
28 Jun 05:33
-
 Yokiria favorited Etched Glass Mouthwash Bottle And Rinse Glass
30 Apr 18:23
Yokiria favorited Etched Glass Mouthwash Bottle And Rinse Glass
30 Apr 18:23
-
Angel C. favorited Etched Glass Mouthwash Bottle And Rinse Glass
01 Apr 02:07
You Will Need
-
 Step 1
Chose your glassware of choice.
As you can see, i chose two matching liquid soap dispensers (they are different shapes). i got these on sale at Target. i wish i had checked more carefully for seams in the glass- some are worse than others, and don't look as nice on the final product.
(in my first attempt, i used a thrifted wine carafe, but it was too drippy, and mouthwash ended up on the counter top.)
-
 Step 2
Come up with your design. Keep it simple!
Since i wanted to use these bottle in the bathroom, i found a font i liked and (using any word processing program, or graphics program) typed "soap" then skipped a few lines and typed "Mouth Wash", then "rinse". I used a graphics program to line up mouth/ wash so i could do them as one stencil (recommended!). it is easier (for me) to layout my design on the computer before i print. you can also free hand your text/ image.
-
Step 3
Make the stencil.
Print out your design (regular paper is fine), then cut the pieces apart.
paste/ glue your work to contact paper. i found that on the curved glass surface, contact paper is by far the best material to use for your stencil.
use an exacto blade to cut out your design (letters, if you used words like me). leave as much solid contact paper around each word as possible- this will help you keep things neat when you stencil.
-
Step 4
Apply the stencil.
move the stencil around until you find the right spot for it, then peel off the backing and apply the contact paper to your glass. be careful and go slow- start from one end and smooth out as you go (using finger or squeegee. any wrinkles or bumps on the inside stencil edge may show up on the final product.
(sorry no pics)
-
 Step 5
Apply the goo.
Use a bristle or stenciling brush to apply a generous quantity of 'armour etch' to the visible glass (don't worry about smearing the contact paper, but don't let the AE drip on your good glass.
Let it sit (as per instructions on the bottle).
Wash and repeat- i found the first application didn't have much effect and a 2nd coat was needed. this may have been due to a coating on the Target glassware, or perhaps i had bad technique. next time, i might even go for a third application. of note- once you remove the contact paper, it is VERY hard to get it back in the same place.
-
 Step 6
Enjoy your new custom glassware!


 1
Books & Journals »
Locking Box And Journal
1
Books & Journals »
Locking Box And Journal
 2
Babies & Kids »
A Toy Kitchen For A Child
2
Babies & Kids »
A Toy Kitchen For A Child
 3
Origami Flowers »
Origami Orchid
3
Origami Flowers »
Origami Orchid
 4
Office »
Pretty Sketchbooks
4
Office »
Pretty Sketchbooks
 5
Charms & Keyrings »
Shugo Chara Inspired Pop It
5
Charms & Keyrings »
Shugo Chara Inspired Pop It
