About
Easy and beautiful way to save your memories
Based in Smallest Forest's project, in here:
A nice and cheap way to create beautiful frames! Great for a present.
(Sorry if my english is weird, for any problem just leave a comment and I'll fix it)
-
 Step 1
Take your cardboard and mark with a pencil where the photo will be.
-
 Step 2
Now put your paper on top the cardboard. We'll be doing the holes to embroider the cardboard later, so secure the paper and start to prick the squares of the paper.
Do it for all the length you want to embroider (I did only the corners), and do not make holes were the photo will be.
-
 Step 3
Remove the paper and voilà!
Here are the holes ready for the thread!
-
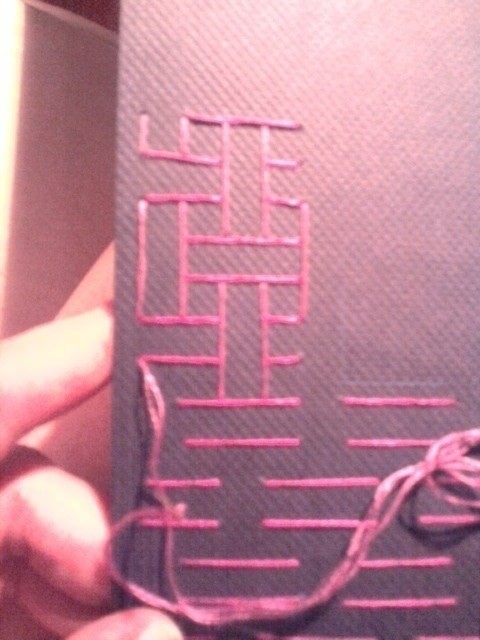
 Step 4
Start your pattern.
I did a back stich pattern.Try to cover all the holes you've made! Try to choose your pattern before, and so calculate the holes you'll need.
-
 Step 5
I used two shades of pink for this, but you can use any of your personal choice.
This is the long part, but the result is worth it.
-
 Step 6
You're ready!!
Now make a slit in the corners to put your photo.
:D