


About
A cool, you-won't-believe-how-easy-this-is wallet that people around you will love.
A playing card wallet...with a how to! I took this to school and got lots of requests. I decided to make a bunch for Christmas presents, but do whatever you want. Remember, you can use any card you want, like magic cards or tarot cards I guess. Post your versions and comment and favorite, this is only my second project posted on CO&K. lurrrrvvveeee L3
-
 Marie R. added Easy Playing Card Wallet to Fashion
12 Feb 17:57
Marie R. added Easy Playing Card Wallet to Fashion
12 Feb 17:57
-
 sarah.hansen.20 favorited Easy Playing Card Wallet
25 Jun 14:33
sarah.hansen.20 favorited Easy Playing Card Wallet
25 Jun 14:33
-
Barjaa B. added Easy Playing Card Wallet to Done
05 Jan 03:10
-
Barjaa B. favorited Easy Playing Card Wallet
05 Jan 03:09
-
Christine P. added Easy Playing Card Wallet to Christmas Gift Ideas/Crafts
28 Sep 01:31
-
Christine P. favorited Easy Playing Card Wallet
28 Sep 01:31
-
Black L. favorited Easy Playing Card Wallet
23 Dec 06:38
-
 Lishieesaur favorited Easy Playing Card Wallet
08 Aug 01:51
Lishieesaur favorited Easy Playing Card Wallet
08 Aug 01:51
-
Franchesca Angelou d. favorited Easy Playing Card Wallet
02 Aug 10:08
-
Lost-Runaway favorited Easy Playing Card Wallet
23 Jul 18:35
You Will Need
-
 Step 1
Gather your materials.
-12 playing cards of your choosing
-scissors
-a strong, clear tape (like the one you use to seal cardboard boxes)
-
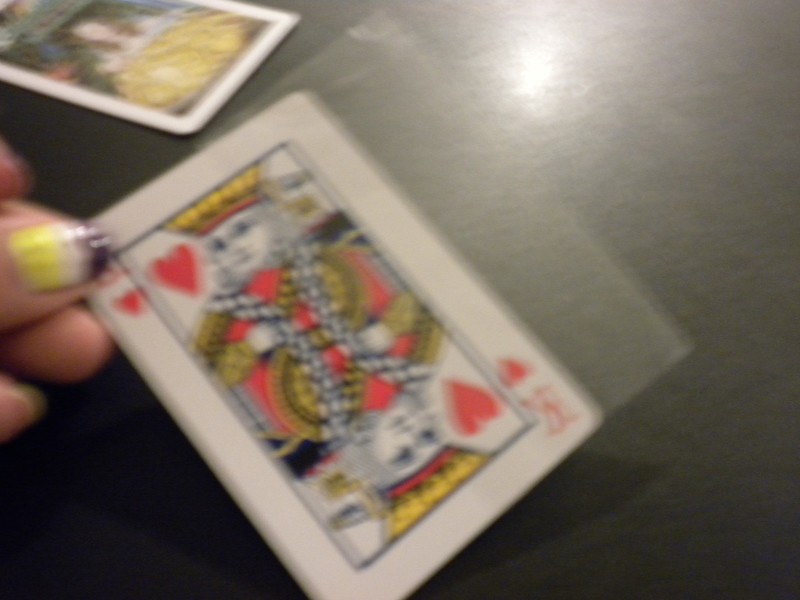
 Step 2
Take two cards. You will glue these two together so that the card's design is on the front and back (not the casino logo)
-
 Step 3
Put them back to back (think of it like measuring children; their faces are turned outward, not facing each other, to get an accurate measurement)
Then, use your scissors to cut out a piece of tape approximately as long as the length of your card.
Put half of the tape on one side of the card. Then, fold it over so you stick it to the other side.
-
 Step 4
Do the same to the top, but this time using a piece of tape as long as the width of the card (the shorter end)
In this way we will tape all around the card so there will be no tearing. I hope so far you understand me.
-
 Step 5
If need be you can trim off any excess tape.
Repeat these steps for the other side and the bottom half.
-
 Step 6
Repeat these steps on different cards until you have three cards (technically six) that have the Q, K, or J (or whatever your card is) on BOTH sides of the card (so its two cards, get it? But you've taped them together, all around. Hope you understand.)
-
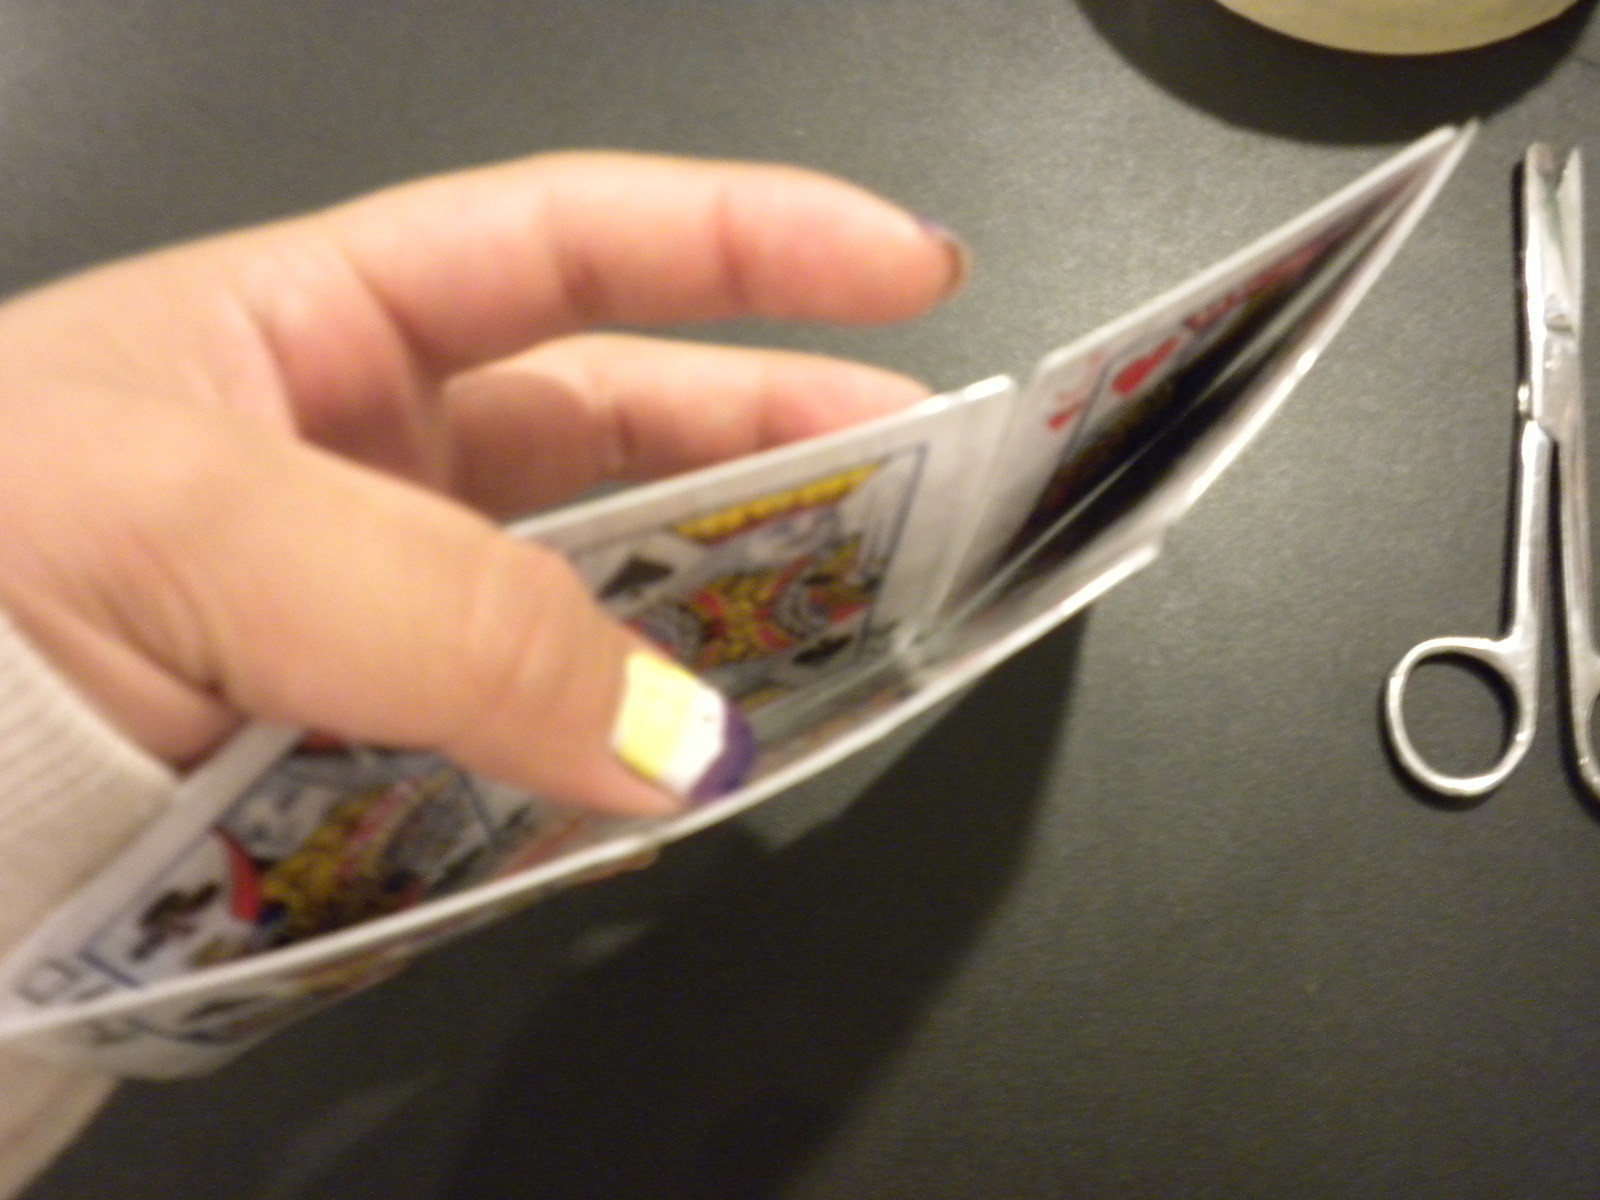
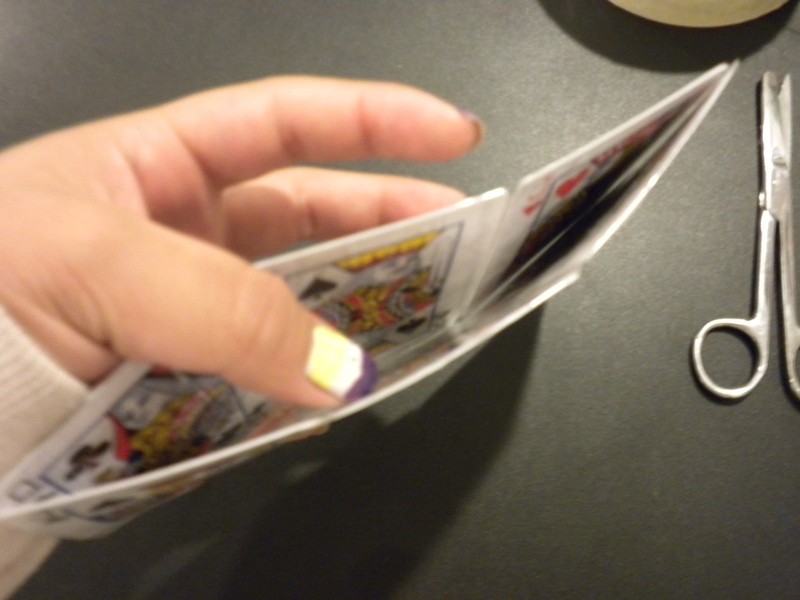
 Step 7
Take two cards and tape them together on only one side so you can open and close it like a little book (but with no pages.
PS. Make sure to align it right, i only did it not straight so you could see the tape)
Also important: Make sure it can fold over and bend one way. -
 Step 8
Should look like this. I put another piece of tape (same length) on the other side (the side with no tape) for more security, but remember to make sure it can bend at least one way.
-
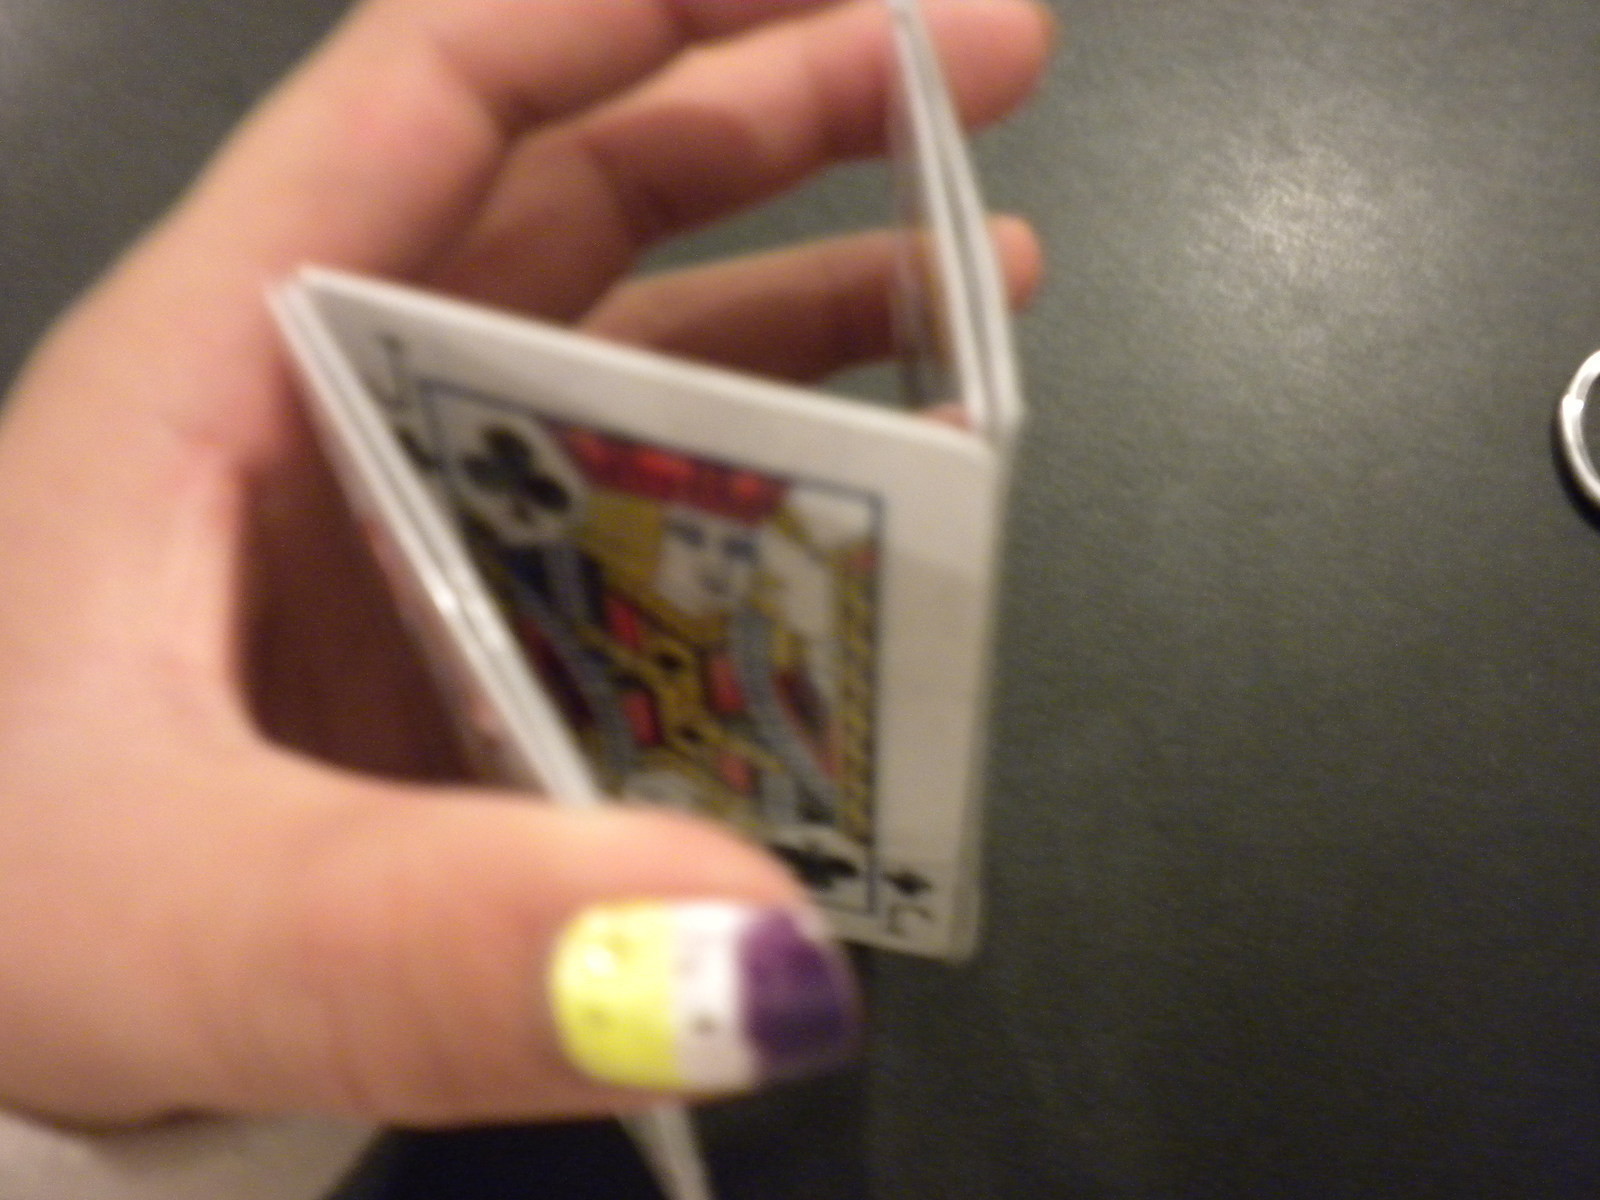
 Step 9
Now take your third "card" and tape it to the two conjoined card. IMPORTANT: Make sure it bends the opposide way than the other, so it would form either a Z or S.
Remember if you want (i recommend it) you can tape the other side. Just remember that it has to bend in a Z or S. If you're having trouble, fold it into a Z or S and place a heavy book on it for awhile.
-
 Step 10
You should have this.
Now, set this aside and make another one with your leftover three "cards".
-
 Step 11
Now you have two "Z"s.
It's time to tape them together to form your wallet!
-
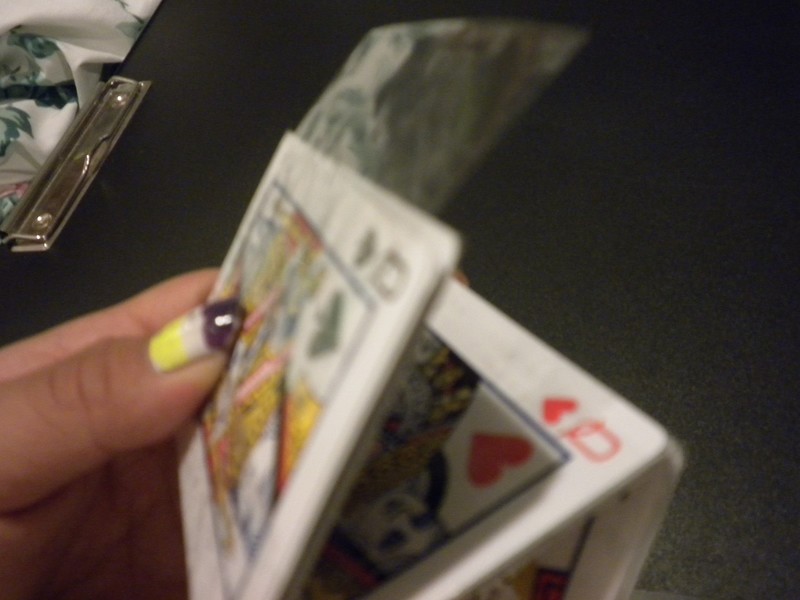
 Step 12
Now tape them at the side together. Look at the above picture and tape it that way, with the "mountains" and "valleys" coordinating. At the side, doesn't matter which because you're doing the other next.
-
 Step 13
When you unfold all of it (after taping ONE side) then you should have this.
Fold it back into your "Z".
-
 Step 14
Now tape the other side.
-
 Step 15
Decide which part you want the bottom (sealed) part to be. Then, cutting, 3 individual width-wise pieces, put them at the bottom, effectively sealing it.
-
 Step 16
Your wallet is ready to use! Put your money in it and be ready for compliments!
PS. I showed this to my mom and she didn't really like it because she's really...um "like that" and she thought it was a reference to gambling. Moms just don't appreciate creativity...:)


 1
Books & Journals »
Locking Box And Journal
1
Books & Journals »
Locking Box And Journal
 2
Babies & Kids »
A Toy Kitchen For A Child
2
Babies & Kids »
A Toy Kitchen For A Child
 3
Origami Flowers »
Origami Orchid
3
Origami Flowers »
Origami Orchid
 4
Office »
Pretty Sketchbooks
4
Office »
Pretty Sketchbooks
 5
Charms & Keyrings »
Shugo Chara Inspired Pop It
5
Charms & Keyrings »
Shugo Chara Inspired Pop It

That's a cool name. I've always wanted my named to be Jet. Or Charlie.
Do you want to request anything?
thank you for all your work and the sharing;-D