

About
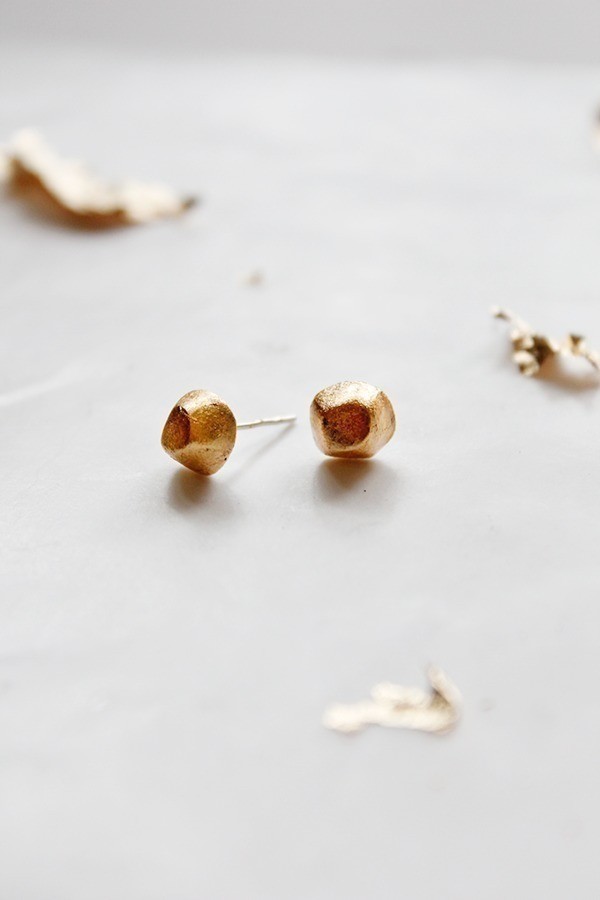
These easy fall-inspired earrings will add the perfect amount of glitz to any outfit.
These earrings come together in under an hour and will quickly become one of your favorite accessories. They look beautiful dressed up or down and would even make the perfect holiday gift.
-
 GiftedDiva24 favorited Easy Gold Nugget Earrings
21 Oct 15:17
GiftedDiva24 favorited Easy Gold Nugget Earrings
21 Oct 15:17
-
 Kristi P. added Easy Gold Nugget Earrings to Elle Fanning
23 Mar 01:13
Kristi P. added Easy Gold Nugget Earrings to Elle Fanning
23 Mar 01:13
-
 Sarah W. favorited Easy Gold Nugget Earrings
19 Jan 13:16
Sarah W. favorited Easy Gold Nugget Earrings
19 Jan 13:16
-
 Stephanie P. published her project Easy Gold Nugget Earrings
13 Oct 17:27
Stephanie P. published her project Easy Gold Nugget Earrings
13 Oct 17:27
-
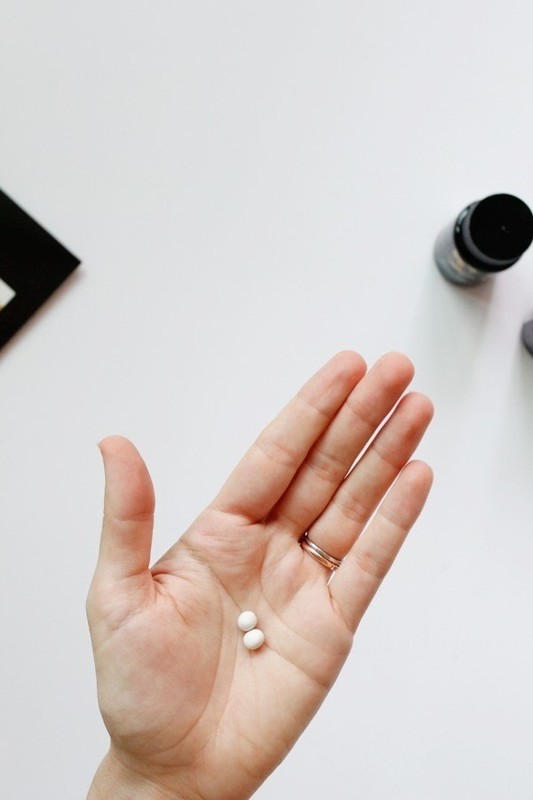
 Step 1
Start by making two small, equally sized balls out of polymer clay.
-
 Step 2
Take one of the clay balls and press it slightly into the table, flattening the back. Then using the flat edge of your knife, press against the sides of the ball, working your way around all sides until you get an imperfectly shaped "nugget". When you're done with the sides, slightly flatten the top as well.
Do the same to the other clay ball. They don't have to look exactly the same, but try to make sure they are both roughly the same size.
-
Step 3
Bake in a 275 degree oven for 10-15 minutes depending on the thickness of your earrings.
-
 Step 4
Once your earrings are baked and cooled, apply a dab of crazy clue to the flat end of your earring post. Center your clay nugget on the post and hold until the glue has dried.
-
 Step 5
Next, take your earrings and, holding by the post, apply a thin layer of adhesive size to the clay. Place them on a piece of wax paper and let dry for 30 minutes.
-
 Step 6
Once the size has cured and is still slightly tacky, pick up a piece of gold leaf and gently lay over top of your earring.
-
 Step 7
Use your finger to gently smooth down the gold leaf, making sure to cover all sides of the earring, and wrap any remaining leaf under at the bottom so the bottom edges (next to the post) are adequately covered
-
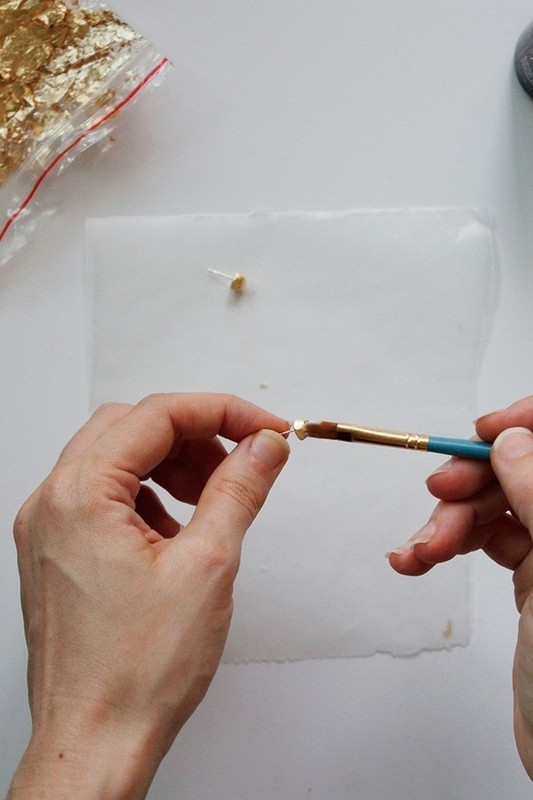
 Step 8
Using a clean, dry paint brush, smooth the gold leaf so it lies flat against the earring and any leaf not directly touching adhesive gets brushed away.
-
Step 9
Let dry for another 10 minutes, then finish up by brushing a thin layer of sealer over top of the gold leaf. Allow to dry completely.