About
Use your fabric scraps to create a cool bracelet!
A cover button kit and a few additional supplies (that you probably already have on hand) are all you need to create an amazing custom accessory.
-
 Rebecca C. favorited Easy Cover Button Bracelet
30 Jul 03:32
Rebecca C. favorited Easy Cover Button Bracelet
30 Jul 03:32
-
 Camille T. added Easy Cover Button Bracelet to Button Jewelry
30 Dec 13:07
Camille T. added Easy Cover Button Bracelet to Button Jewelry
30 Dec 13:07
-
Jen R. published her project Easy Cover Button Bracelet
17 Dec 09:00
You Will Need
-
 Step 1
Gather all of your supplies.
-
 Step 2
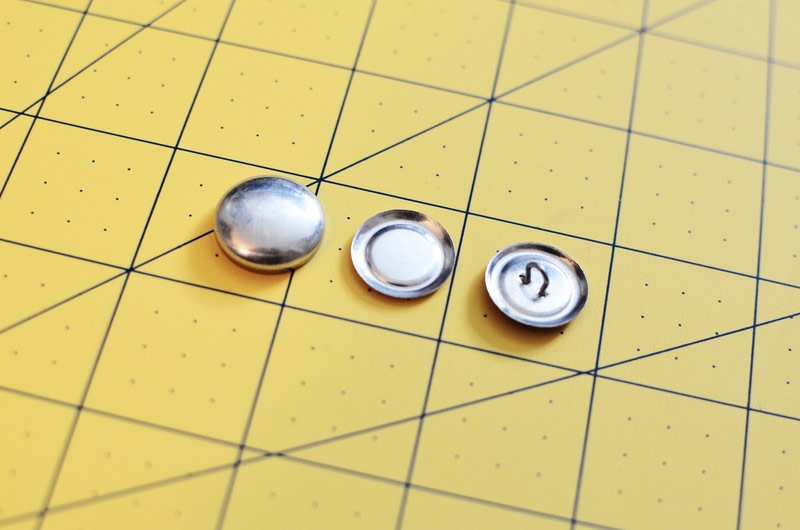
Check out your cover button kit. Some kits come with buttons that have attached shanks, some come with flat backs, and some kits come with both. (the photo shows the button top, flat back, and shank back)
-
 Step 3
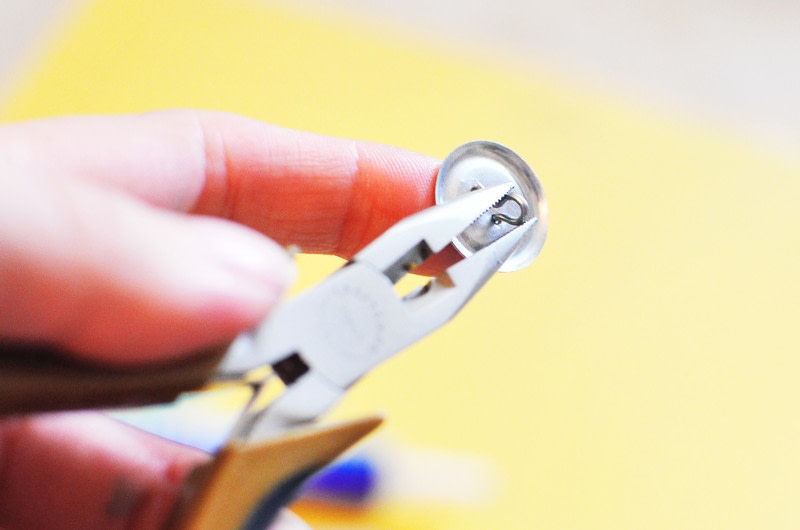
We will be using the flat backs. If your backs have a shank, they are easy to remove with a pair of pliers.
-
 Step 4
Measure your wrist...
-
 Step 5
...and figure out how many buttons you will need. Cover buttons come in different sizes - here I am using 3/4" buttons, but I have made similar bracelets with larger ones as well.
You will need a little bit of space between each button, and some extra room at the end where you will tie the bracelet to your wrist. It is better to have less buttons than to accidentally add too many - this will make your bracelet too large!
-
 Step 6
Use the template from the kit to trace circles onto your fabric scraps. The little window in the center shows the portion of the fabric that will be visible on the button.
-
 Step 7
I need 6 buttons, so I cut out 6 circles.
-
 Step 8
Following the directions from your cover button kit, place your fabric circle over the mold and then push in the button (curved side down).
-
 Step 9
Cut a piece of ribbon (I always make it much longer than I actually need, so I can trim it down when the project is finished), find the center, and lay it over your button mold.
-
 Step 10
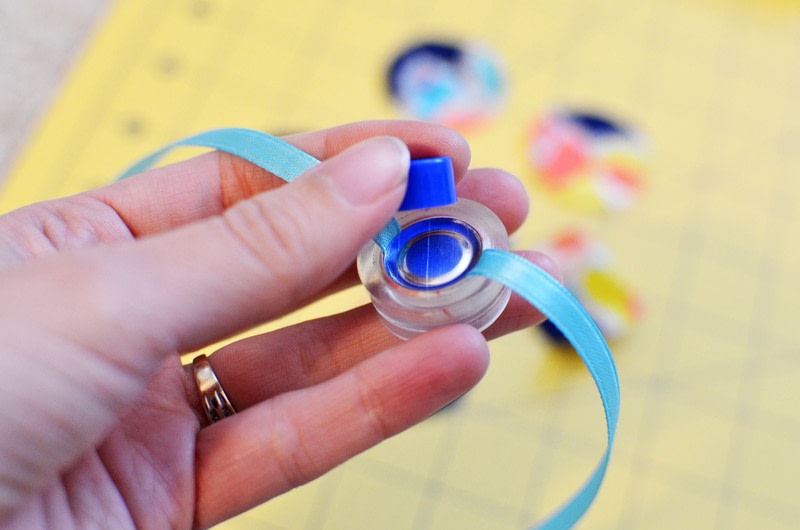
Place the button back over the ribbon, then use the tool from the kit to firmly press everything together. Check to ensure the back has a snug fit before removing from the mold.
-
 Step 11
Repeat these steps with the remaining buttons.
-
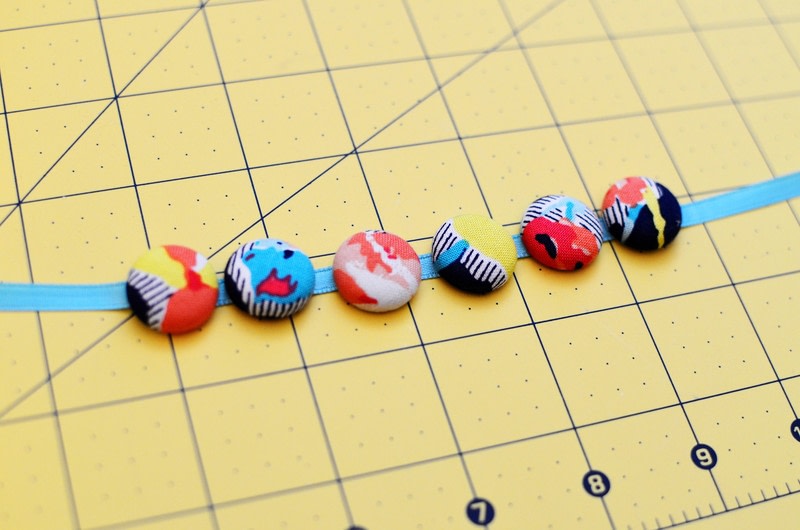
 Step 12
The bracelet is almost complete!
-
 Step 13
The last step is to tie the ends of the ribbon together, and cut off the excess. Use a fray block to prevent the ends from fraying.
-
 Step 14
Proudly wear your new bracelet!