About
Drawstring Bag
For any occasion, a drawstring bag is a great gift (for either yourself or someone else). I made this one to hold a wine bottle as a gift, but with a little tweaking of the measurements, this can be made to hold anything.
-
 Mister Domestic published their project Drawstring Bag
12 Jan 09:00
Mister Domestic published their project Drawstring Bag
12 Jan 09:00
You Will Need
-
 Step 1
Fabric Cuts
- Two 15” x 18” rectangles of fabric (one for outside and one for lining)
- Fuse to Exterior - One 15” x 18” rectangle of interfacing (I used a lightweight woven)
- One 3” x 30” of fabric (I used the same fabric as my lining) -
 Step 2
BUTTON HOLES
- Using a ruler 3.5” down from the top edge of the exterior panel, mark 1/2” at 7” and 8”. These are the marks for two 1/2” button holes.
- Extending the button hole foot 1/2”, line the red lines up with the end of the mark. I used the long skinny rectangle button hole stitch and the same main embroidery thread from before. Do this for both button holes.
- Using a seam ripper or scissors, cut the opening making sure not to cut the thread. -
 Step 3
Squaring off the Bottom
- Starting with the exterior panel, fold in half lengthwise right-sides together and stitch up the bottom and side seams using a 1/4” in seam allowance. -
 Step 4
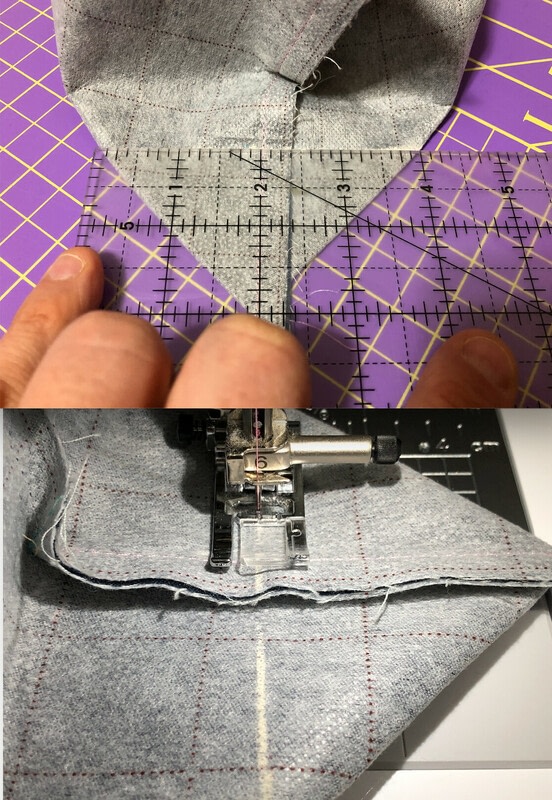
- Take each bottom corner, placing the bottom seam in the center. With a ruler, place the 2” mark on the stitch line and maneuver the corner until it is 2” on both sides of that line. Mark that line.
- Stitch over both lines, backstitching at both ends. It might benefit the integrity of the bag to stitch the line multiple times. -
 Step 5
- Trim off the excess of both corners leaving 1/4”.
- Repeat these steps with the lining panel. -
 Step 6
Attaching the Lining
- Turn the lining right-side-out and stuff inside the wrong-side-out exterior.
- Using a 1/4” seam allowance, stitch around the raw edges, leaving a 1-2” gap with no stitches. -
 Step 7
- Pull both the exterior and lining through the gap.
- Stuff the lining inside of the exterior and press the top seam making sure to also press the fold for the raw edges of the gap.
- Edge stitch the top seam. -
 Step 8
Stitching the Tunnel
- Using a ruler, mark a line going all the way around the bag starting and stopping at the top and bottom of the button holes.
- Stitch these lines, back-stitching at both the beginning and the end. -
 Step 9
Preparing the Tie Strip
- Fold the strip lengthwise and stitch up the raw edges at 1/4” seam allowance, leaving a 1-2” gap without stitches in the center of the long side.
- Use the gap to turn the tie strip right-side-out and press.
- Edge stitch around the perimeter of the tie strip. -
 Step 10
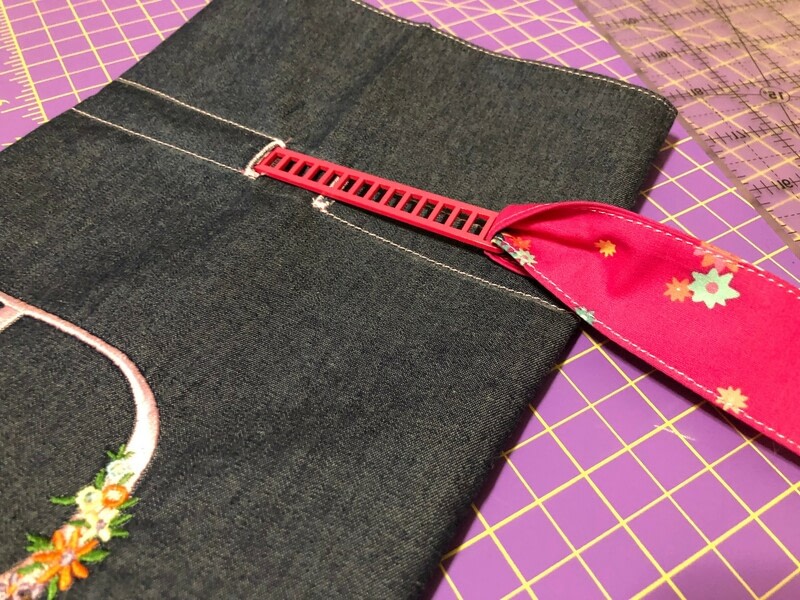
- Using a tool or safety pin attached to the end of the strip, insert the tie strip into the tunnel, tie a bow and enjoy.
-
 Step 11
Enjoy the bag, whether a gift for yourself or someone else.