

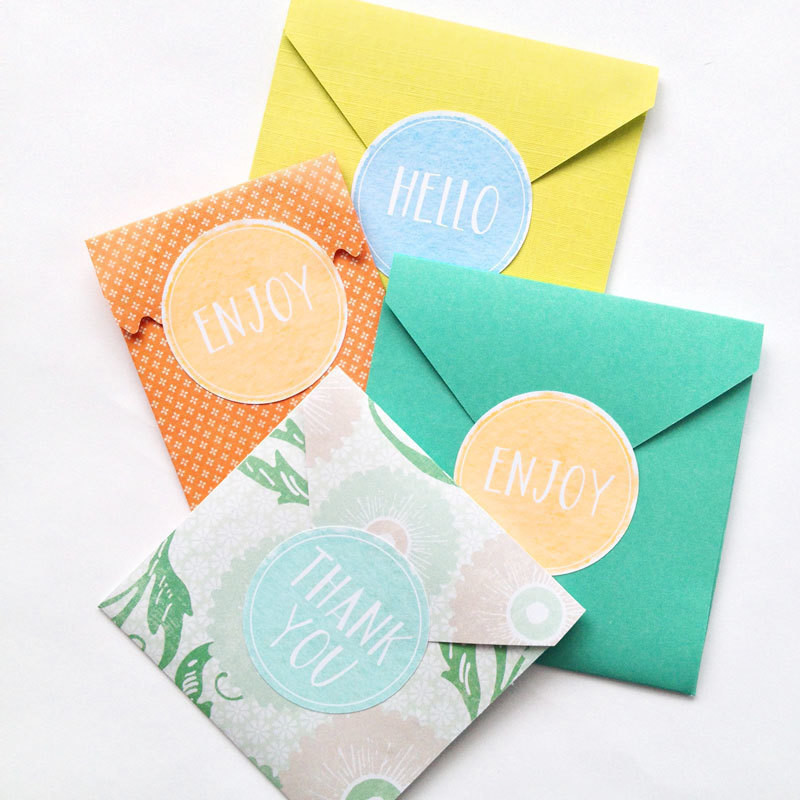

About
Watercolor labels with no brushes, no mess, no fuss!
I used the Waterlogue app to create watercolor images, then used the Print and Cut feature of my Silhouette CAMEO and its software to create these labels
-
 Mary H. favorited Diy Watercolor Labels
01 Mar 03:40
Mary H. favorited Diy Watercolor Labels
01 Mar 03:40
-
 Emma H. favorited Diy Watercolor Labels
03 Jan 20:49
Emma H. favorited Diy Watercolor Labels
03 Jan 20:49
-
 maritza_lisa published her project Diy Watercolor Labels
13 Nov 15:36
maritza_lisa published her project Diy Watercolor Labels
13 Nov 15:36
-
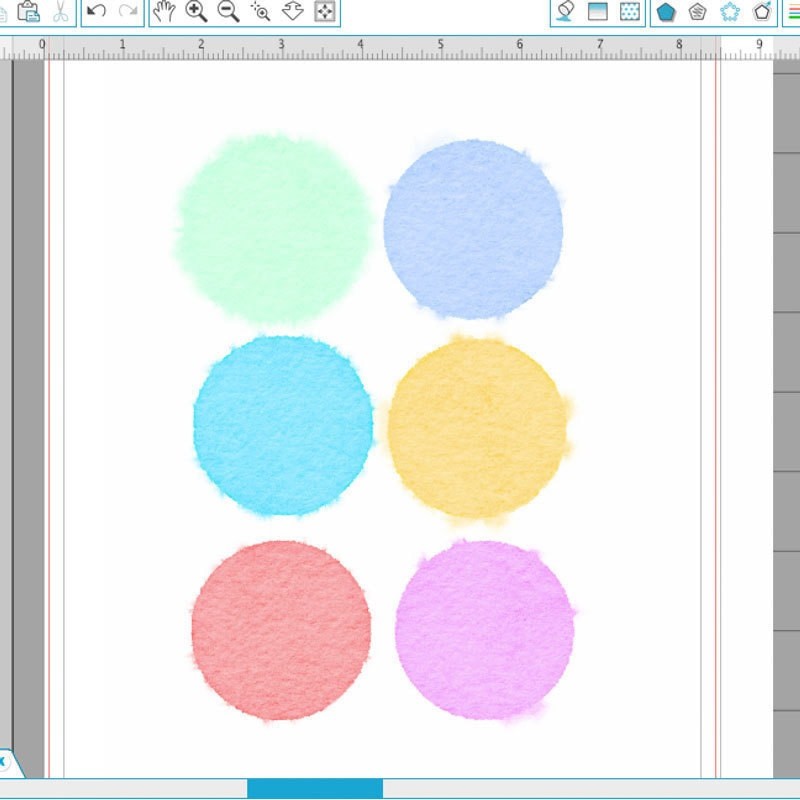
 Step 1
I created some filled circles in Silhouette Studio using light, pastel colors. I then created a PDF file via the Print window. I then converted my PDF file to a JPG which I used to upload into my Waterlogue app. The other option is to create your circles in any image editing software you have and upload that image in the Waterlogue app
-
 Step 2
Using the Waterlogue app, I converted my image into watercolor, then merged the watercolor image into Silhouette Studio
-
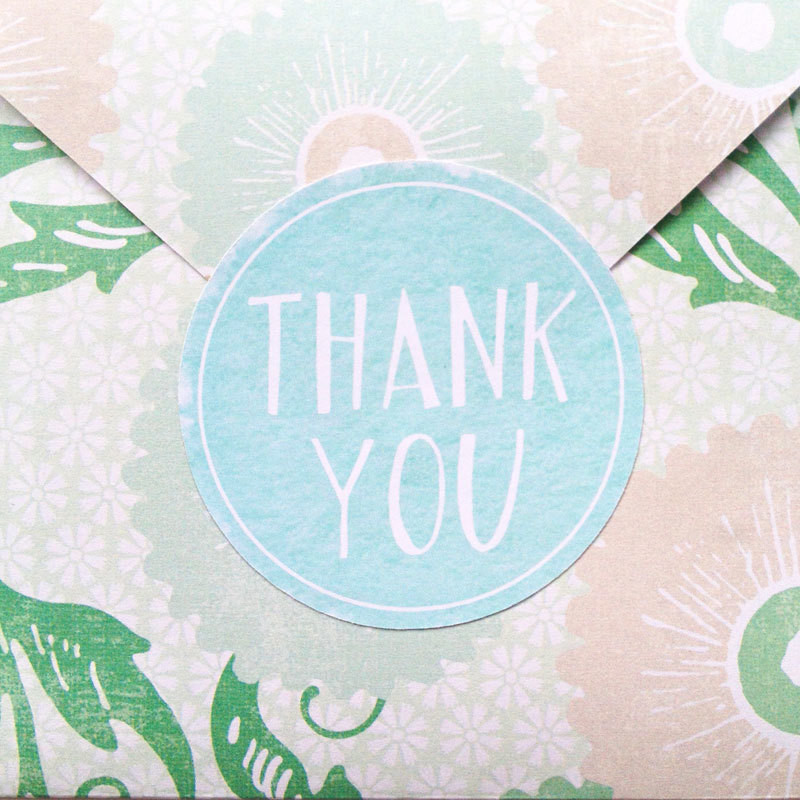
 Step 3
Using the circle tool, I cropped each of the colored circles. This allowed me to make each one “cut-able” in Studio. Once I had each circle cropped, I added a white inner circle (using internal offset tool), and a sentiment using the Turner font from Creative Market (a freebie from a few weeks ago). I then used the Print and Cut feature (don’t forget the registration marks!) with the white sticker paper