About
Succulents In A Bowl
You can do a lot of fun things with bowls. Inside, but of course also outside. These beautiful objects, from large to small, bring your interior and garden to life! A bowl of different materials and structures is completely contemporary. A bowl with a mix of succulents, a mini glass pond with floating flowers: you can come up with anything. We are happy to help you on your way and show you what you can do with bowls.
-
 Kinhime Dragon favorited Diy: Succulents In A Bowl
02 Apr 17:54
Kinhime Dragon favorited Diy: Succulents In A Bowl
02 Apr 17:54
-
 Crafterella featured Diy: Succulents In A Bowl
21 Nov 23:00
Crafterella featured Diy: Succulents In A Bowl
21 Nov 23:00
-
 Janie Y. published her project Diy: Succulents In A Bowl
16 Nov 11:46
Janie Y. published her project Diy: Succulents In A Bowl
16 Nov 11:46
-
 Step 1
First you take the bowl. Put a plastic bag in here, and pour in expanded clay (about 1/3 of the bowl).
-
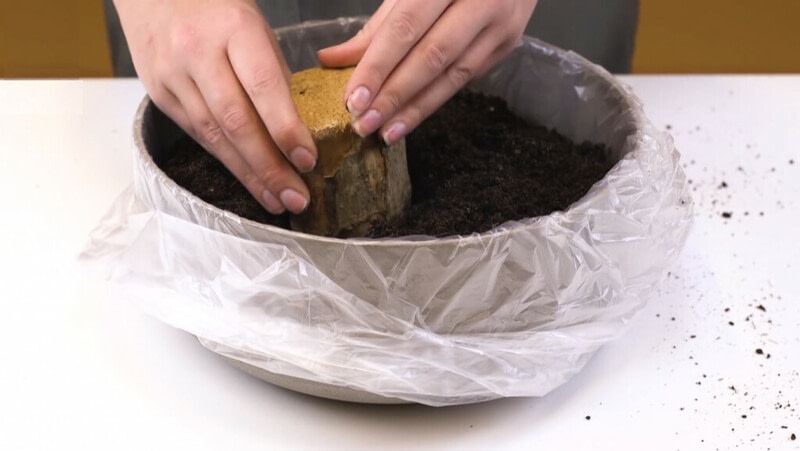
 Step 2
Fill the rest of the bowl with the cactus potting soil. Next, stick the large log into the soil, just a little bit away from the center.
-
 Step 3
Remove the succulents from the plastic pots and put them in the ground. Just press firmly: make sure the plants are well in the soil. Look carefully where you place what, everything must be connected.
Take the lying log into account. This one must have the space. Place it on the chosen spot. Press it a little longer so that it is firmly in the sand.
-
 Step 4
Cut off the protruding piece of plastic. Cut along the edge of the bowl, folding the remaining inch of plastic inward.
-
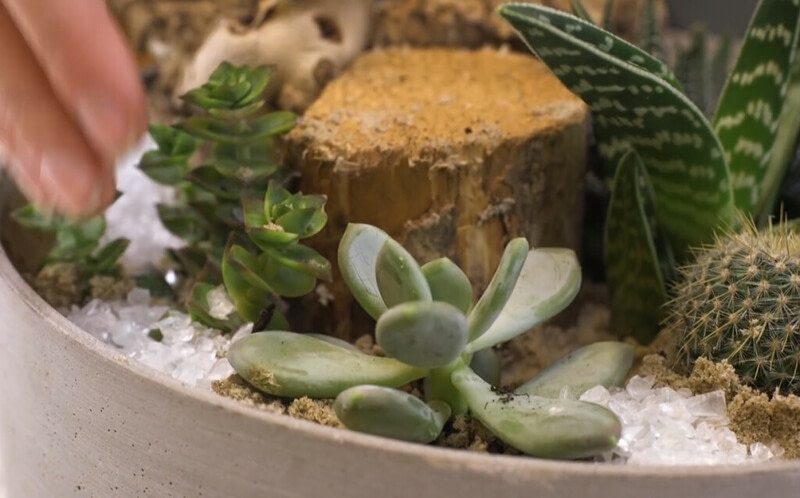
 Step 5
Cover the plastic and cactus soil with a combination of sand and glass stones. Avoid showing the plastic and potting soil.
-
 Step 6
Is there sand on your plants? Brush it off carefully with a brush, for example.
-
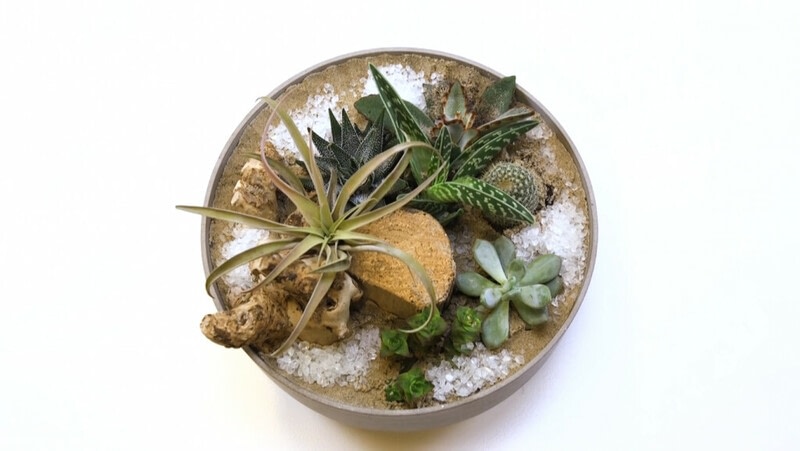
 Step 7
Finally, add the Tillandsia for the finishing touch.