
About
DIY Succulent Table: Step-By-Step Instructions to Do It Yourself
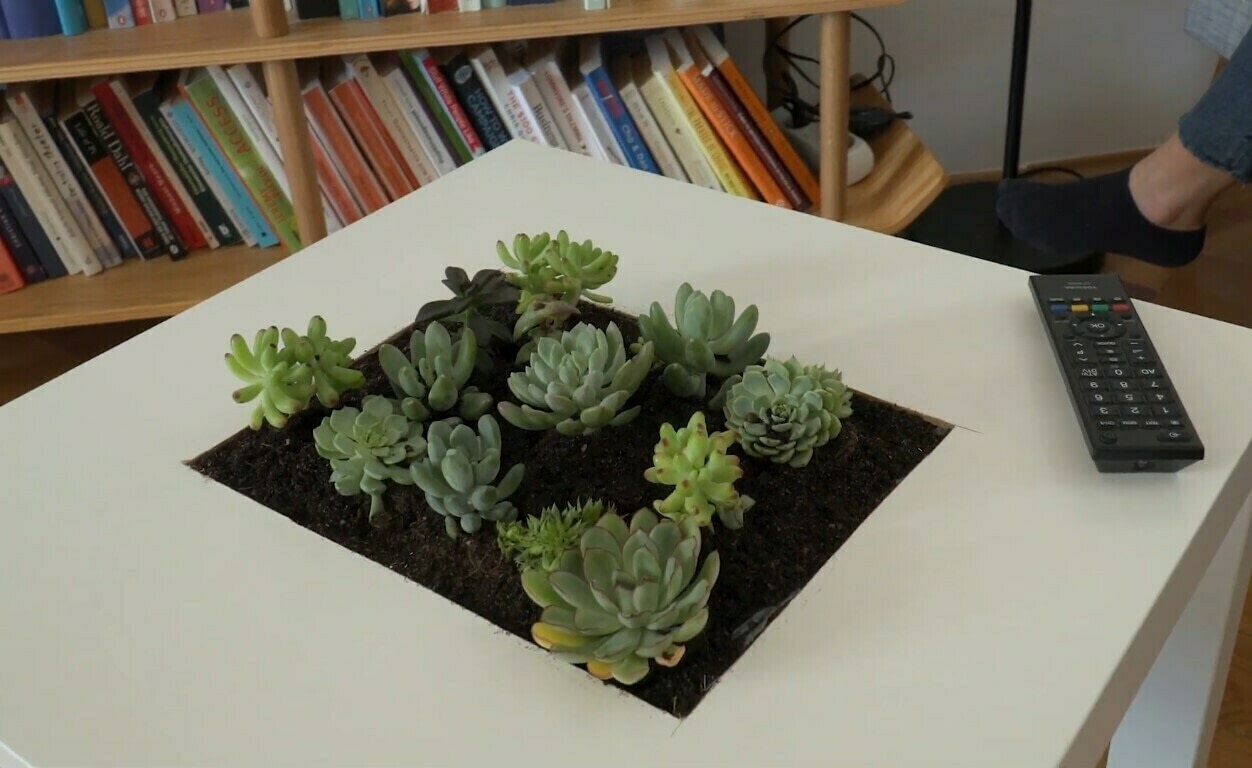
Designer piece instead of simple furniture – we explain how to turn a normal table and a few succulents into an amazing eye-catcher – by making a DIY succulent table.
-
 Crafterella featured Diy Succulent Table
07 Sep 23:00
Crafterella featured Diy Succulent Table
07 Sep 23:00
-
 Janie Y. published her project Diy Succulent Table
06 Sep 12:12
Janie Y. published her project Diy Succulent Table
06 Sep 12:12
-
 Step 1
First, the final planting area for the succulents must be drawn out. In order to obtain the most accurate template possible, it is advisable to work with a measuring tape. We decided on a planting hole with a length of 30 centimeters and a width of 23 centimeters, because these dimensions leave enough space for the plant to be staged, as well as a sufficiently wide margin (for example for placing glasses). Of course, the shape and size of the subsequent succulent bed can be individually adjusted, so smaller planting areas are just as possible as imaginative shapes.
-
 Step 2
Next, insert a plastic film into the hole that was just created. This is particularly important for the succulent table, as it would swell after a few weeks due to the moisture of the irrigation water and would ultimately be destroyed. Therefore, when lining the hole it is extremely important to make sure that the film has no holes or tears and covers all parts of the hole created. If you want to be on the safe side, you can use a small tub or bowl instead of a film.
-
 Step 3
After the space for the plants in the table has been prepared, you can start preparing to repot the succulents. First, fill the hole in the table with expanded clay balls (aka LECA). This improves the drainage properties of the later substrate and thus ensures that the risk of waterlogging is reduced. This drainage layer is particularly important when planting a succulent table, because there are no drainage holes through which excess water could run.
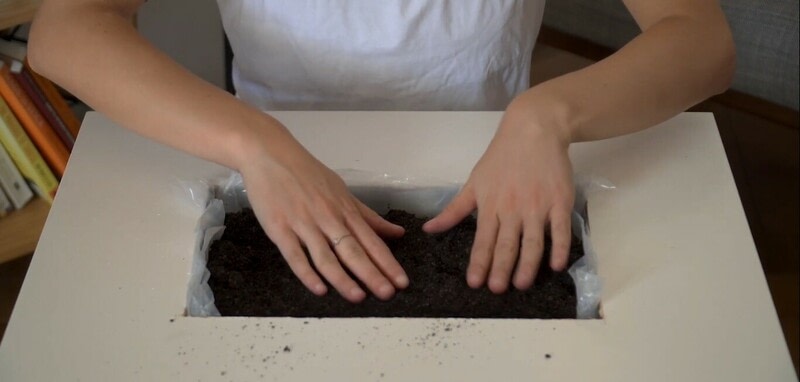
Next, fill to about half the hole with cactus soil. In contrast to normal potting soil, this is more suitable for the cultivation of succulents, since it is better adapted to their soil and nutrient requirements and thus offers them a more optimal environment for growing. -
 Step 4
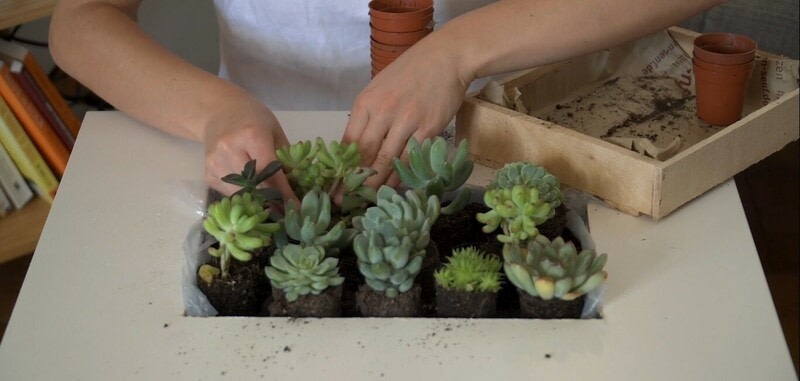
Now the individual succulents can be carefully removed from their old pots. Remove the old soil which sticks to the root ball of the plant, but the fine roots of the plants should not be damaged under any circumstances. The plants freed from their pots can now be arranged in their new home.
-
 Step 5
Once the right arrangement has been decided on, fill the remaining gaps with cactus soil and lightly press on in. Excess soil on the table can only be carefully removed from the edge by hand or with a damp cloth.
-
 Step 6
After the succulent table has been completed, proper care of the plants is particularly important, as repotting is a major burden for them. For this reason, the plants should not come into contact with direct sunlight during the first week, as this will stress the plants. In addition, succulents should only be watered a week after repotting to relieve the weakened roots.