

About
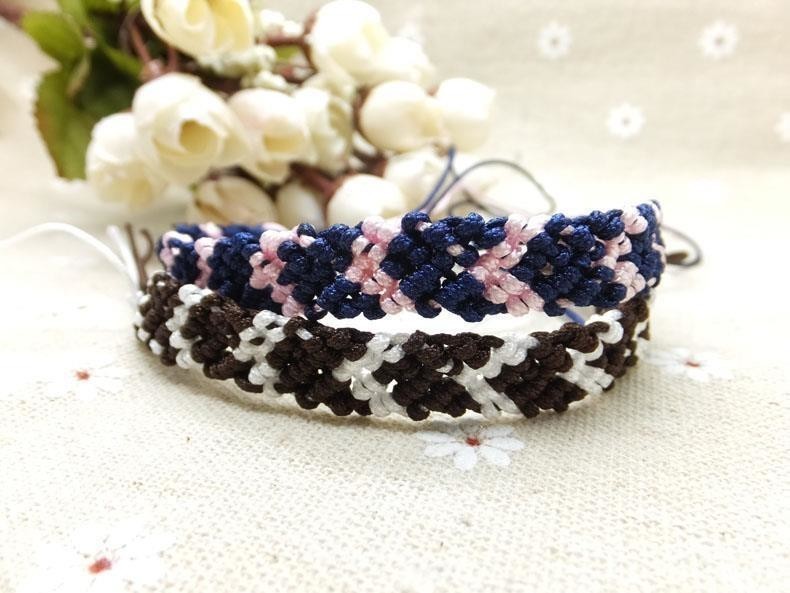
Here’s a tutorial on how to make a chevron friendship bracelet.
A friendship bracelet is a bracelet given by one person to another as a symbol of friendship. Friendship bracelets are often handmade.
Downloads
- how_to_make_a_chevron_friendship_bracelet.docx 6.31 MB [ Download ]
-
 Amirah T. added Diy Jewelry to Bracelets
18 Nov 13:38
Amirah T. added Diy Jewelry to Bracelets
18 Nov 13:38
-
Amirah T. favorited Diy Jewelry
18 Nov 13:38
-
 Aro Sh favorited Diy Jewelry
02 Dec 16:56
Aro Sh favorited Diy Jewelry
02 Dec 16:56
-
 anke.vandenban favorited Diy Jewelry
27 Feb 20:10
anke.vandenban favorited Diy Jewelry
27 Feb 20:10
-
 Sophie L. published her project Diy Jewelry
08 Feb 08:03
Sophie L. published her project Diy Jewelry
08 Feb 08:03
You Will Need
-
 Step 1
Step 1:
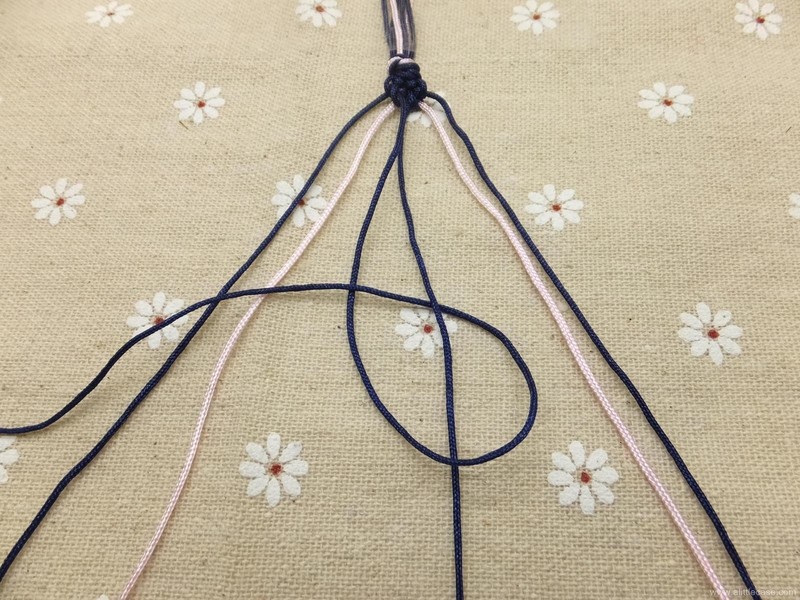
Cut the cords about 1meters for each color. You need at least 6 strands of cord (3 on each side). Tie them together by using an overhand knot and tape it to your work surface.
-
 Step 2
Step 2:
Starting with the outer-right cord, tie a backward knot make a ninety degree angle with the tying cord over the top of the cord you are tying it to. Note: Make the same knot twice on the adjacent cord.
-
 Step 3
Step 3:
Loop it under and back through the opening. Pull up and to the left to tighten (remember to make two knots on each cord).
-
 Step 4
Step 4:
Once you have knotted the outer right cord to the one next to it, do the same to the next cord closer to the middle.
-
 Step 5
Step 5:
Continue knotting towards the left, until the outermost cord has carried over to the middle. This is one half of the chevron pattern
-
 Step 6
Step 6:
Now pick up the outermost cord on the left side (show here in dark blue) and make a forward knot by creating a 4-shape over the 2nd cord.
-
 Step 7
Step 7:
Then loop it under and back through the opening. Don’t forget to knot twice over each cord!
-
 Step 8
Step 8:
Once you have knotted the outer left cord to the one next to it, do the same to the next cord closer to the middle.
-
 Step 9
Step 9:
Continue knotting towards the right until the outermost cord reaches the middle. Tie a forward knot with the two middle strands to connect the two halves. The first chevron row is complete! Note: If you have done everything correctly up to this point, the strands you are tying together in the middle will be the same color.
-
 Step 10
Step 10:
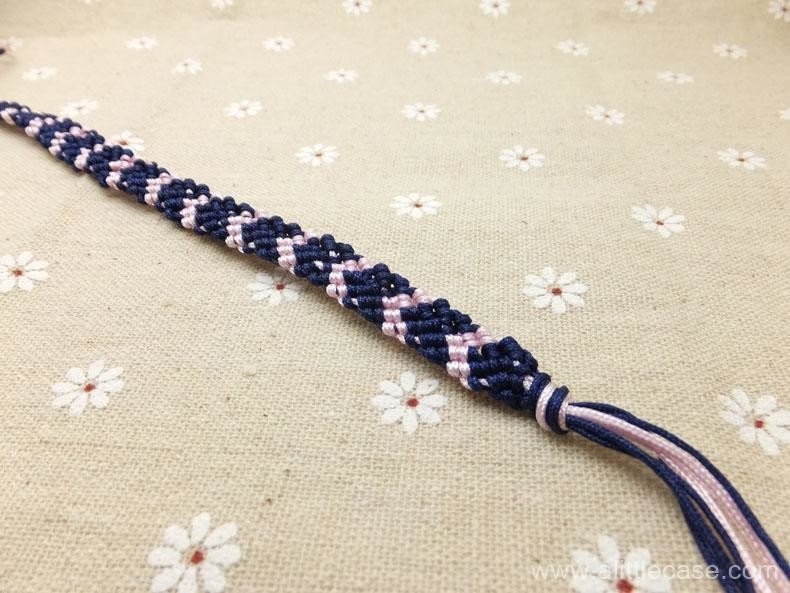
Continue this pattern until reach your desired length.
-
 Step 11
Step 11:
Finish it with an overhand knot.
-
 Step 12
Step 12:
Done it!


 1
Home Accessories »
Diy Jewelry Box
1
Home Accessories »
Diy Jewelry Box

