


About
This post serves you with a cutest robot ever
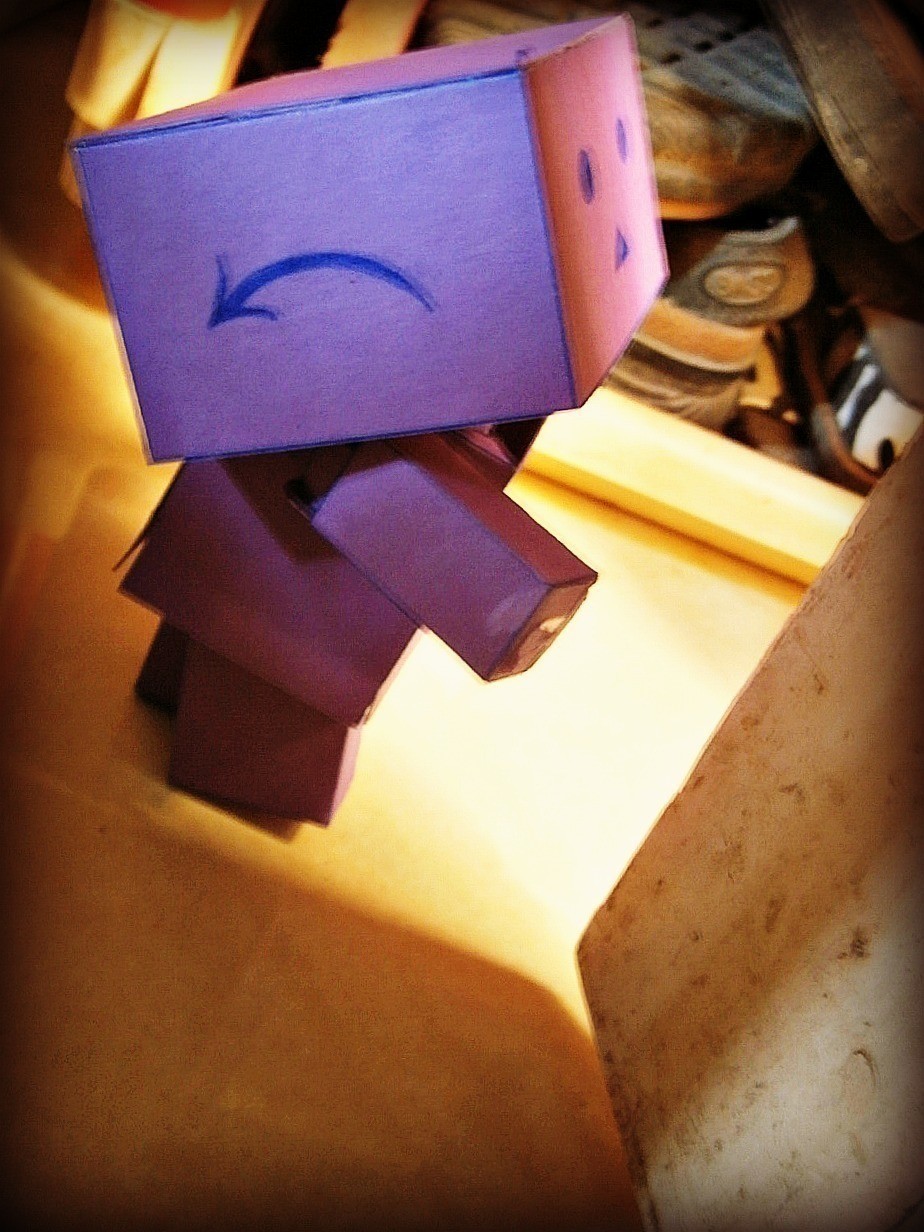
Danbo was originally intended to be a fake and funny robot which a human wears a combined set of cardboards, and interacts only when other puts coin into the slot located on its body. Amazon Japan spotted the idea, and used it for marketing, and it was a tremendous success.
Since then, photographers everywhere were inspired to make something really fun and even artistic with the Danbo.
Downloads
- danbo_papercraft_a_by_yuiiwae-d2zddu1.jpg 707 KB [ Download ]
-
 Robin C. favorited Danbo
12 Mar 05:08
Robin C. favorited Danbo
12 Mar 05:08
-
 Daniel Cunningham favorited Danbo
30 Apr 08:32
Daniel Cunningham favorited Danbo
30 Apr 08:32
-
 Ikon K. favorited Danbo
05 Oct 10:30
Ikon K. favorited Danbo
05 Oct 10:30
-
 Harvey Knowles favorited Danbo
18 Sep 06:39
Harvey Knowles favorited Danbo
18 Sep 06:39
-
 Rebecca Rose favorited Danbo
07 Sep 05:03
Rebecca Rose favorited Danbo
07 Sep 05:03
-
 Moonr Pate favorited Danbo
07 Aug 10:29
Moonr Pate favorited Danbo
07 Aug 10:29
-
 Roy Warner favorited Danbo
21 Jul 11:31
Roy Warner favorited Danbo
21 Jul 11:31
-
 Kim Tate favorited Danbo
21 Jul 09:59
Kim Tate favorited Danbo
21 Jul 09:59
-
 Miley S. favorited Danbo
10 Aug 10:37
Miley S. favorited Danbo
10 Aug 10:37
-
 Prestige Luxury R. favorited Danbo
05 Jan 05:45
Prestige Luxury R. favorited Danbo
05 Jan 05:45
You Will Need
-
 Step 1
I found a Danbo papercraft pattern, and it's very nice, because your Danbo has mobility!
Template part 1
-
 Step 2
First of all, you've to print the papercraft template out. You can either print it out on a card or on an A4 paper and then glue the paper with the template on a cardboard. You can also directly print it out on an A4 paper and make the Danbo, but then your Danbo would be very fragile.
Template Part 2
-
 Step 3
Cut out the pieces carefully with a cutter or a scissor...
-
 Step 4
Cut out 16 and glue along the lid and glue it together. That's the base of the arm.
-
 Step 5
Cut out 3 and fold along the lines. And glue the sides to the side on the base of the arm you've made in step 1. Repeat this for the other arm.
-
 Step 6
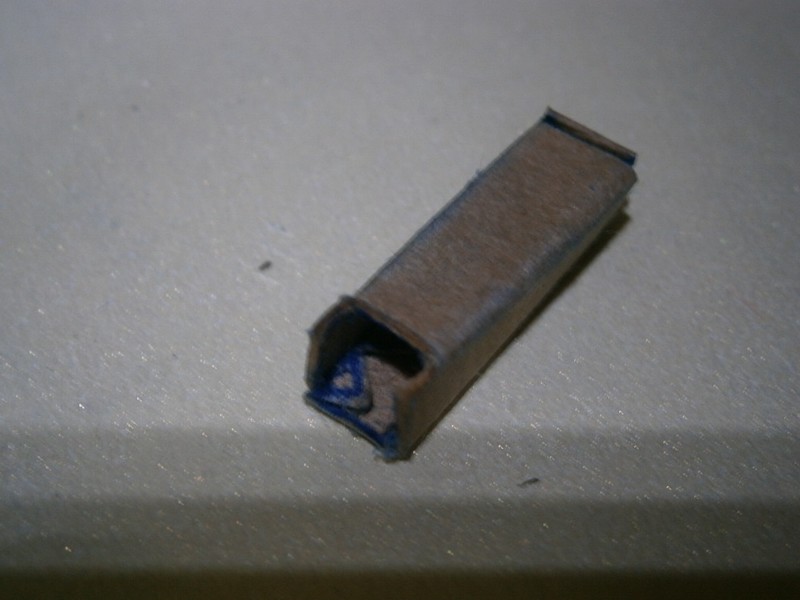
Cut out 06 and fold the "teeths" and the white flap. Glue the white flap to the other end of the same paper. So you will have a sort of ring. Put glue on the "teeths" and glue 07 on it. Do the same for the other side of the same ring. You should have 2 little cylinders.Then cut out 9 and glue it together. Now put the cylinder you've made before in 9, it should fit nicely. (Don't glue it though!) Roll the longer part of 9 which you haven't glued yet, around the cylinder and glue it on the end of it. Make sure you don't glue the cylinder. The cylinder should be able to move if you roll it. This is the joint for the arm.
-
 Step 7
Assemble the base of the arm and the joint of the arm together, by glueing the 2 sides of the cylinder on 3.
-
 Step 8
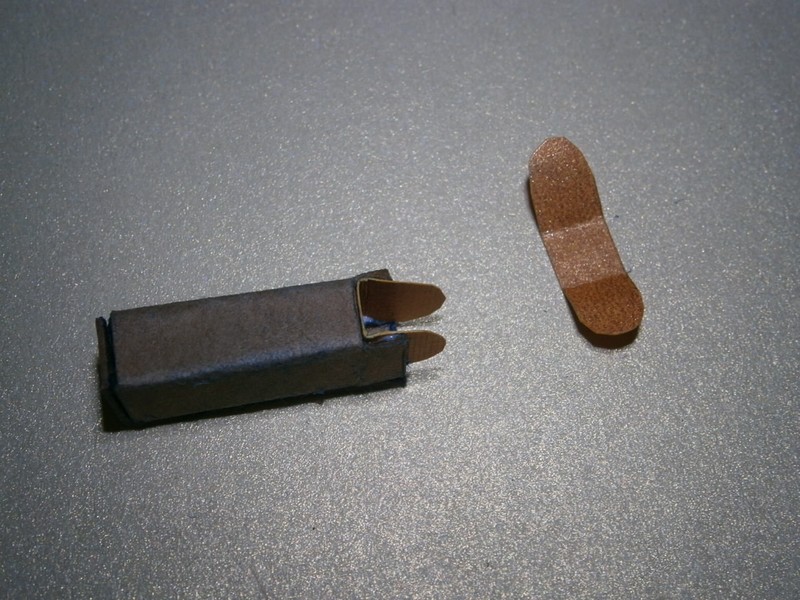
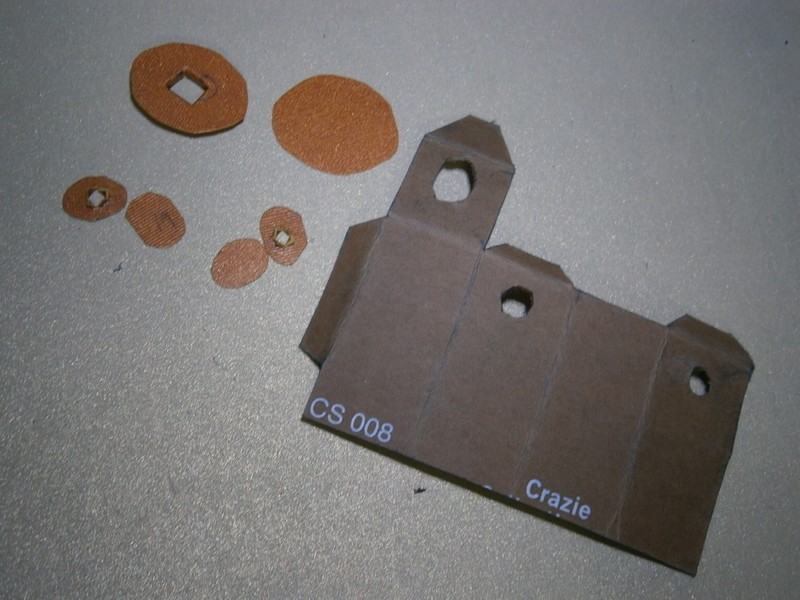
Cut out the circle (on 08) and cut out 10. On the circle 10 you see a cross, follow the cross with a cutter, so you will get 4 flaps. Fold the flaps upwards, so the white paper is visible. Put 10 under the hole you've cut out in 08 without using glue (just make sure the fold are visible). Put glue on the white flaps (make sure the glue doesn't come on else where) and then glue 11 on it.
-
 Step 9
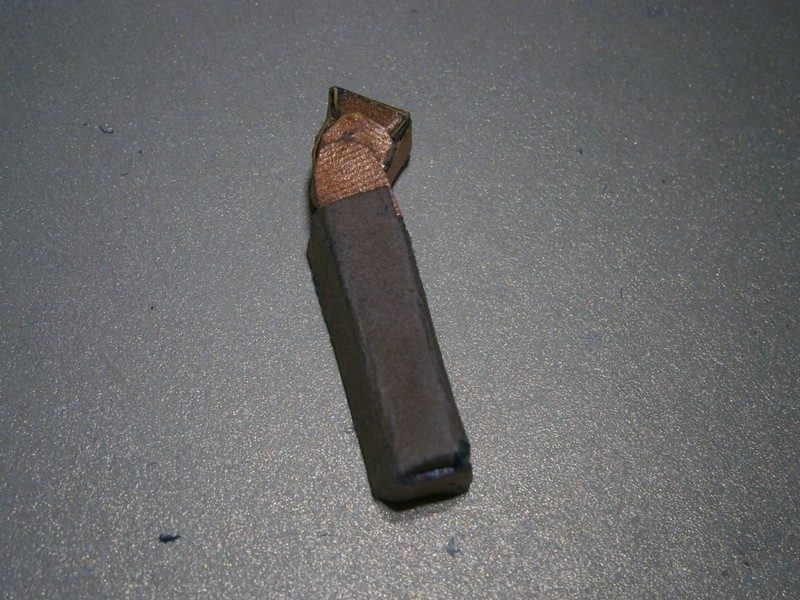
<< this image might help if you don't get what I mean. Do the same thing with the two other holes on the body. This time wtih 18 and 19.
-
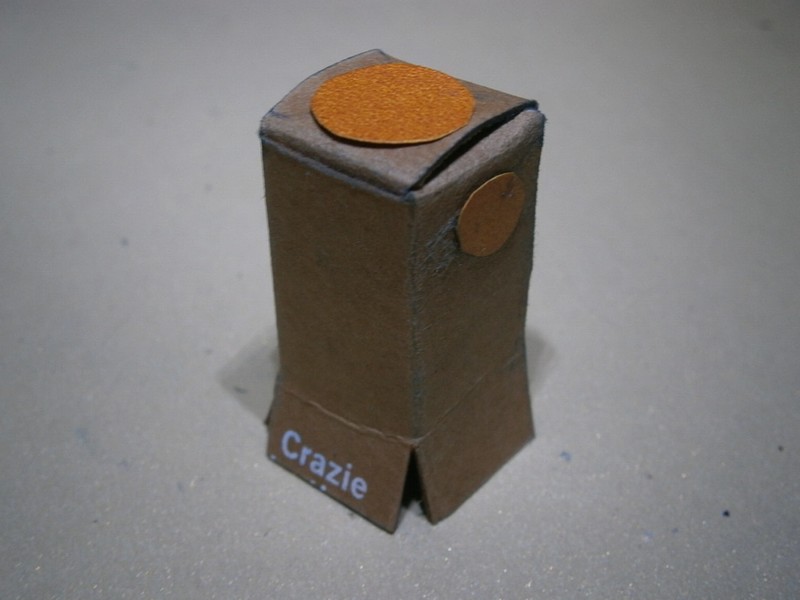
 Step 10
Then glue the body together.
-
 Step 11
Glue the arms on the sides of the body. The arms should be able to turn and go upwards and downwards now.
-
 Step 12
Make 2 cylinders again, but this time with 14 & 15. Also cut out 13. Do the same as in step 6. But this time, you've to place 2 cylinders.
Cut out 12 and fold both. Glue each on the sides of the cylinders
-
 Step 13
Glue what you've made in step 12 on the top of the body. This is joint for the head.
-
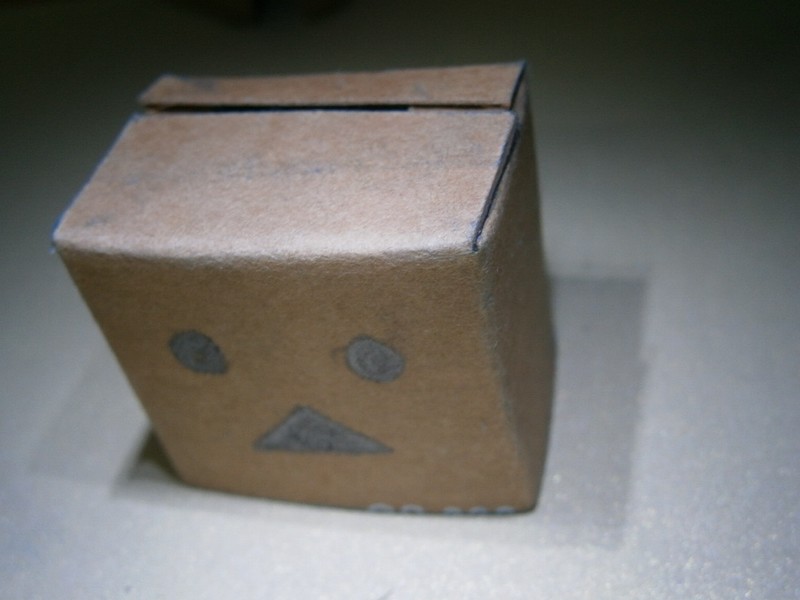
 Step 14
Cut 04 & 01 out. Cut out the eyes in 01 and glue 04 behind it. (Can skip this if you want to, it just gives depth to the eyes, I would not recommend this if you're making it on paper.) Then glue the head together.
-
 Step 15
Glue the head on the top of the joint of the head. (What you've made in step 13) You're head should be able to turn and go upwards and downwards now.
-
 Step 16
Cut out 02 and glue it together, but leave the long part
Cut out 17 & 5 and make the cylinder. Put the cylinder on.... and glue the long part. Make sure the cylinder can roll if you turn it. Now you've the feet.
-
 Step 17
At last glue the two sides of the cylinder of feet and attach it in the body.
-
 Step 18
Now you have a Danbo <3


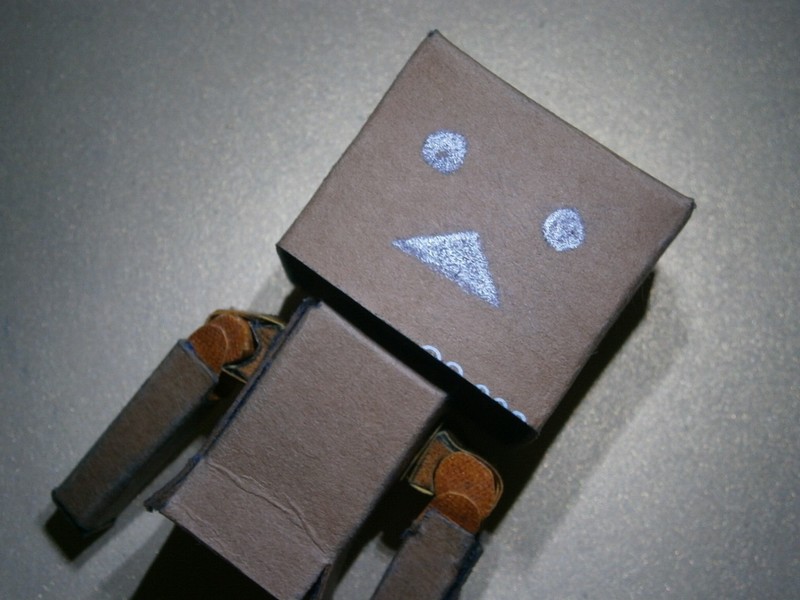


But it didn't take me 30 mins to make, it took me a few hours to make it. And It was worth it!
(o_o)