


About
A perfect project for a rainy day ( =
I had a small wooden box lying around and I thought it would be perfect for a jewelry box. My grandparents also just finished adding new tiles to their kitchen and since there were some tiles left over, I decided to get crafty. Enjoy.
You Will Need
-
Step 1
What you need:
A small box with lid
Paint (optional)
Paint brushes (optional)
Tile(s) (Make sure it's cool if you smash it/them up)
Hammer
Safety goggles
Plastic bag
Hair dryer (optional)
Hot glue gun -
 Step 2
Gather your materials. I already smashed up my tiles and put them in a plastic bag.
(Hot glue gun and hair dryer not pictured =b)
-
 Step 3
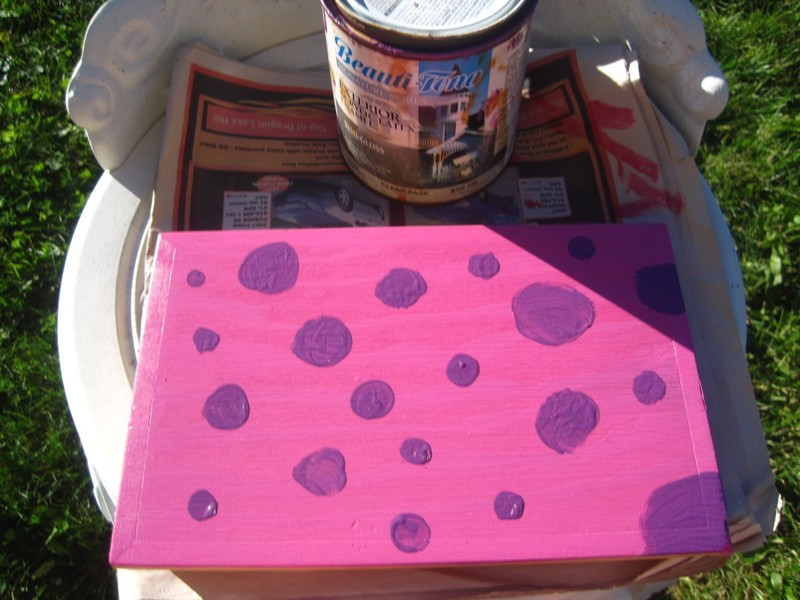
This is the box I am using, I painted it at the beginning of July but I don't like the way it turned out..
-
 Step 4
Start painting! I am using purple and shocking pink paint. Skip this step if you aren't painting the box.
-
Step 5
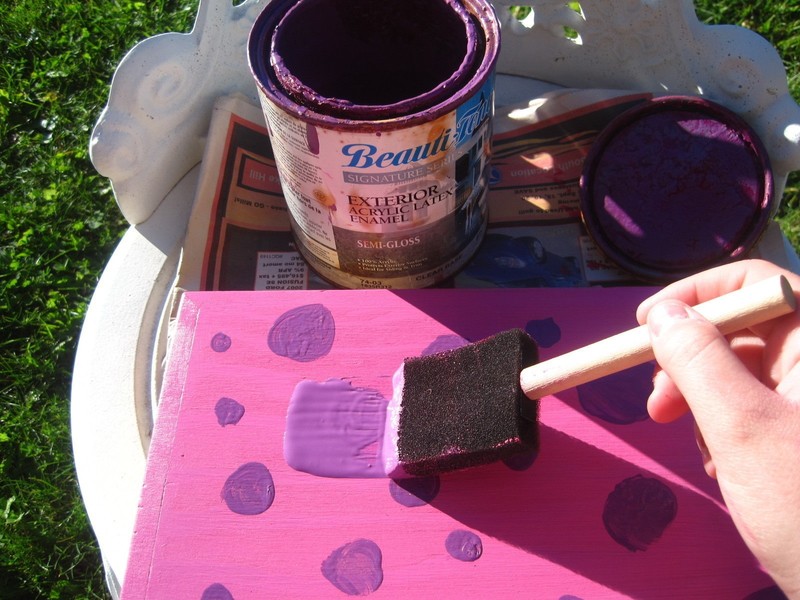
Wait until the paint is dry, or use the 'cheaters way' which is what I did and use a hair dryer until the paint is dry.
-
 Step 6
(Change of venue, the sun was setting so I had to move from my grandparents backyard to their front yard)
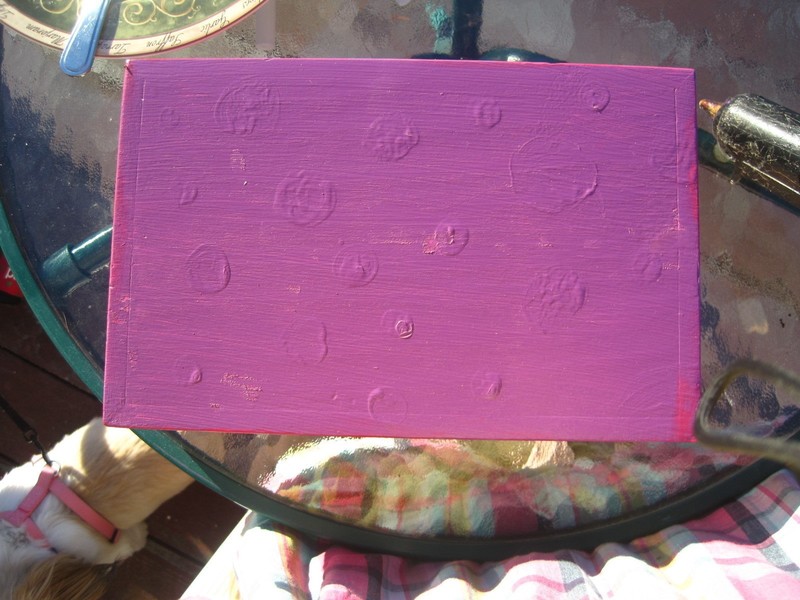
Sadly, the polka dots weren't completely covered even though I used about five coats of paint.. Anyways, get your box ready and heat up your hot glue gun.
-
 Step 7
Now figure out where you want your smashed up tile pieces to go.
-
 Step 8
If your hot glue gun is heated up, start the tedious task of gluing down all those tile pieces. When you think you have finished gluing them all down, take your box (or take off the lid) and turn it upside down, gently shake to see if all of the pices are secure.
-
 Step 9
And now you're finished. This is what mine looked like when I was done, I still have to take all of the annoying glue strings off, but other than that, it's done.
-
 Step 10
Save this project for a rainy day or a perfectly sunny one like I did ( = Make some for your friends and give them as gifts. My box just has a few books that I bought a new days ago in it as well as a travel checkers set ( =
Enjoy your new box ( =


 1
Home Accessories »
Diy Jewelry Box
1
Home Accessories »
Diy Jewelry Box

