


About
Cheaper then the $5-10 one's at the mall.
I saw some horsehair braid at work one day and thought "I'm going to make a hair band out of that. And here we are.
Tags
-
 Kaitlynn L. favorited Cute Headbands
01 Sep 14:14
Kaitlynn L. favorited Cute Headbands
01 Sep 14:14
-
 Ada B. added Cute Headbands to Hair
14 Apr 13:01
Ada B. added Cute Headbands to Hair
14 Apr 13:01
-
 Mai added Cute Headbands to jewelry and hair stuff
21 Jan 03:43
Mai added Cute Headbands to jewelry and hair stuff
21 Jan 03:43
-
 Alex Poser added Cute Headbands to Accessories
10 Jan 22:33
Alex Poser added Cute Headbands to Accessories
10 Jan 22:33
-
 Step 1
Gather all of your supplies, take the list I've given at the corner and make sure you have it all before you begin. Anything you don't have should be at your local craft/fabric store. Always ask an employ if you can't find what you're looking for.
-
 Step 2
Measure out your horsehair braid. You can ether use a measuring tape or the horsehair it's self for this. I just wrapped the horse hair around my head in the mirror until it looked right. You'll need 1 or 2 extra inches for your buttons/snaps to go on, one inch or less will do if your sewing it closed. Cut off how much you need. DO NOT stretch the horsehair. I know it seems stretchy but you will end up unraveling it.
-
 Step 3
Take the fabric of your choice and measure it out. Again, you can use the measuring tape or the horse hair. I used some quilter's chalk to mark on the INSIDE of the fabric so I would know where to cut. If your not sure how the fabric will work for this then add some extra to it. You can always cut it off later.
-
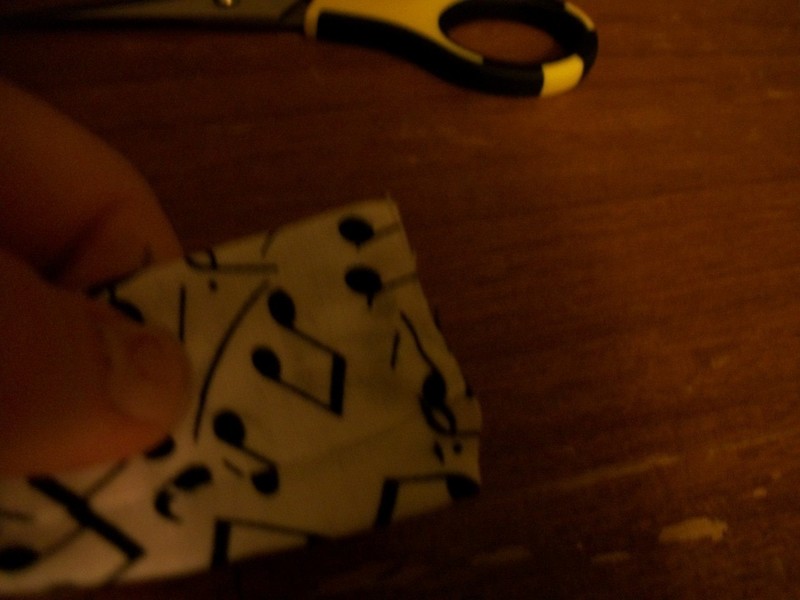
 Step 4
Cut and pin ends to the middle of the horsehair.
-
 Step 5
Fold up the bottom side to cover the horsehair. Remove pins from before and pin down again.
The first time I put fabric glue on at this step, but it bled through the fabric and made it look nasty, so I don't advise it.
-
 Step 6
Fold down the top side and glue it to the bottom fold. It will bleed through some fabrics though so use only a small amount. This stuff is hard to sew through once it dries so be careful.
Note: Fabric glue isn't washable. (Or at least mine isn't.) If you place it in the washer your headband will fall apart. So, if you would rather you can just sew it together or find some other way to close it that will hold in the washer.
-
 Step 7
Let it dry for about two hours. You can get to work after 30 minutes but it won't look as smooth.
After it's dry it's time to get started sewing.
-
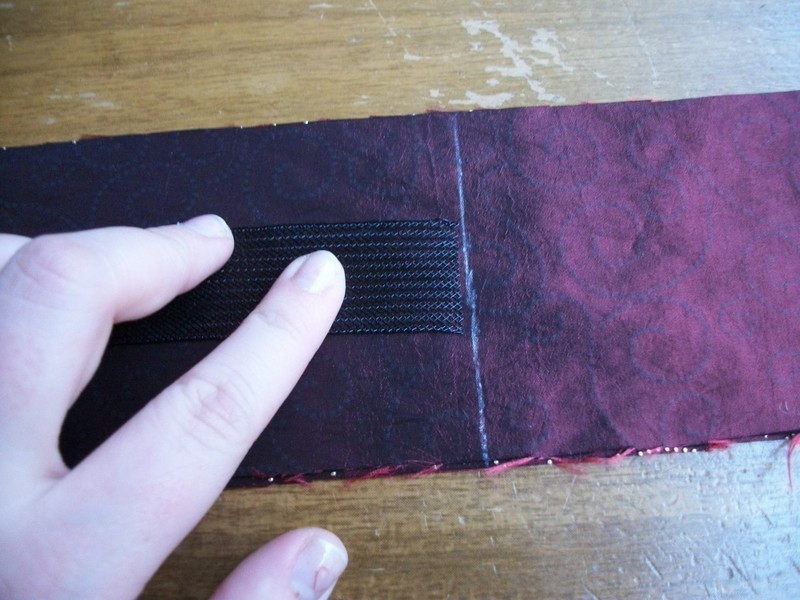
 Step 8
Sew up in end of the piece. A simple stitch will do but you might want to go over it twice. No one will see this part so it doesn't have to look pretty.
(Notice the change in fabric? Told you the first one bled through. XD )
-
 Step 9
Now, do the other side.
-
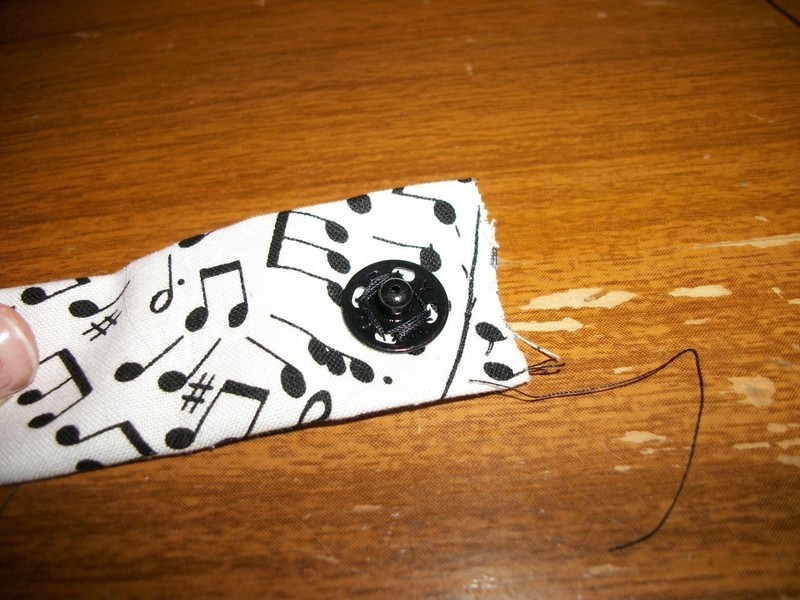
 Step 10
At this point you will want to go into the bathroom and "put it on." Just hold it closed on the back of your head and feel where you want the closer to go. I marked mine with blue quilter's chalk before sewing it on. Make sure you get it through all of the fabric and that you stitch around it a lot. If it's lose your not done yet.
-
 Step 11
Measure, mark, and sew on the other one. Make sure you get it on the right side, otherwise you'll have to start all over again. (Same thing goes for Velcro.)
-
 Step 12
Try it on and make sure it fits. If it doesn't then just take a seam ripper, pull it out, and do it again until it's perfect. Will take some time but will be worth it. (Plus, practice is always good.)
-
 Step 13
Tada! Your done! Can't wait to see your guys versions. Please have fun with this. :P


 1
Home Accessories »
Diy Jewelry Box
1
Home Accessories »
Diy Jewelry Box

