

About
Hang 'em up
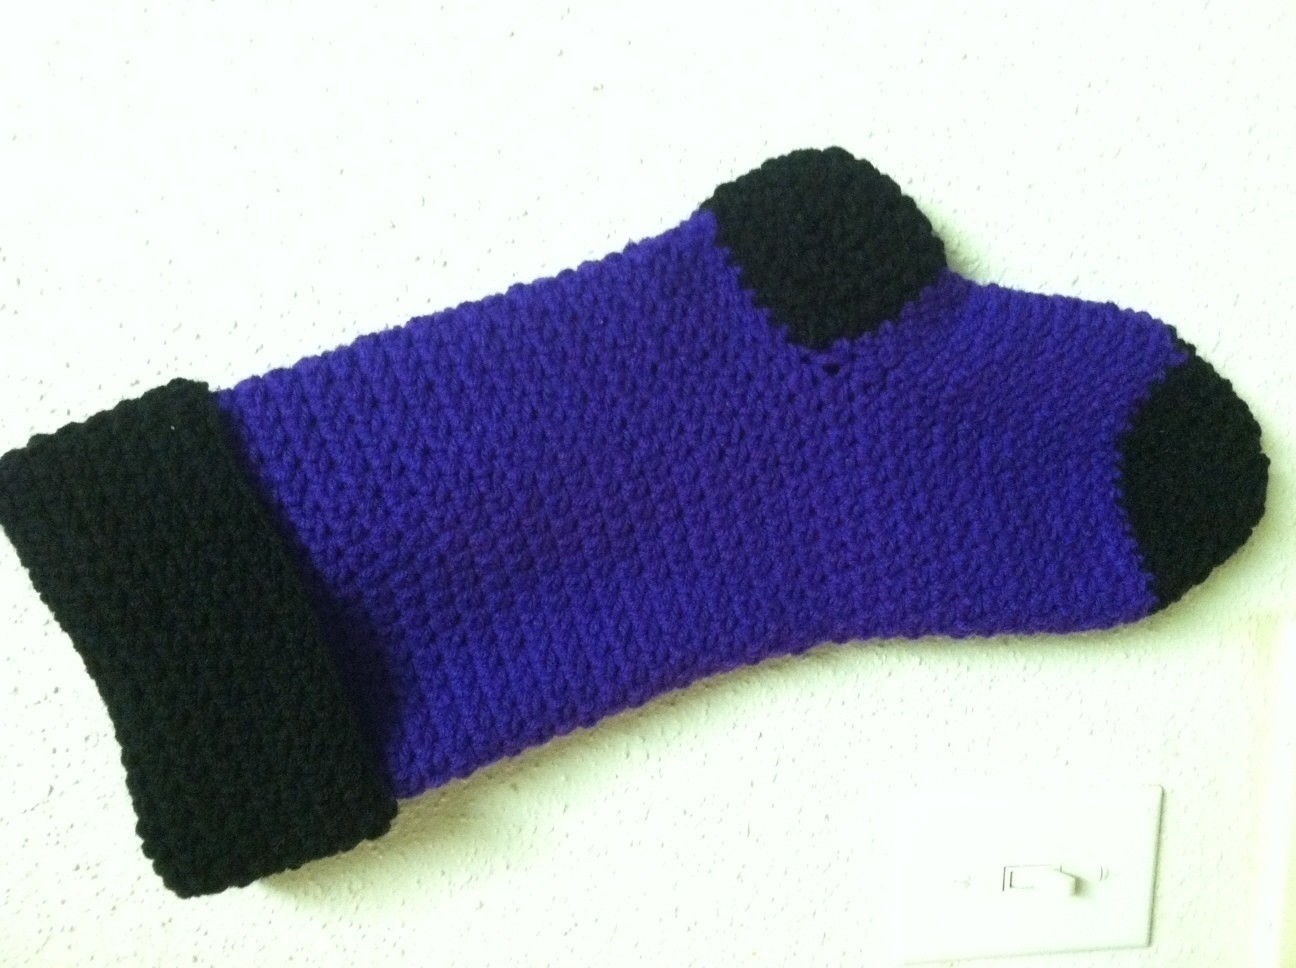
Made this following a video tutorial by Yolanda Lopez.
-
 Ashinezz entered her project Crochet Christmas Stocking to Secret Santa
09 Dec 04:00
Ashinezz entered her project Crochet Christmas Stocking to Secret Santa
09 Dec 04:00
-
 Kiki B. added Crochet Christmas Stocking to Crochet
03 Jun 21:31
Kiki B. added Crochet Christmas Stocking to Crochet
03 Jun 21:31
-
 Pimke added Crochet Christmas Stocking to Häckelmuster
27 Jan 09:07
Pimke added Crochet Christmas Stocking to Häckelmuster
27 Jan 09:07
-
Ashinezz entered her project Crochet Christmas Stocking to Photo Jewelry Making Christmas Contest
15 Nov 01:30
-
Ashinezz entered her project Crochet Christmas Stocking to Mr. Micknit
01 Nov 23:11
-
 Niki W. favorited Crochet Christmas Stocking
17 Feb 15:22
Niki W. favorited Crochet Christmas Stocking
17 Feb 15:22
-
 Anna J. favorited Crochet Christmas Stocking
21 Dec 08:58
Anna J. favorited Crochet Christmas Stocking
21 Dec 08:58
-
Ashinezz published her project Crochet Christmas Stocking
20 Dec 05:42
You Will Need
-
Step 1
Chain 41, slip stitch to join, chain 2
R: 1-26
HDC around slip stitch to join, chain 2 (40)
Or until work measures 9 1/2 inches.(depending on what style of stitch you use)
Fasten off. -
Step 2
Working heel
Have work facing you. Where slip stitch is, count 7 from left to right. Insert new color and do 14 HDC chain 1 and turn.
*Dec HDC, HDC til you get to the end then HDC DEC in last two, chain 1 and turn * repeat this step till you end up with 4 stitches.
When you have 4 stitches, this is when you *HDC INC in 1st where you chain 1, [note that chain 1 doesn't count as a stitch], and HDC till you reach last stitch and HDC INC in that stitch, chain 1 and turn* repeat till you reach 14 stitches.
Fasten off, and sew sides of heel, to make a bowl like shape. -
Step 3
Insert beginning color, 2 stitches away from heel.
Chain 2, HDC around, till you meet up with the heel again and do a DEC when working to the heel. Work HDC before you meet up with the Chain 2, DEC then join. Do this for another Row.
Then just HDC slip stitch to join chain 2 for 10 more rows or until work measures 5 inches.
Fasten off. -
Step 4
With color you used for heel, work it for the toe.
Slip stitch to join, DEC, HDC 5 DEC around for 6 rows. Fasten off with long tail to sew in the hole. Hide tails. -
Step 5
Attach color to top of work. This is working the cuff.
Slip stitch to join chain 2,
R:1-8
HDC around slip stitch to join, chain 2 (40)
Fasten off.
You can use ribbon or just chain 15 and slip stitch to join for the hanging part of the stocking.


