


About
make a cute little tin containing cress seeds and growing instructions...
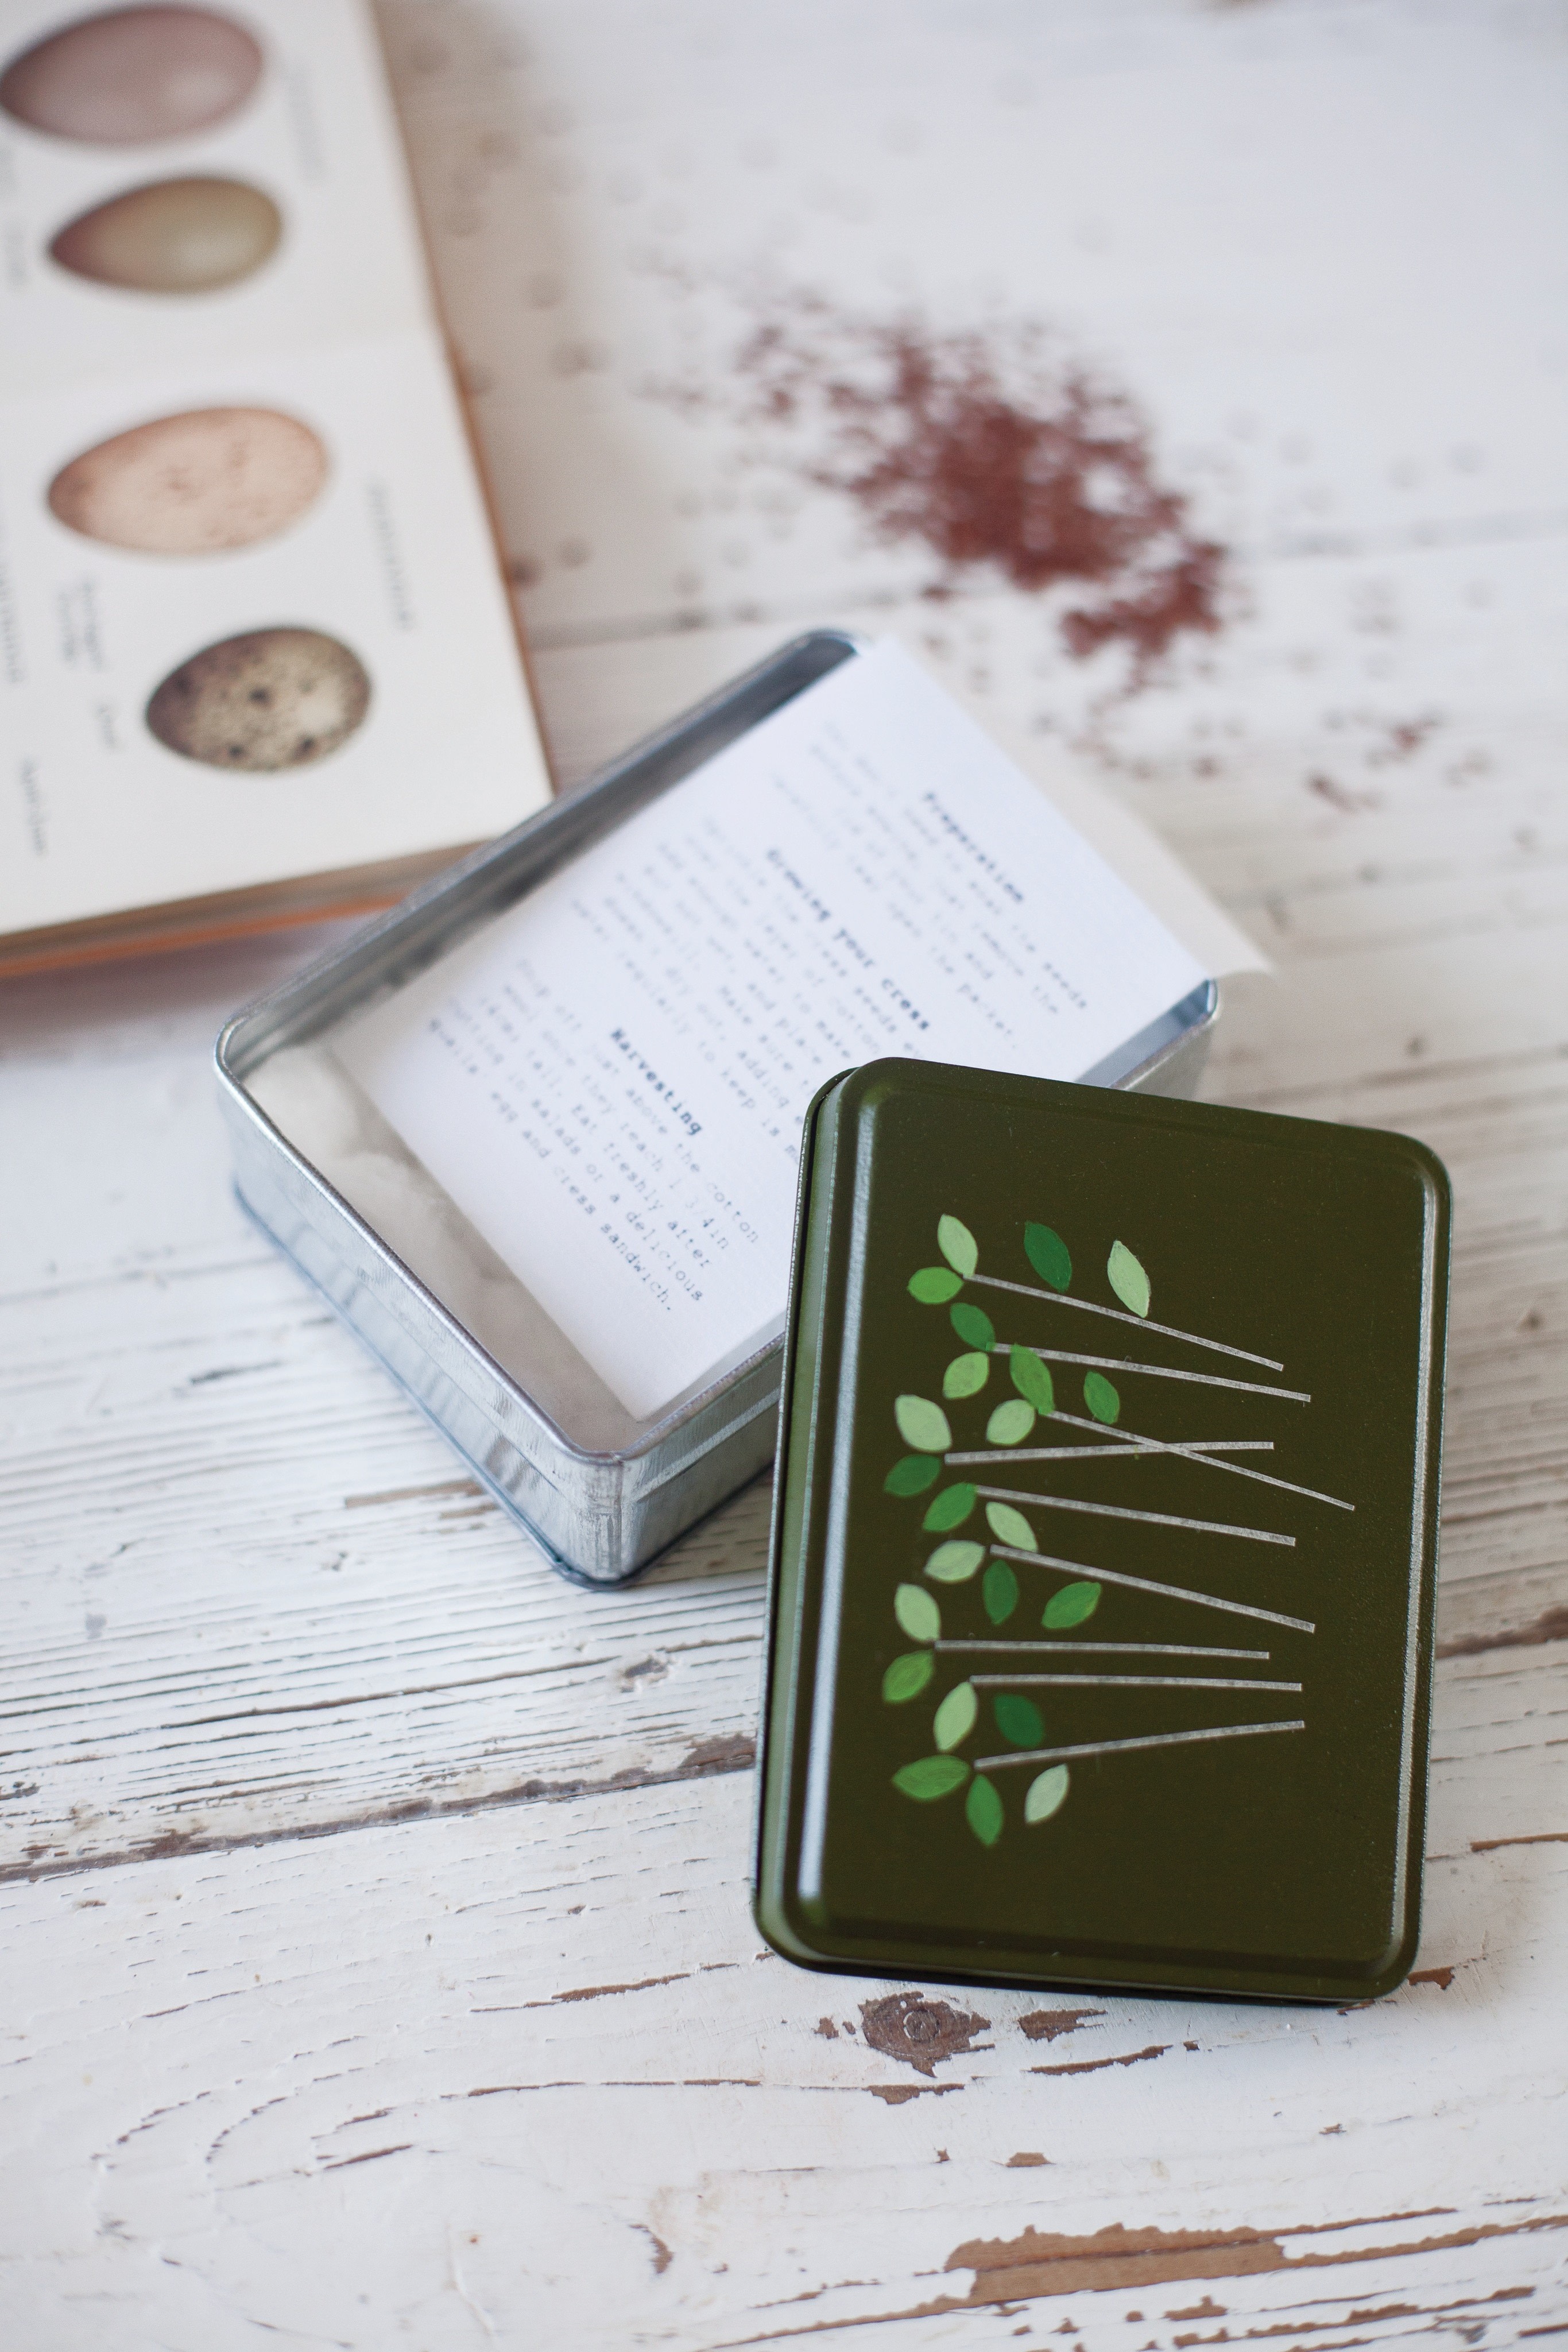
Customise a lidded tin to create a great little gift for pennies. It contains seeds and growing instructions, everything you need to grow cress in the tin itself - even a recipe for delicious quails' egg and cress sandwiches!
Downloads
- 116028_2F2017-03-09-221218-shutterstock_314891750.jpg 4.51 MB [ Download ]
- 116028_2F2017-03-09-221319-Cress+instructions+and+recipe.docx 91.5 KB [ Download ]
- 116028_2F2017-03-09-223242-133_Take+a+Tin.pdf 223 KB [ Download ]
- 116028_2F2017-03-10-111002-cress_growing_tin_motif_1.jpg 680 KB [ Download ]
-
 Olivia l. favorited Cress Growing Kit
29 Aug 03:46
Olivia l. favorited Cress Growing Kit
29 Aug 03:46
-
 Melissa S. favorited Cress Growing Kit
15 Feb 21:42
Melissa S. favorited Cress Growing Kit
15 Feb 21:42
-
 Jennifer P. commented on Cress Growing Kit
01 Feb 13:29
Jennifer P. commented on Cress Growing Kit
01 Feb 13:29
-
Jennifer P. favorited Cress Growing Kit
01 Feb 13:28
-
Deb E. favorited Cress Growing Kit
09 Jul 22:38
-
Elizabeth M. commented on Cress Growing Kit
09 May 19:54
-
 Kimya J. favorited Cress Growing Kit
03 May 19:33
Kimya J. favorited Cress Growing Kit
03 May 19:33
-
 Heather M. Love favorited Cress Growing Kit
30 Apr 02:48
Heather M. Love favorited Cress Growing Kit
30 Apr 02:48
-
 Crafterella featured Cress Growing Kit
24 Apr 23:00
Crafterella featured Cress Growing Kit
24 Apr 23:00
-
 Markee R. favorited Cress Growing Kit
23 Apr 11:49
Markee R. favorited Cress Growing Kit
23 Apr 11:49
You Will Need
-
 Step 1
Protect the area around your tin lid with newspaper or a dustsheet and, following the manufacturer's instructions, spray paint (see step 7 for spray painting tips) the outside of the lid with several thin layers of colour. Leave to dry fully. When dry, you can do the same with another colour on the inside of the lid if you wish – it’s wise to use masking tape to prevent the paint straying onto the outside of the lid.
-
 Step 2
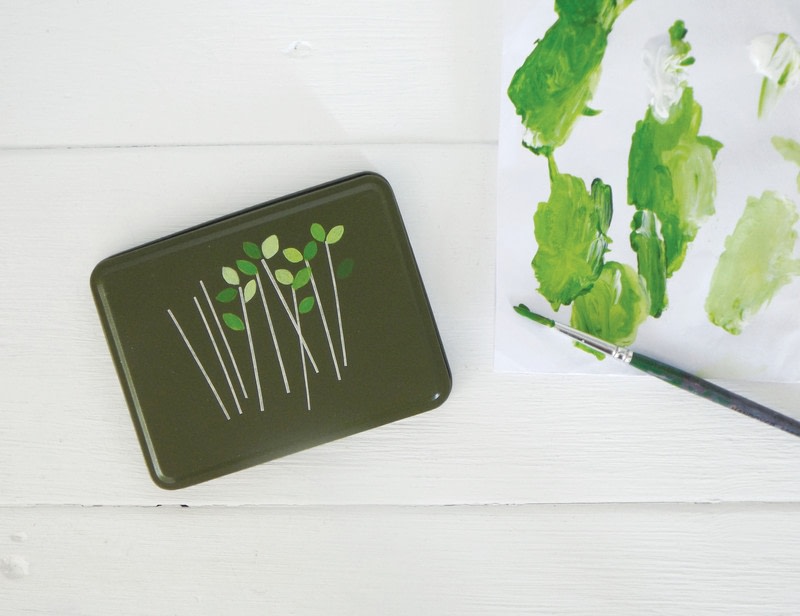
Use a scalpel, steel ruler and a cutting mat to cut ten very fine strips of masking tape – 1/16 x 1¾in (2mm x 3.5cm). With your lid right side up and laid out in a landscape position, arrange the strips randomly across the lid to create the stalks of your illustrated cress, as shown below. Using a bone folder or a fingernail, rub the thin strips of tape down carefully to ensure they are firmly stuck down.
-
 Step 3
Using a fine paintbrush and the illustration (download) as a guide, paint simple, stylized leaves at the top of your masking-tape stalks. Mix the two colours of acrylic paint in different quantities to make an array of hues of green. These will dry fairly rapidly – just wait a few minutes and add a second layer of paint to ensure a good, flat colour on each leaf.
-
 Step 4
If you want to include the quail’s egg and cress sandwich recipe, it’s really cute to stick an image of a beautiful, speckled egg on the inside of the lid (take your own photo or use https://upload.cutoutandkeep.net/116028/2017-03-09-221218-shutterstock_314891750.jpg). Use spray or multi-purpose glue to stick your chosen egg image carefully to the centre of the lid. Use a soft cloth to ensure the picture is fully adhered to the surface.
-
 Step 5
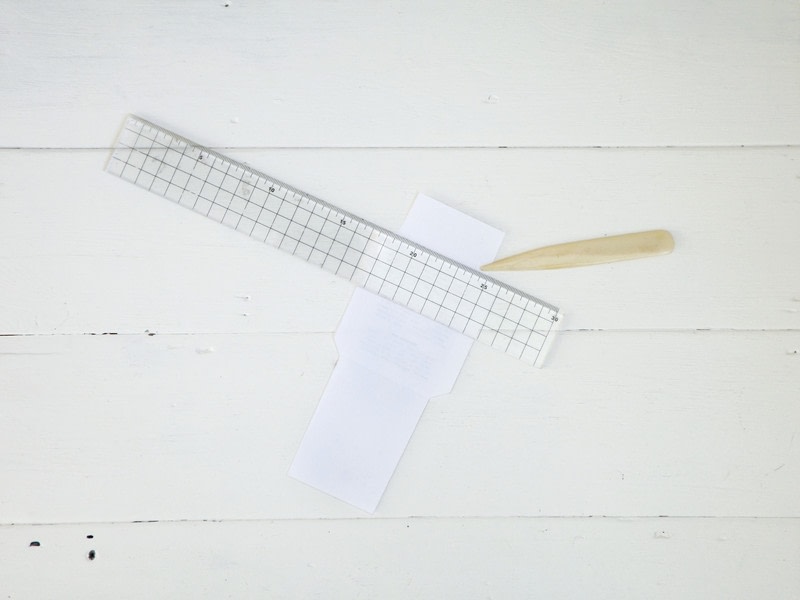
Photocopy the cress-growing instructions and envelope template (https://upload.cutoutandkeep.net/116028/2017-03-09-223242-133_Take a Tin.pdf), re-sizing the seed envelope template if necessary so that the central panel fits comfortably within your tin. Cut out and score along the dotted lines using a bone folder or the handle end of your scalpel along the edge of the steel ruler.
-
 Step 6
Fold along the scored lines and glue where indicated to make your seed envelope. Print the recipe, if you are including it, and cut it down to fit the envelope. Add a couple of teaspoons of cress seeds to the envelope and seal it with a glue stick. Cut a piece of cotton wool to fit the inside of your tin. Put it in the tin base and place the seed envelope on top of it before pushing the lid on snugly to finish the project.
-
 Step 7
Using spray paint
A well-ventilated location – preferably outside – will protect you from paint fumes. Otherwise, open as many windows as possible. Paint small projects in a deep cardboard box, or put down a dustsheet or old newspaper for larger pieces.Remove any rust with wire wool and give your metal a good wipe-down with white spirit or label remover. Make sure it is completely dry before painting. A primer is unnecessary, but will give you a smoother surface, a stronger colour and a longer-lasting finish. Give the spray paint can a good shake for at least three minutes – this will minimize speckles and splodges.
Apply a thin coat of paint over your whole project, leaving the specified time for drying, and repeat this several times. When you have finished, clean the spray valve by holding the can upside down
and spraying until only a clear gas is released. This should prevent clogging. Never stick a pin
or wire into the hole.


Comments


 1
Home Accessories »
Diy Jewelry Box
1
Home Accessories »
Diy Jewelry Box
