About
Crayon Resist Tutorial
Have any of you ever tried the technique, Crayon Resist? It's an easy technique that takes a little work, but always ends up looking quite striking.
Two days ago, I had fun revisiting this technique. I'd done it for workshops and blog posts a few times in the past, but, like so many other things, I seem to have forgotten about it until I came across a tutorial on how to do it that day.
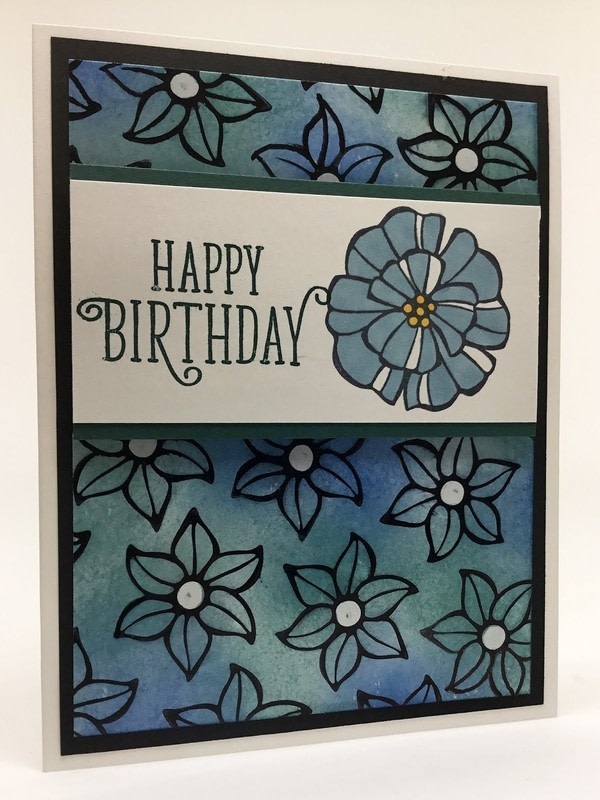
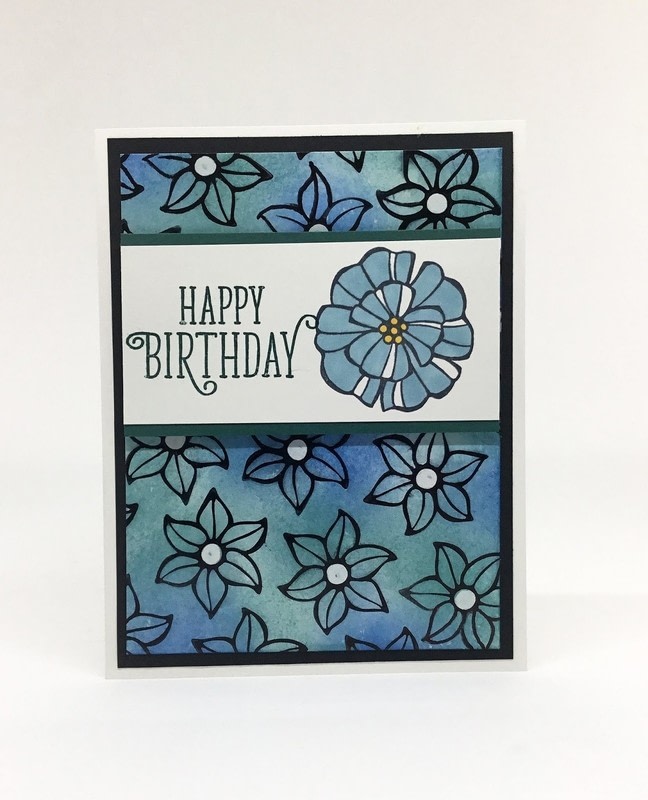
The card shown is the one I ended up creating. The flowered background is the crayon resist portion of the card.
-
 Katie E. added Crayon Resist to Macrame
28 May 21:20
Katie E. added Crayon Resist to Macrame
28 May 21:20
-
 Crafterella featured Crayon Resist
15 Nov 23:00
Crafterella featured Crayon Resist
15 Nov 23:00
-
 Linda K. published her project Crayon Resist
14 Nov 09:00
Linda K. published her project Crayon Resist
14 Nov 09:00
You Will Need
-
 Step 1
The first step is to choose an outline stamp with which to cover the background of GLOSSY CARDSTOCK. When choosing your stamp, pick one that has a portion on each of the images that you would like to remain white in the finished product. My intent was to keep the polka dot centers of each of these flowers pure white.
-
 Step 2
The instructions I was following noted that any color crayon would work for this technique. After reading that, and not remembering my past creations, I chose a blue crayon, mostly because I knew it would show up in photos.
After choosing my blue crayon, I colored in the centers of each of the flowers. The intent of the technique is to use the waxy crayon as a resist -- that it would resist accepting the color of the ink.
-
 Step 3
After I had my centers all crayoned in, it was time for a little elbow grease.
I decided that I wanted my background to be in blue/green. So the inks I chose were Tranquil Tide and Blueberry Bushel, each a lovely color in its own right, but phenomenal together.
Using a separate stamping sponge for each of the colors, I started sponging first the blue randomly over the flowers. Then it was time for the green.
Before I called it finished, I'd added each of the colors three separate times, each time deepening the color a bit, and filling in any remaining white spaces.
-
 Step 4
Once I was satisfied that I'd done a good job of covering my flowers with the blue and green inks, I took a paper towel, and rubbed over the crayoned areas to remove the blue crayon to reveal the white centers.
Uh oh.
Now, my big complaint about using "any color" of crayon was that each of the flower centers was left with a small blue dot in it. No matter how much rubbing I did with the paper towel, I could not remove the blue dot.
My admonition: When doing the Crayon Resist technique, always use a WHITE CRAYON so you don't end up with unsightly residual dots.
As you can see in the photo below, I'd had a few areas of incomplete stamping. To alleviate that problem, I just drew over the missing lines with a fine black Sharpie pen.
-
 Step 5
Now it was time to move on to completing the card.
The flower I'd used in the background was a stamp from the Falling Flowers set on page 168 in the Annual Catalog. This is a wonderful set that I've used many times. Anyway, to coordinate with the background flowers, I chose another of the flowers from this set for my card's focal point.
I stamped the larger flower in Memento Tuxedo Black ink on Whisper White cardstock. To color the flower, I used a Dark Balmy Blue Stampin' Blend for the petals along with a Dark Mango Melody Stampin' Blend for the center. To echo the white dots in my background, I left a few of the thinner slivers of the flower petals white.
-
 Step 6
In Tranquil Tide ink, I added a cute birthday sentiment from the Happy Birthday Gorgeous set on page 72 of the Annual Catalog, then matted the piece on a strip of Tranquil Tide cardstock.
-
 Step 7
Everything on the card was glued in place with Tombow Mono Adhesive (my favorite green glue!) except the panel with the sentiment and large flower, which I added to the card base with a few Stampin' Dimensionals.
-
 Step 8
There! Now you know exactly how to do the Crayon Resist technique! Give it a try. I think you'll enjoy the process and be thrilled with the striking results!
But, remember that unless you want some unwanted additional color in your creation, stick with white crayons when doing this technique! That is experience talking.