Coin Bracelet
Extract from Silver Clay Workshop • By Melanie Blaikie • Published by GMC Publications


About
Silver Clay Workshop
It’s not easy to make a bracelet without using lots of clay but this lovely project achieves it with just one 10g pack! The ‘coins’ are cut from a sheet of clay with circular, mini-cookie cutters. These are widely available from craft and cake-decorating shops and are definitely worth the investment.
-
 Jessica K. added Coin Bracelet to bracelet
28 Jun 05:28
Jessica K. added Coin Bracelet to bracelet
28 Jun 05:28
-
 Key West Witch favorited Coin Bracelet
07 May 18:10
Key West Witch favorited Coin Bracelet
07 May 18:10
-
 GMC Group published her project Coin Bracelet
27 Jul 09:00
GMC Group published her project Coin Bracelet
27 Jul 09:00
-
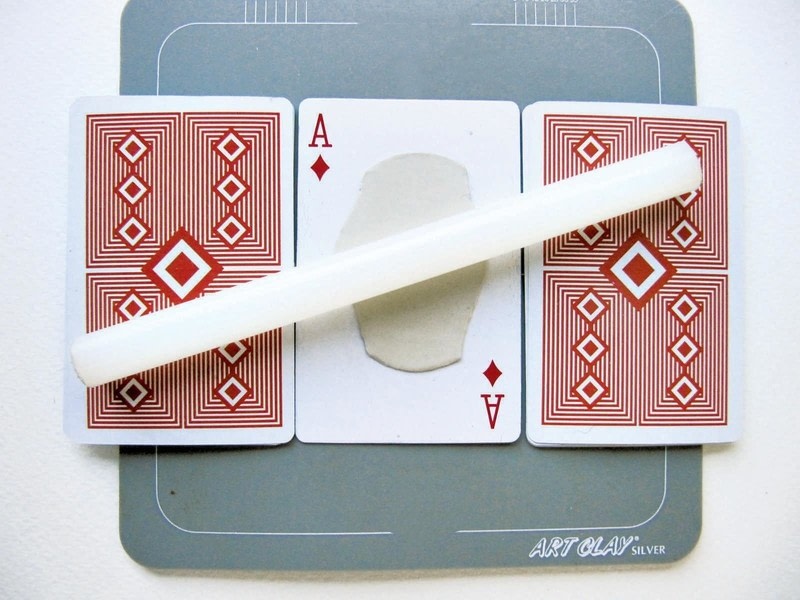
 Step 1
Lightly oil a playing card; this will be your work surface. Stack five playing cards on either side of the work surface and roll the silver clay to a flat, even layer.
-
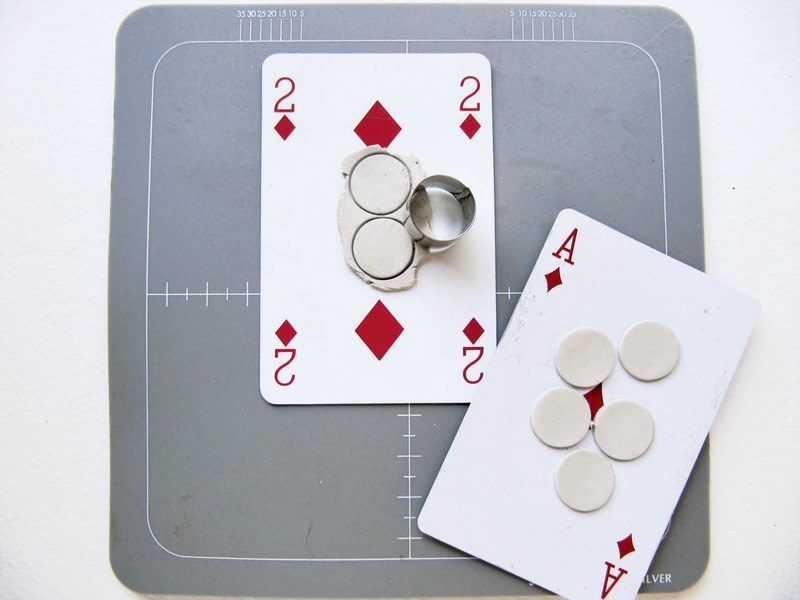
 Step 2
Use the cutter to cut out as many rounds as possible. You should be able to pick up and peel away the excess clay from around the circles without disturbing the ‘coins’.
-
 Step 3
Combine the scraps from step two, oil a fresh playing card and re-roll them between two stacks of five cards, as in step one. The texture of the clay will be slightly less smooth this time but don’t worry about fine lines or an uneven surface texture – it adds to the character of your coins! Re-roll the scraps again until there is no clay left. I made eight coins from my 10g pack of silver clay.
-
 Step 4
Carefully remove the coins from their cards and move them on to the side of a mug to dry. This gives the coins a gentle curve so the finished bracelet fits more comfortably around the wrist. With a cocktail stick, first mark and then create the small holes for the rings that will later join the coins. When the coins are completely dry, they will slip easily off the surface of the mug.
To pick a clay shape up from the card without distorting its shape, gently bend the playing card backwards and the edge of the clay will lift enough to allow you to carefully remove it from the card.
-
 Step 5
When dry, the clay has a dry, chalky feel and is very brittle. Working very carefully, gently file around each coin with the emery board to smooth any rough or uneven edges.
-
 Step 6
Fire the coins using your preferred method. I used a camping-gas stove so I could fire them all at once!
-
 Step 7
Vigorously brush the coins with your wire brush to bring up a satiny, silver shine. I could burnish or polish the coins at this stage but I’ve decided not to because I really like the contrast with the polished rings when the bracelet is made up.
-
 Step 8
Use pliers to join the coins with jump rings. Then add as many extra rings as you need to make your bracelet the correct length before adding the clasp.