


About
A home for all your little trinkets
I was looking for a way to store my stud earrings that would allow easy access (no finicking with the earring backing), and also allow me to see them all and not pick through them before I dash out the door.
I came across a great tutorial here: http://www.gatheringbeauty.com/2014/06/diy-stamped-clay-bowls_18.html and loved the idea of the catch-all plate/bowl so I decided to make it. However, my method varies a little bit due to (potentially) my own lack of finesse so read on!
-
 mmotse03 favorited Clay Catch All Plate
08 Dec 22:33
mmotse03 favorited Clay Catch All Plate
08 Dec 22:33
-
 PineconePrincess favorited Clay Catch All Plate
11 Oct 22:38
PineconePrincess favorited Clay Catch All Plate
11 Oct 22:38
-
 Stéphanie C. added Clay Catch All Plate to To-make list
25 Apr 17:10
Stéphanie C. added Clay Catch All Plate to To-make list
25 Apr 17:10
-
Stéphanie C. favorited Clay Catch All Plate
25 Apr 17:10
-
 ale_corason favorited Clay Catch All Plate
25 Apr 07:31
ale_corason favorited Clay Catch All Plate
25 Apr 07:31
-
 Wei X. published her project Clay Catch All Plate
25 Apr 06:00
Wei X. published her project Clay Catch All Plate
25 Apr 06:00
-
 Step 1
First, gather all your materials. Not pictured are the aluminum foil and the sandpaper (oy!)
If you don't have a clay roller (the plastic thing in the middle), then a rolling pin works just as well - I just like to separate my craft from my food which is why I got this little clay roller instead.
-
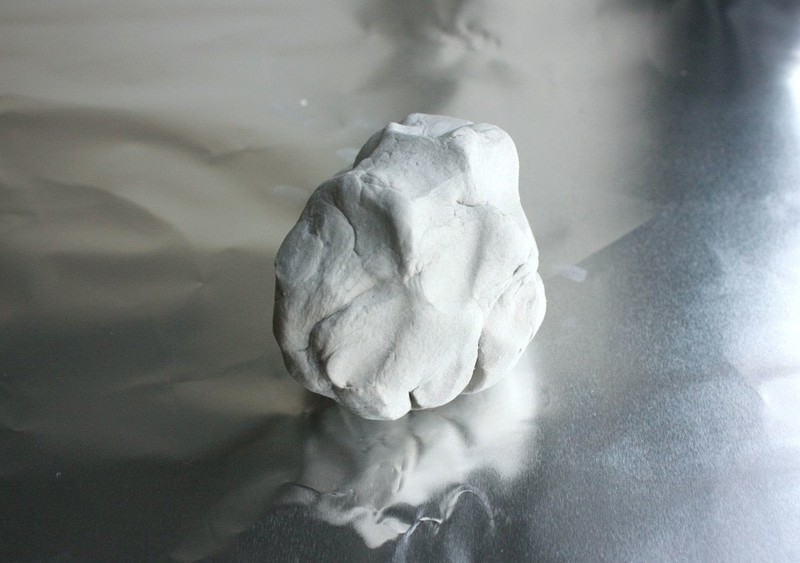
 Step 2
Now take a clump of clay from your paper clay package and place it on some aluminum foil (or any other nonstick surface for clay). mine was the size of my fist but it all really depends on how big you want your plate/bowl to be and how big your model bowl is.
-
 Step 3
Next, roll out your clay to a desired thickness, making sure it it's still in a circular/round shape at the end. I made this plate rather thick because that's the style I like. However, I have made thinner plates before and they are very sturdy after the clay dries.
-
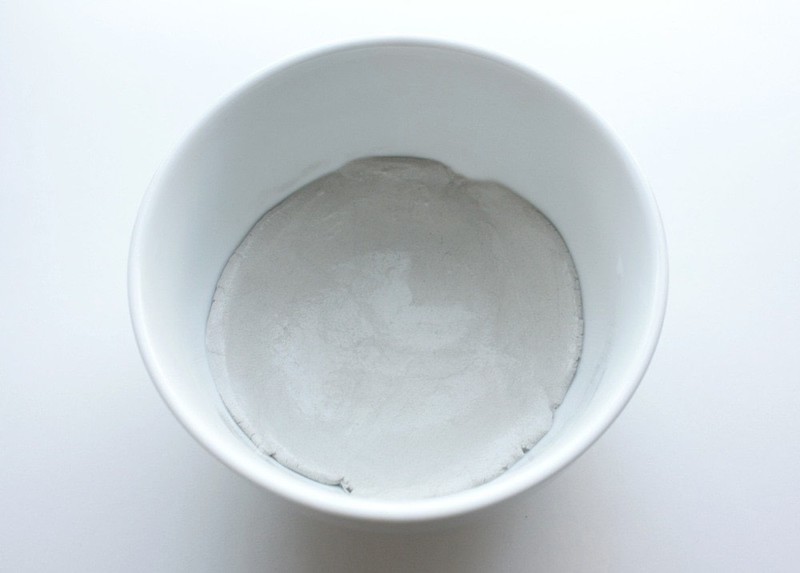
 Step 4
Next, lay your piece of clay inside the bowl. There are a few tutorials out there that asks you to lay the clay outside/on top of the base of the bowl, and those are usually using polymer clay.
I have experimented with both, and I personally like the inside-bowl method because some bowls have a ridge (feet?) on the bottom and that may leave a small impression within my own plate.
-
 Step 5
Next, dab your fingers water and smooth over the cracks within the bowl.
-
 Step 6
Now it's time to stamp - get creative! I used a wooden stamp carved in India for the bunny and the back of my paint brush to make the little round polkadots around it.
-
 Step 7
This step is tricky and crucial to do right away. Otherwise, you'll end up with a plate fail like I did -_-'
You will need to remove the plate from the bowl as soon as you finish stamping/when the clay is still wet. Otherwise, it will be a mess to remove afterwards - this pictured mess is half dry already (the bottom isn't dry since it's been sitting against the bowl for hours). I find sliding an exacto knife between your clay plate and the bowl itself helps to loosen things, and if you just turn the bowl upside down afterwards and tap it a few times, the plate should fall out no problem.
Leave it on some aluminum foil to dry afterwards - if you leave it on paper or some other surface it can stick to... well you're going to have a heck of a job cleaning it up afterwards.
-
 Step 8
When your plate is dry - it took this one about 24 - 36 hours - it's time to put on the finishing touches!
-
 Step 9
First, grab some fine grit sandpaper and sand down the edges. I sand both on top and on the sides to help control the thickness of the edges.
-
 Step 10
It probably won't end up completely uniform unless that's what happened when you initially moulded it that way inside the bowl... but it all adds to the charm right?
-
 Step 11
Then you're ready to paint! Do whatever pattern you like - painting on paper clay reminds me of painting on paper.
Once you're done painting, you can varnish it to protect your work - I used Liquitex gloss varnish but you can use a matte or semi-gloss varnish as well depending on your taste. Make sure to follow the instructions on the bottle!
-
 Step 12
And there you have it, and little trinket dish for all your small thingamabobs and jewelry :)


 1
Books & Journals »
Locking Box And Journal
1
Books & Journals »
Locking Box And Journal
 2
Babies & Kids »
A Toy Kitchen For A Child
2
Babies & Kids »
A Toy Kitchen For A Child
 3
Origami Flowers »
Origami Orchid
3
Origami Flowers »
Origami Orchid
 4
Office »
Pretty Sketchbooks
4
Office »
Pretty Sketchbooks
 5
Charms & Keyrings »
Shugo Chara Inspired Pop It
5
Charms & Keyrings »
Shugo Chara Inspired Pop It

