


About
How to make a cute little chipboard mini album.
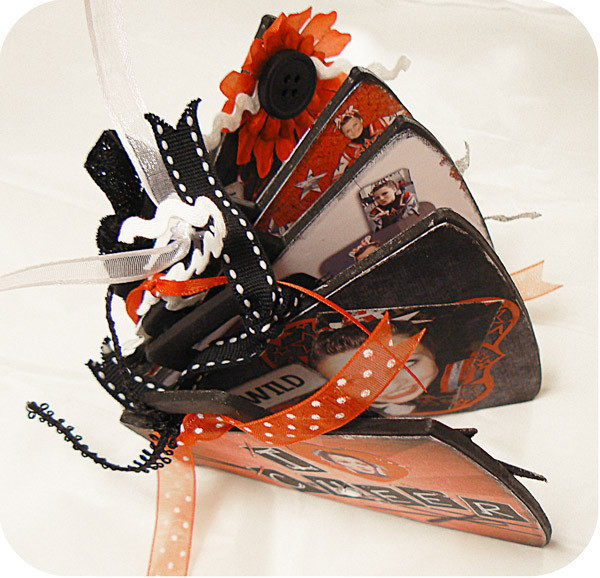
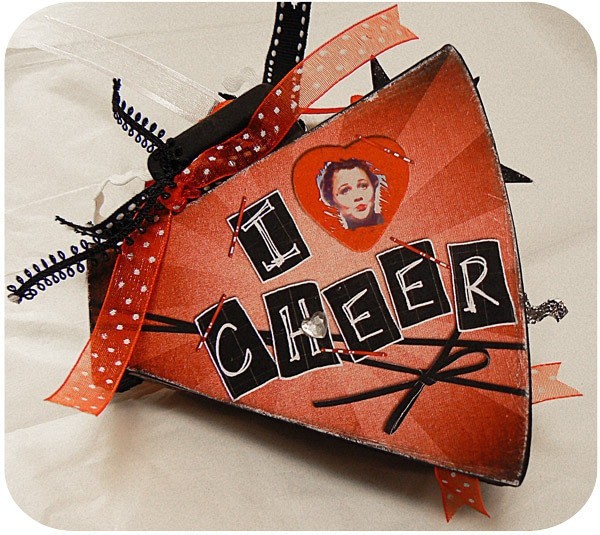
Hi! It’s Julie here! Today I’m going to share with you how to make a cute little chipboard mini album. There super fun to make and make a very special gift. I made mine for my niece Rebecca and gave it to her at her last Extreme Cheer Competition of the year! It was a big hit!
-
 Kinhime Dragon favorited Chipboard Mini Album!
23 Nov 20:44
Kinhime Dragon favorited Chipboard Mini Album!
23 Nov 20:44
-
 robin.atilano favorited Chipboard Mini Album!
16 Jun 06:53
robin.atilano favorited Chipboard Mini Album!
16 Jun 06:53
-
robin.atilano added Chipboard Mini Album! to My Craft Favorites
16 Jun 06:53
-
 Youghurt Jaja favorited Chipboard Mini Album!
27 Oct 19:20
Youghurt Jaja favorited Chipboard Mini Album!
27 Oct 19:20
You Will Need
-
Step 1
The first thing you will want to do is design your pages on your Photo Editing Software. I like to scan the chipboard page and extract it in PS so I can place things just how I want them. If you don’t want to do that you can just measure your chipboard pieces and open a new file in PS that is the size you need.
-
 Step 2
Once you get all you pages designed you will need to print them out. The best way to do this is to open a new file in PS that is 8.5 x 11 (or whatever size paper your using) Flatten and drag your cute little pages onto this file, then you can print out a few at once. Like this:
-
 Step 3
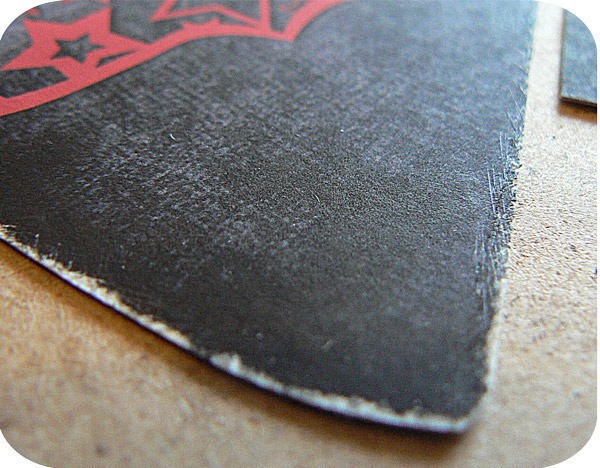
like to paint the edges of my chipboard. I used black for this one:
-
Step 4
While your paint is drying cut out all your pages. Lay them on the book and trim any edges for a nice perfect fit.
-
 Step 5
I also like to sand and ink the edges of my digi pages, it gives it a really nice finished look.
-
 Step 6
Like this…
-
Step 7
Now you can glue your digi pages to you album I use the extra strong glue stick for the pages and make sure you get them all stuck down real good especially the edges. You can sand around the edges now too if you please.
-
 Step 8
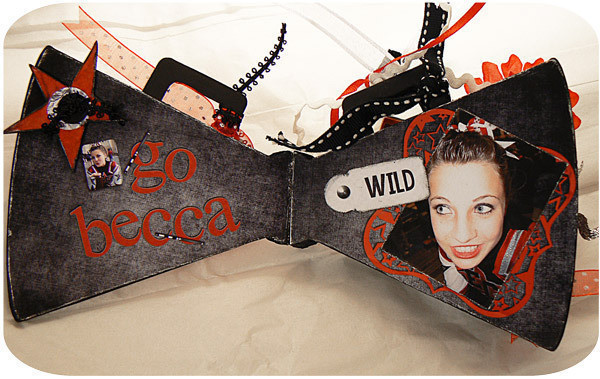
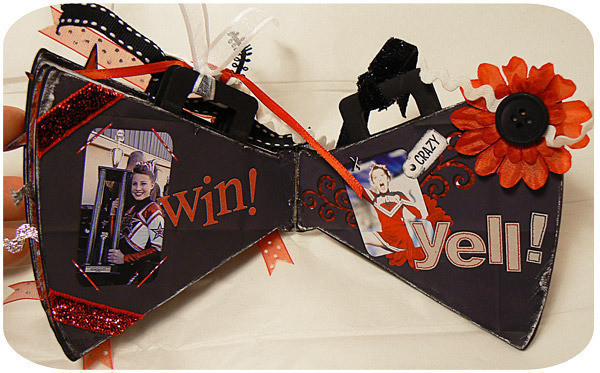
Now comes the really fun part… Bling it up! Add your ribbons, buttons, flowers, gems, glitter! Anything that strikes your fancy!
Here are all my pages…
-
Step 9
When its done I also like to spay it with a Clear Acrylic Sealer to protect it!
-
Step 10
Stand back and admire your adorable Mini Album!


Comments

 1
Home Accessories »
Diy Jewelry Box
1
Home Accessories »
Diy Jewelry Box

