About
A cute little cameo-style key ring, ring or pendant!
This is just an idea i came up with for a little Cameo style piece of jewllery that can be used as a ring, a pendant, a key chain or anything else you can think of :)
Tags
-
 Jaybird favorited Cameo Key Ring With Personalised Photograph
29 Jul 04:52
Jaybird favorited Cameo Key Ring With Personalised Photograph
29 Jul 04:52
-
 Rachel B. entered her project Cameo Key Ring With Personalised Photograph to Photo Jewelry Making
16 Jun 04:39
Rachel B. entered her project Cameo Key Ring With Personalised Photograph to Photo Jewelry Making
16 Jun 04:39
You Will Need
-
 Step 1
Roll a small ball of the polymer clay of your choice. this will be the base of the cameo.
-
 Step 2
Flatten this ball and shape into an oval-ish shape.
-
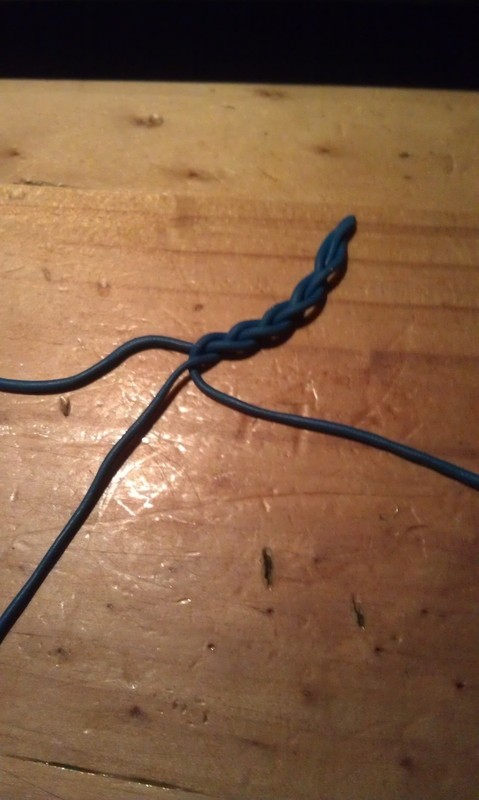
 Step 3
Roll 3 smaller balls, this will be the braid around the edge.
-
 Step 4
Roll these balls into thin stings
-
 Step 5
Attach at one end and cut the stips so they are even on the joined end.
-
 Step 6
Braid the three strands in a normal 3 strand braid, you can do a rope braid or a 4 strand braid if you wish.
-
 Step 7
Once the braid is long enought, join the loose ends and cut off the excess.
-
 Step 8
Shape this braid into a circle.
-
Step 9
Place this circle on the previously made base, and carefully flatten to attach.
-
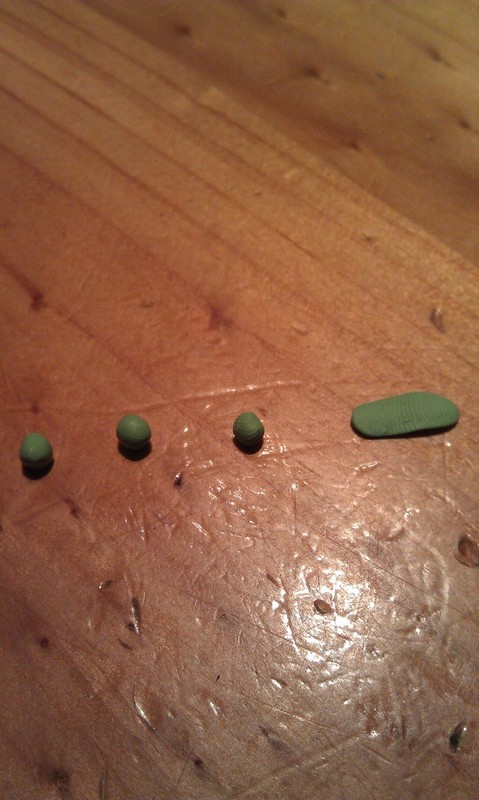
 Step 10
Roll 4 small balls of green polymer clay, this will make the roses on the sides. flatten the balls slightly like the piece on the far right.
-
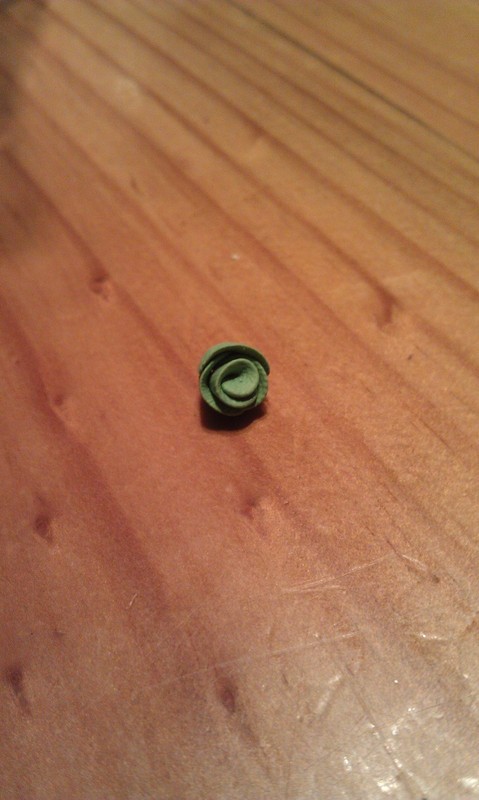
 Step 11
Roll the flattened piece to form the middle of the rose.
-
 Step 12
Continue wrapping the flattened pieces loosly around the rose to make petals.
-
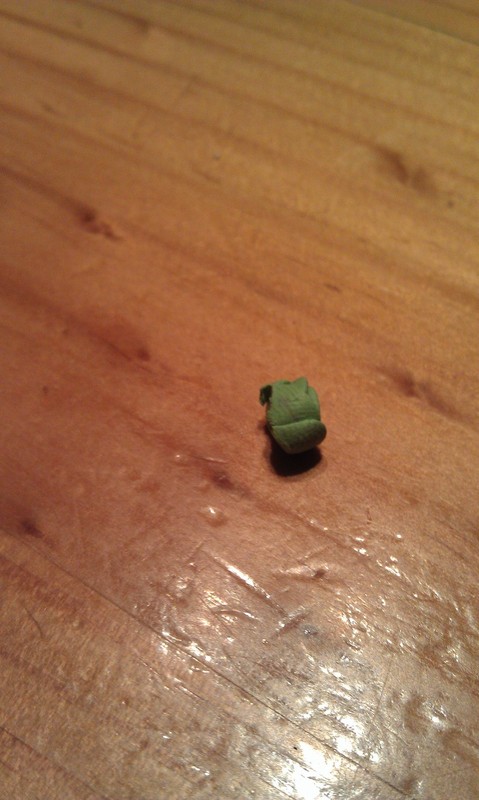
 Step 13
Cut the bottom of the rose so its easier to attach, be careful not to squash it :)
-
 Step 14
Make another rose and attach both to the Cameo base.
-
 Step 15
Attach the eyelet or tiny screw if you are going to make a key chain.
-
Step 16
Remove the eyelet and bake according to packet instructions, when cooled re-insert the eyelet.
-
 Step 17
Glue on your favourite photo and your done :)