


About
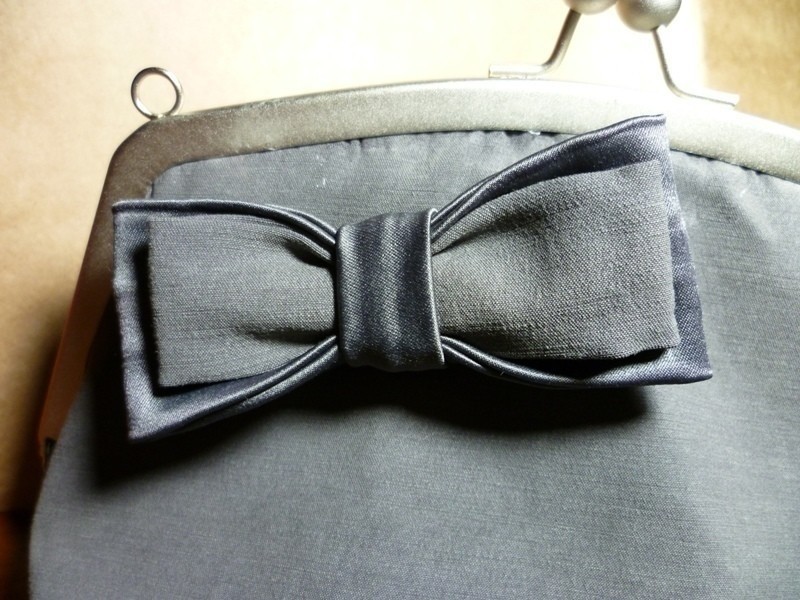
A brooch you can use wherever you like!!!
This bow is super easy - you don't have to be an expert with the sewing machine.
I used cotton satin for mine.
Tags
-
 EmilieMae favorited Bow Brooch
18 Jan 23:04
EmilieMae favorited Bow Brooch
18 Jan 23:04
-
 Manayin favorited Bow Brooch
03 Apr 09:26
Manayin favorited Bow Brooch
03 Apr 09:26
-
 Sveta favorited Bow Brooch
19 Oct 05:22
Sveta favorited Bow Brooch
19 Oct 05:22
-
 ShiiMin favorited Bow Brooch
22 Feb 20:29
ShiiMin favorited Bow Brooch
22 Feb 20:29
-
 Alyssa D. favorited Bow Brooch
17 Jan 23:29
Alyssa D. favorited Bow Brooch
17 Jan 23:29
-
Patricia J. favorited Bow Brooch
07 Jul 01:32
-
 Rachel B. favorited Bow Brooch
06 Jul 04:50
Rachel B. favorited Bow Brooch
06 Jul 04:50
-
 StarDust favorited Bow Brooch
16 May 02:00
StarDust favorited Bow Brooch
16 May 02:00
-
gleyse s. favorited Bow Brooch
15 Oct 16:50
-
Monika V. favorited Bow Brooch
14 Sep 17:51
You Will Need
-
 Step 1
You will need two rectangles for this bow. One of 20x10 cm, and the other one of 20x8 cm.
I used the same fabric (cotton satin) for both of them - right side out for the big one and wrong side out for the small one. But you can use two different fabrics if you like!I forgot to make the third rectangle
for the center of the bow when I started. But it's the same as the others, just do what the steps say!
That rectangle is about 3x8 cm. I like to have enough fabric to work with. SO - we need 3 rectangles!! -
 Step 2
Now, you will have to sew and make a tube. Widthwise. The sides that are 20cm long (and 8cm for the center rectangle).
Pin and sew with your machine, or by hand. It's not that much, and it's not going to show, so it's not big deal if it's not perfect. -
 Step 3
Turn the three inside-out and iron them flat. Leave the seam right in the middle (not shown in the picture)
-
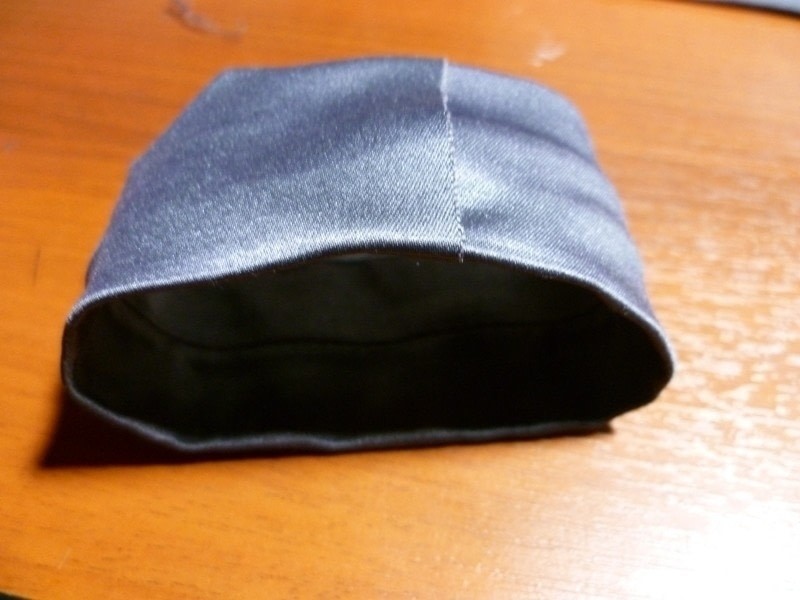
 Step 4
Take the big rectangle and put one end inside the other, making some sort of napking ring. Leave the tube seam on the inside. You will only need half a cm of overlapping to sew. Pin in place and sew. Repeat with the smaller one - NOT with the center piece.
NOTE: the two rectangles are 20cm long, that means that if you want your bow to look the same as mine, with the little bow being a little bit smaller, you'll have to do this: trim a bit of the tube - about 2 or 3 cm- and repeat the same "napking ring" as before.
I make it 20cm long because I like to decide on the go how I want it to be/look, and then trim the excess. -
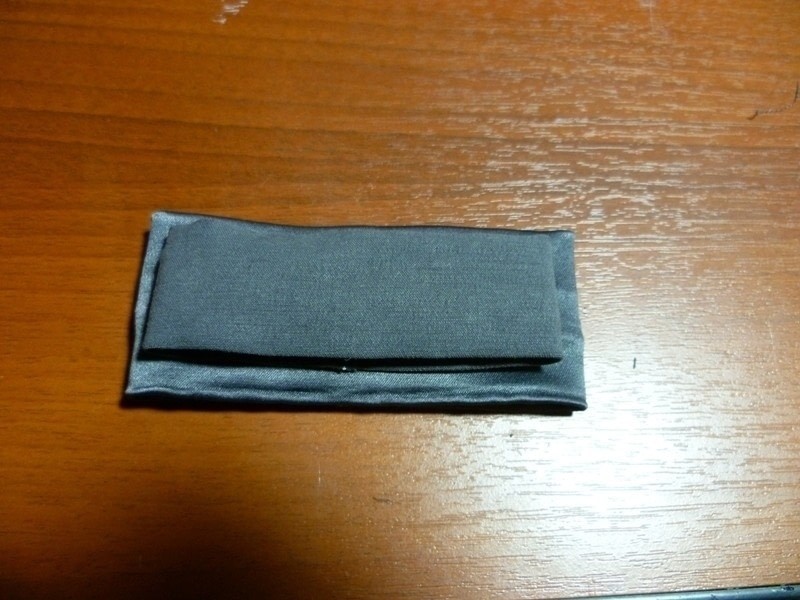
 Step 5
You should have now something like this.
-
 Step 6
Put the smaller ring on top of the big one. Align centers. And now, sew by hand - right where the centers are. You can do it on the machine, but that's just the way I do it.
Sorry, I forgot to take picture of that!
-
 Step 7
With the front of the bow looking down, sew by hand one end of the third tube, right in the middle.
-
 Step 8
Now, make the third tube go all the way round, and make that help you to get a pretty bow shape.
Sorry about the nail polish!!!
:) -
 Step 9
You should have this on the back. Sew the tube in place, and cut the excess.
If you look closely, you'll see that I never cut the thread I was using for the first end of the tube. I say that so you save time if you didn't realize. :)
-
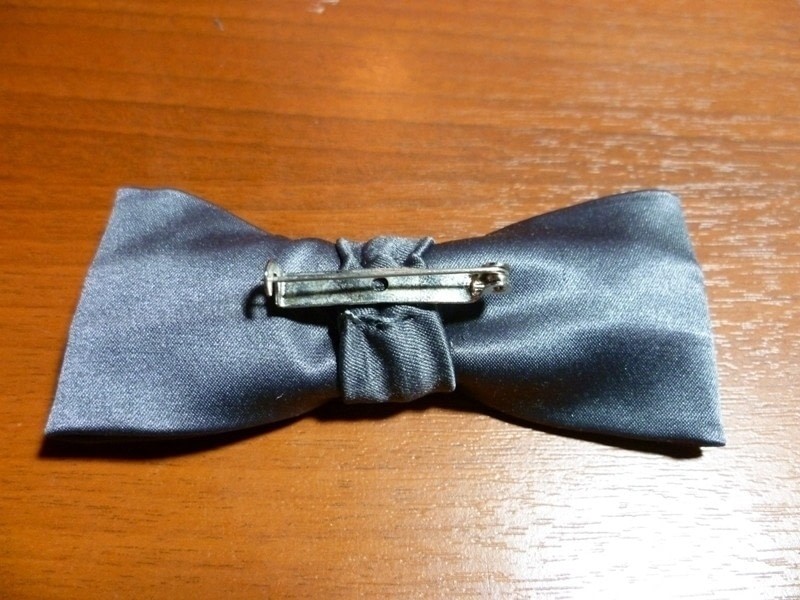
 Step 10
Now glue a metal pin on it. Or sew it.
-
 Step 11
Pin in place, and tah-dah!!!
A bow brooch :)-Please, contact me if you have any doubt. I'd be glad to help. Thank you!!!"


 1
Home Accessories »
Diy Jewelry Box
1
Home Accessories »
Diy Jewelry Box
