About
A basic how to for resin jewelry crafting
Thanks for looking, if you have any questions or problems don't be shy to contact me or just swing by and say hello! :)
Tags
-
 Corvii added Basic Resin Casting Tutorial to Resin/Epoxy
13 Jul 20:03
Corvii added Basic Resin Casting Tutorial to Resin/Epoxy
13 Jul 20:03
-
 Sarah Sylvia S. favorited Basic Resin Casting Tutorial
22 Jul 04:40
Sarah Sylvia S. favorited Basic Resin Casting Tutorial
22 Jul 04:40
-
 mmotse03 favorited Basic Resin Casting Tutorial
28 Jan 10:49
mmotse03 favorited Basic Resin Casting Tutorial
28 Jan 10:49
-
 DeLightfulfreak favorited Basic Resin Casting Tutorial
18 Dec 10:59
DeLightfulfreak favorited Basic Resin Casting Tutorial
18 Dec 10:59
-
 Alisa B. favorited Basic Resin Casting Tutorial
28 May 01:03
Alisa B. favorited Basic Resin Casting Tutorial
28 May 01:03
-
 carlyanne added Basic Resin Casting Tutorial to Tops
09 May 17:32
carlyanne added Basic Resin Casting Tutorial to Tops
09 May 17:32
-
 Ariane D. favorited Basic Resin Casting Tutorial
03 May 05:07
Ariane D. favorited Basic Resin Casting Tutorial
03 May 05:07
-
 Lara L. favorited Basic Resin Casting Tutorial
02 Mar 13:31
Lara L. favorited Basic Resin Casting Tutorial
02 Mar 13:31
-
 abigail r. added Basic Resin Casting Tutorial to other
06 Feb 05:52
abigail r. added Basic Resin Casting Tutorial to other
06 Feb 05:52
-
 S-tanji L. favorited Basic Resin Casting Tutorial
22 Mar 21:10
S-tanji L. favorited Basic Resin Casting Tutorial
22 Mar 21:10
-
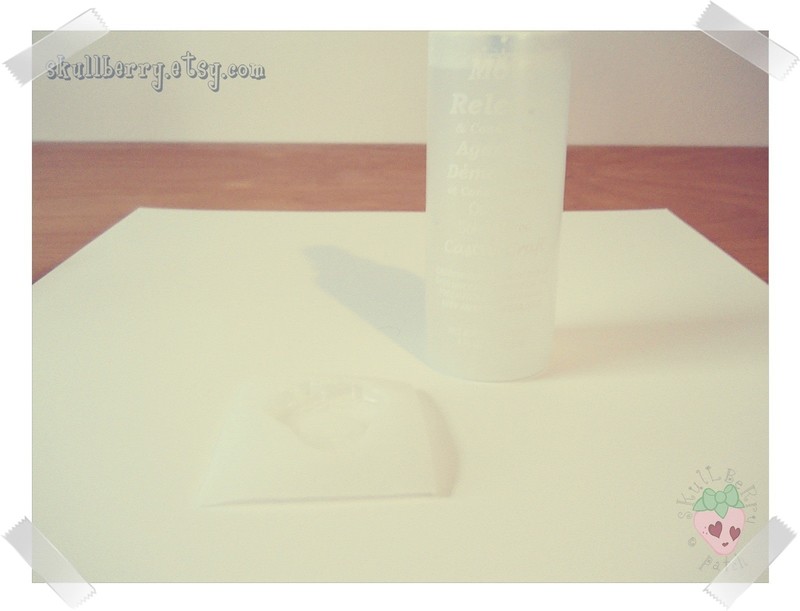
 Step 1
Protect your work surface!<br>
Suggestions would include saran wrap, wax paper, or a flexible cutting mat. Don't use newspaper or paper towels as the resin can seep through. -
 Step 2
Before getting started<br>
Lay out all the supplies you will need.<br>
Read all directions and make sure you understand the process and how to use the different products.<br>
There are many tutorials all across the internet on how to use resin; most offer great advice but some techniques can be disastrous or even dangerous. Always follow the manufacturer recommendations and cautions above all other advice.<br>
<b><u>Product labels outrank what anyone else may tell you!</b></u><br>
These instructions are for the products listed, be sure to adjust steps accordingly based on the specific brand of product you're using.<br>
Make sure your work space is well ventilated.<br>
Cover your work surface to protect it from spills. Such as wax paper or saran wrap - I like to use those cutting mats you can get from the dollar store that come two in a pack. They're thin, lightweight, reusable and can be cleaned but are also disposable if they get too bad. -
 Step 3
Spray your mold with conditioner, let dry (WASH YOUR HANDS) repeat with a second coat. <br>
WASH. YOUR. HANDS! -
 Step 4
Once dry you can level your mold with Play Dough if it doesn't sit flat.<br>
Some details or shapes may prevent the mold from sitting unevenly... take a guess what your resin will do ;) -
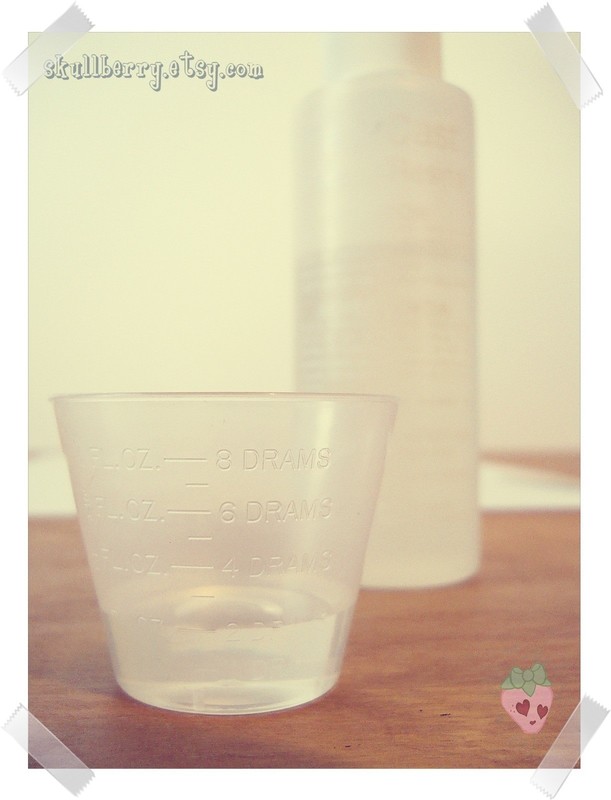
 Step 5
Pour the resin half into your measuring cup. I am only casting a couple pieces so I'm making 1/2oz resin, filling to the 1/4oz line first.
-
 Step 6
Pour in 1/4oz Hardener and fill to the 1/2oz line. <br>
You can certainly mix whatever amount of resin you like, just be sure to MEASURE VERY CAREFULLY, you want EQUAL parts of both. <br>
Mix for at least 2 minutes, I usually do 3. This is important, your resin may not fully cure and the end piece may come out "soft" or "flexible." This will also make it difficult to demold. -
 Step 7
Add in any dye or colour you will be using.
-
 Step 8
Mix thoroughly.
-
 Step 9
Pour slowly into your mold.<br>
Pour a small stream from a high angle and most of the bubbles will pop on their way down. -
 Step 10
If you have bubbles you can deaerate by taking a deep breath and slowly exhaling or "huffing" over the resin pieces. <br>
The bubbles will pop but not from heat or the force of the blow - it's the Co2 in your breath that will drive them out.<br>
Be sure to move away before you inhale so you don't breathe in the resin fumes! -
 Step 11
Some tutorials will tell you to use an embossing tool or heat gun for this step, but since you're using a plastic mold the tool may generate too much heat and cause your mold to warp. Plastic is sensitive to heat so using a heat tool is NOT recommended.<br>
The same goes for moving a lighter or match over your pieces - you may burn your resin, the mold, or your fingers! -
 Step 12
Cover with a bowl to prevent dust and hair from getting into your resin. Even if you have no pets and think your home is clean enough to make computer chips in - I assure you SOMETHING will find it's way to your resin :) <br>
NOTE: I used an old clamshell packaging - it's big enough to put a couple molds underneath and it's clear so I can be nosey without disturbing anything.<br>
Follow the directions for the resin you used to allow it to cure. Most resins will need a full 72 hours to cure before you attempt to demold them. The thinner your piece, the longer it will take. Be patient, rushing this step can ruin your piece. -
 Step 13
After you're certain your mold is cured, gently twist to flex the plastic. <br>
If your piece is cured enough it should start to pop away from the sides. -
 Step 14
If your piece bends with the plastic and doesn't "pop" it's not cured yet. You should see the piece start to detach from the mold from the underside, depending on the mold your piece may stick to the details towards the center; just keep gently working it away from the mold.
-
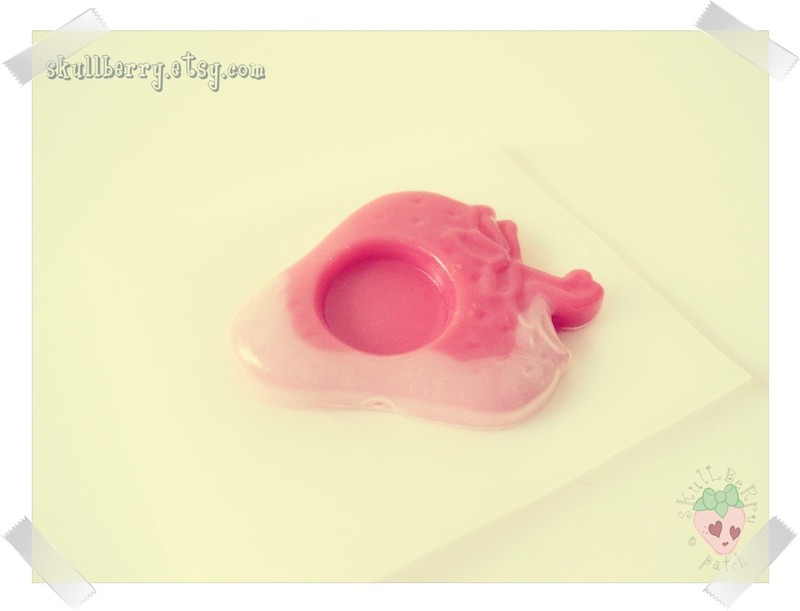
 Step 15
If you over poured you may have a thin edge on the backside of your piece. You can sand this way using fine sandpaper or a dremel tool. You only need a very fine grit to remove the edge, follow up with a polishing tip to bring back the shine.
-
 Step 16
Tips:<br>
Resin is all about experimentation! Don't be afraid to fail, sometimes you come up with really awesome results that way.<br>
If you're embedding something that is expensive or hard to replace do a test run first! You don't want to entomb your special trinket forever in a mess that can't be used.<br>
If embedding an image be sure to seal it very well; front, back, and sides too.<br>
The same goes for candy as it can make your resin look cloudy - try sealing it as well.<br>
Glitter is extremely messy - it's best to do these in a completely separate batch from pieces that don't have any glitter.<br>