


About
Cool tool for scrapbooking
This is so much better than cutting out your own letters, which can be a very tedious and aggravating job.
So, this is really simple, my problem though at first was that I couldn't find any foam letters that didn't have any adhesive. Buuuuuttttt, my brain cells were at work and I came up with a solution on how to remove the sticky stuff with ease!!
And another good thing about using the clear plastic is that you can see where you place your stamp for accuracy.
-
 Sabrina R. commented on Alphabet Foam Stamps
21 Oct 06:17
Sabrina R. commented on Alphabet Foam Stamps
21 Oct 06:17
-
 Ginger D. favorited Alphabet Foam Stamps
11 Aug 20:26
Ginger D. favorited Alphabet Foam Stamps
11 Aug 20:26
-
 Creativemind entered her project Alphabet Foam Stamps to Glue Contest
17 Apr 01:02
Creativemind entered her project Alphabet Foam Stamps to Glue Contest
17 Apr 01:02
-
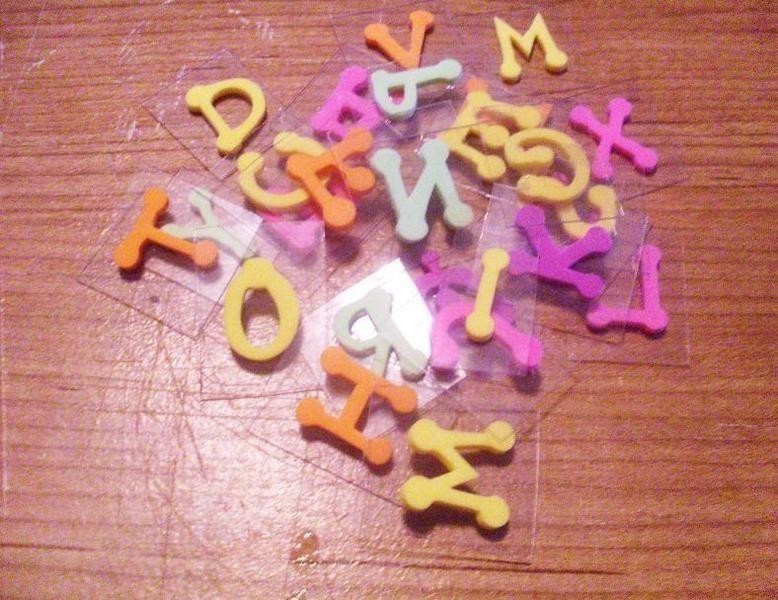
 Step 1
First to remove the adhesive, peel off the paper and place sticky side down into polish remover. This is then part where you need your patience. I usually have to wait 3 to 5 minutes (sometimes longer) for this to work. When the adhesive turns into a white film on the foam, you can usually rub it right off. If it doesn't all come off, just keep putting it back in the remover until the foam no longer has sticky feel to it. This requires some rubbing with your fingers, so unless your alergic to nail polish, you may have a problem unless you can handle using latex gloves for this part, but if you use your bare hands, make sure have no cuts, broken cuticles or sores, that stuff burns. The adhesive from the foam washes off pretty easy.
-
 Step 2
Now, all of the letters do not have to go through the first step because they can go either way. Letters like, the F, G, J, K, and so on will need to have the adhesive removed. Depending on the font though, like my B's. I did those too, but other than that, that letter is can either way too.
-
 Step 3
You can then start laying out your letters backwards, spaced apart enough that you will have room for cutting them apart.
-
 Step 4
The plastic that I used was from packaged store bought things that I just cut up into flat piece. I ended up with different shapes and sizes because of the package itself. This piece was big enough to get all 26 letters on it.
The letters that had to have the sticky side taken off will have to be glued down. It's fine if you use a different type of glue, just so that it's water proof. You don't want them to come off the base when you wash them clean to use them again. -
 Step 5
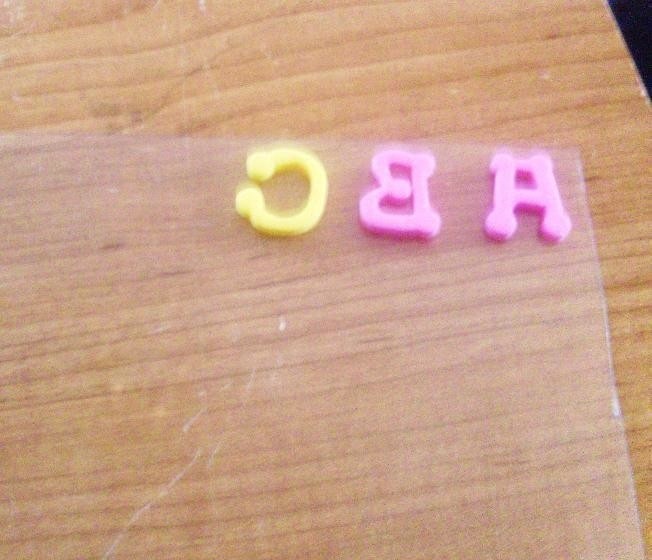
Now just cut your letters apart.
-
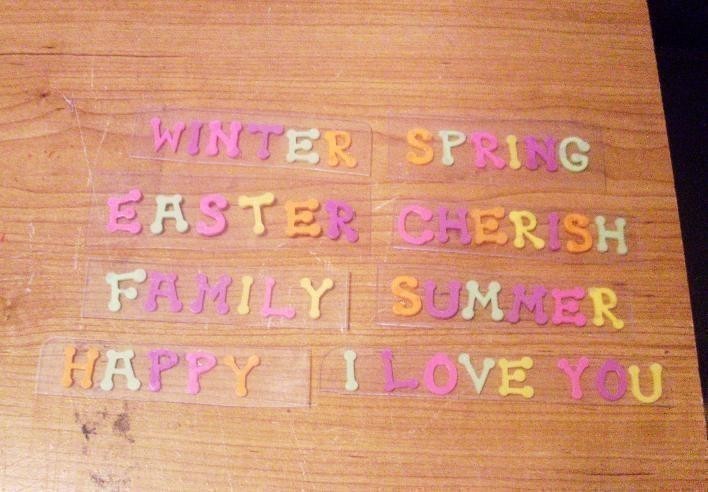
 Step 6
For make a whole word, just lay them out backwards evenly spaced on your plastic. You can use piece you have already cut or one big piece to write a list of words then cut them apart.
BTW, you really don't have to have your letters straight, they can be randomly places for a scrambled look.


Comments


