

Needle Felted Blue Tit
Extract from Making Simple Needle Felts • By Steffi Stern • Published by Hawthorn Press

About
Making Simple Needle Felts
My heart always rejoices when spring is just around the corner and you can hear the loud chorus of birdsong in the mornings again! Such a sure messenger of lighter and warmer days to come and what is sweeter than seeing the birds busying themselves to get their nests ready for their babies.
This blue tit is a very simple way to make a more stylized bird (similar to the robin in this book) and looks particularly attractive when there are a few. The legs are optional as they look just as nice sitting flat.
This is a good generic shape for other small garden birds.
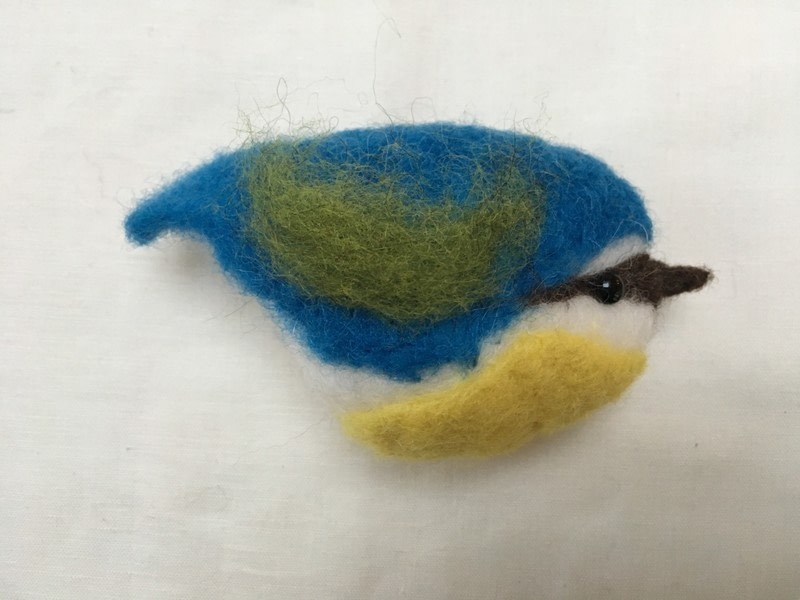
The blue tit is 7cm tall, including legs, and 8cm long, including the tail.
Tags
© 2024 Steffi Stern / Hawthorn Press · Reproduced with permission.
-
 Julie R. favorited Needle Felted Blue Tit
04 Jan 03:07
Julie R. favorited Needle Felted Blue Tit
04 Jan 03:07
-
Karen W. favorited Needle Felted Blue Tit
04 Dec 17:10
-
 Jenn H. favorited Needle Felted Blue Tit
16 Jan 06:52
Jenn H. favorited Needle Felted Blue Tit
16 Jan 06:52
-
C.J. M. added Needle Felted Blue Tit to Felt
20 Apr 13:27
-
C.J. M. favorited Needle Felted Blue Tit
15 Apr 13:38
-
 Crafterella featured Needle Felted Blue Tit
16 Dec 23:00
Crafterella featured Needle Felted Blue Tit
16 Dec 23:00
-
 sian d. favorited Needle Felted Blue Tit
15 Dec 21:14
sian d. favorited Needle Felted Blue Tit
15 Dec 21:14
-
 Hawthorne Press published her project Needle Felted Blue Tit
02 Dec 09:00
Hawthorne Press published her project Needle Felted Blue Tit
02 Dec 09:00
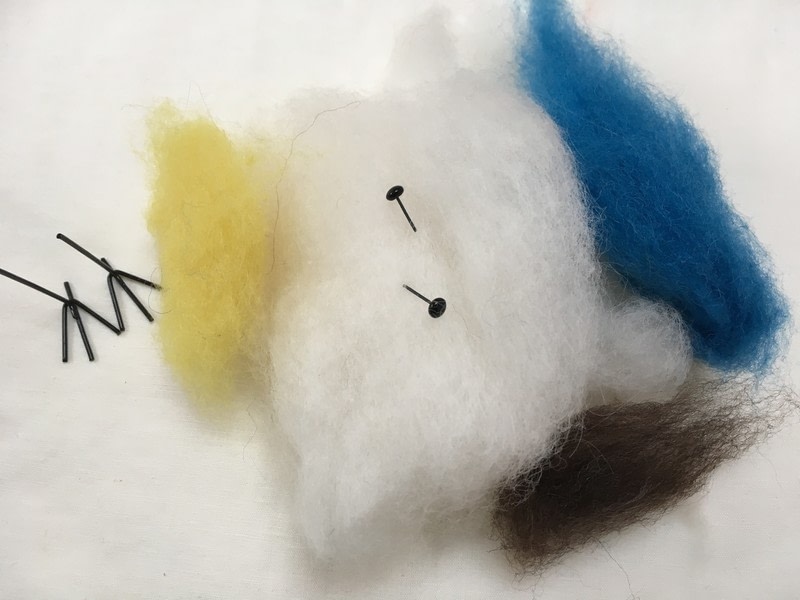
You Will Need
-
 Step 1
Body
Take most of the white wool, keeping just
a small pinch aside for possible patching up later on. Roll this into a medium-firm ball. You should be able to squeeze it still but it needs to be firm enough so you can stab a needle into it. If in any doubt go for a tighter ball.Using your coarse needle, start by stabbing the loose wisps into the ball so that it will hold its own shape. The ball should measure about 6–7cm in diameter now.
Stab the ball all over to make it firmer and cover with the remaining white wool if there are uneven parts or cracks. If not, still use up all the wool. The ball should shrink down by a maximum of 1cm.
-
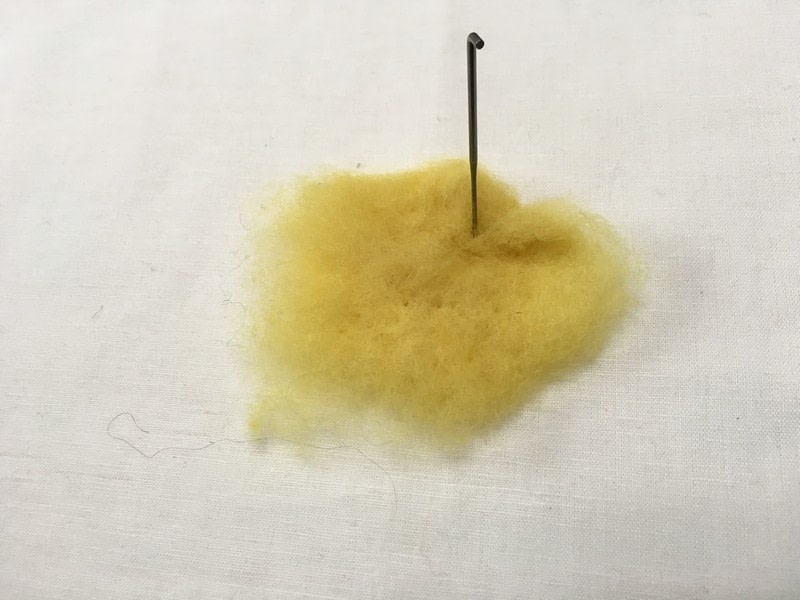
 Step 2
Now take your yellow wool and keeping a wisp aside in case you need it later, flatten into a round shape with your fingers. Use your coarse needle and give the yellow wool a few stabs on your mat to flatten it down further maintaining the flat shape by felting it slightly down and giving it neater edges. Fold any excess wool inward around the edges and felt down. Keep lifting it off the mat to work both sides but also to stop it from getting felted onto the mat.
-
 Step 3
Then lay the yellow disc onto the white
ball and felt down with your coarse needle onto the white surface. Now make a slightly larger blue disc in the same way. Remember also to keep a little blue aside for patching up later if necessary. -
 Step 4
Attach the blue onto the white ball about 2cm above the yellow. Only felt down about 3–4cm of the blue right above the yellow. Leave the sides (wings) and back (tail) unattached at the moment.
-
 Step 5
Next pull one side carefully down so that it almost touches the yellow and felt down in a curved shape like a wing would be. Repeat on the other side. If you have created a thin patch, use the spare blue to cover up.
-
 Step 6
Felt more of the blue top onto the white but still leaving the back open. Next pull with your fingers a little blue outwards where you imagine the tail would be.
-
 Step 7
Tail
Fold the blue so that it makes a pointy
end but with a flat edge of about 2cm. You may have to tease it out with your fingers slightly. Use your mat and lay the pointy
tail end onto the mat and felt down with your coarse needle. Turn over to felt from both sides. You may need to cover some thin patches with the wisps of blue you kept aside or maybe to even out some unsymmetrical areas. Shape the bird all over to make a neat symmetrical shape. Also pull some of the white wool out, if you can, just below the tail and felt along the inside of the blue in sympathy with the tail shape. -
 Step 8
As we only have a soft shape, now is the moment to turn the ball into more of its finished shape. Start by making the side of the head flatter or smaller by stabbing your needle into the ‘eye’ area.
-
 Step 9
Next flatten down the back by stabbing your needle along the blue from head to tail. You may find that you need to change to your medium needle now when giving the bird an all-round make over.
-
 Step 10
Head
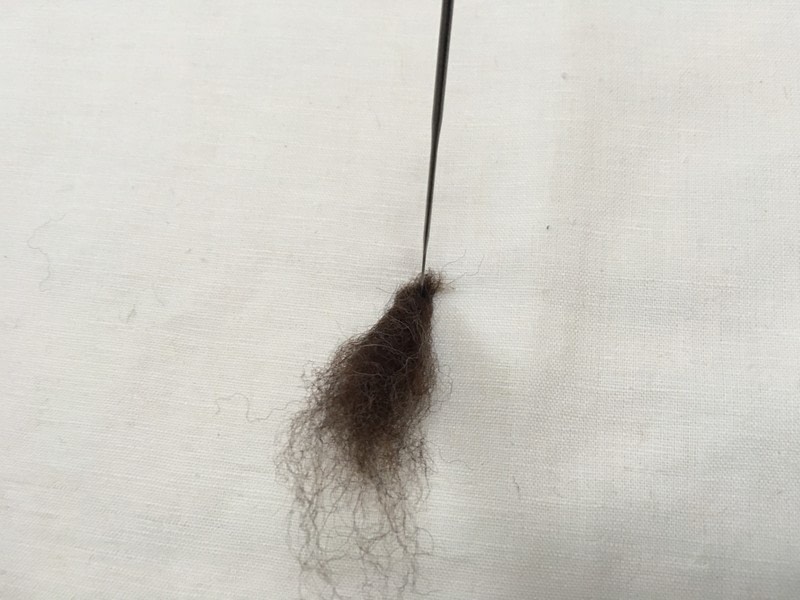
Use the dark-brown wool and tear a short and thin strand off (about 5cm long) to make the bird’s eye line or mask. Felt this down neatly in the white area between the blue and yellow (face). -
 Step 11
Then add another tiny strip to go down from the middle of the brown where the yellow starts.
-
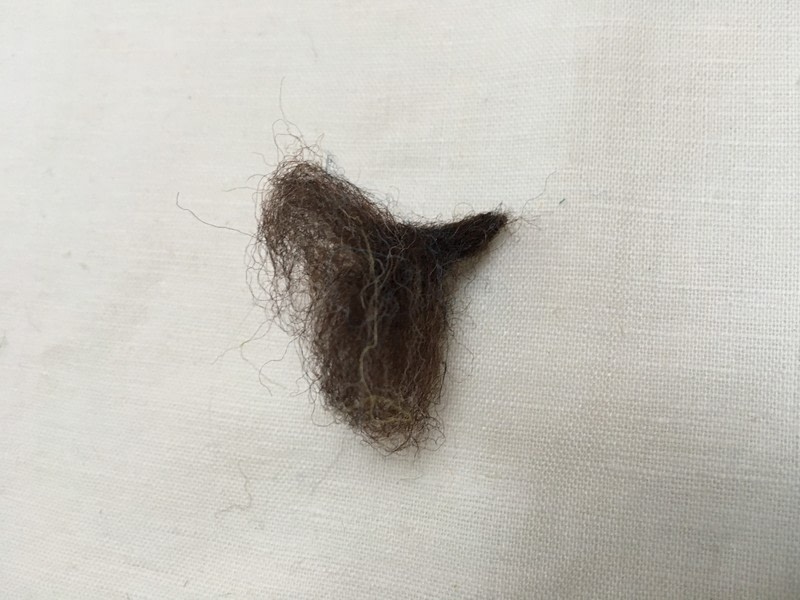
 Step 12
Beak
For the beak, take a wisp of dark brown wool. Flatten it with your fingers and fold in half. Then roll it up so the straight folded edge becomes the pointy end of the beak and the opposite end stays fluffy. -
 Step 13
Felt down with your medium needle on your mat
into a pointy small beak of 1cm long. Then using the wispy ends, open these up and felt down onto the bird in line with the eye position on top of the brown mask stripe. -
 Step 14
You can reduce the beak in size by stabbing your medium needle lengthwise into the beak towards the face.
-
 Step 15
Eyes
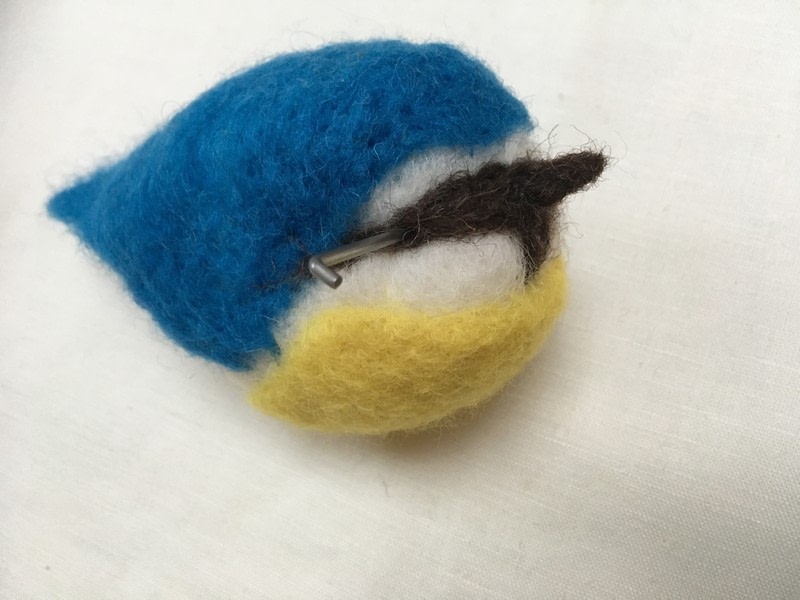
Use your coarse needle and sink it all the way from one eye across the head to the other side and move in and out a few times making sure the needle goes in all the way to the shaft/end. The eye is positioned on the side of the head right on top of the brown stripe.
Using your felting needle to poke across the head will create two big holes where the pins of the glass eyes can sink in. Check they are symmetrical before applying a dab of glue to fasten them in. -
 Step 16
If you want to needle felt the eyes, take two equal wisps of the black wool and turn into two equal balls by first using your fingers and then giving it a few stabs with your needle. The size of each eye before fastening onto the bird should be no larger than 8mm.
Secure the black ball onto the bird on top of the brown stripe to the side of the head by stabbing a few times around the base of the ball therefore keeping it round rather than flat. Repeat on the other side then add a tiny wisp of white for a reflection points.
-
 Step 17
Legs
If you are not using wire legs, felt the bottom of the bird flat so it can sit without falling over. If you are using legs, take them and bend the top half of the leg in towards the toes. Then make two holes toward the tail of the bird underneath as follows: the bird gains his stability by the bend in the legs going forwards into the body. Therefore when making the holes, use your coarse felting needle and insert it at an angle towards the front of the bird. Gently wiggle the needle around and also pull it out and push it in a few times, though not all the way out. Then try putting one of the legs
in. Repeat on the other side. Remember the legs are bendable so if they are not straight you don’t have to change the hole. Just bend the legs. Put a little dab of glue on each hole, insert the legs and leave your bird to dry standing on the legs. Do not move until you are certain the glue has dried. -
 Step 18
You can add a little yellow wool if you
have some available still to cover the join between the legs and the body and give the impression of tiny ‘bloomers’.
The wire legs are very versatile. Not only can you bend them but you can also decorate them by painting them with acrylic paints
or wrapping florist tape around, as well as shortening them with wire cutters if need be. -
 Step 19
Wings
If you have a little green wool... -
 Step 20
add it to the wings by making a sickle moon shape about 1cm above the blue wing line.


 1
Origami Clothes »
Money Origami Hat
1
Origami Clothes »
Money Origami Hat
 2
Envelopes »
Green Collage Envelope
2
Envelopes »
Green Collage Envelope
 3
Digital Artwork »
How To Turn A Picture Into A Line Drawing In Photoshop
3
Digital Artwork »
How To Turn A Picture Into A Line Drawing In Photoshop
 4
Pumpkins »
Pumpkin Plushie
4
Pumpkins »
Pumpkin Plushie
 5
Envelopes »
Blue Collage Envelope
5
Envelopes »
Blue Collage Envelope


