Features


 By
Mollie J.
By
Mollie J.

Learn how-to bind an embroidery hoop for #TechniqueTuesday with Mollie Johanson from Wild Olive.
-
 Step 1
Supplies
Wood Embroiderey Hoop
Flexible Tape Measure
1/2-inch Wide Twill Tape
Scissors
Needle and Thread -
 Step 2
Seperate the two pieces of the embroidery hoop. Measure the circumfrence of the hoop. Multiply this measurement by four. This is how much 1/2-inch wide twill tape you need.
For example, this 4-inch hoop has a circumference of 13 inches. When multiplied by four, it means that it will need about 52 inches of twill tape.
This is also a good time to prepare a needle and thread with a knot tied in one end.
-
 Step 3
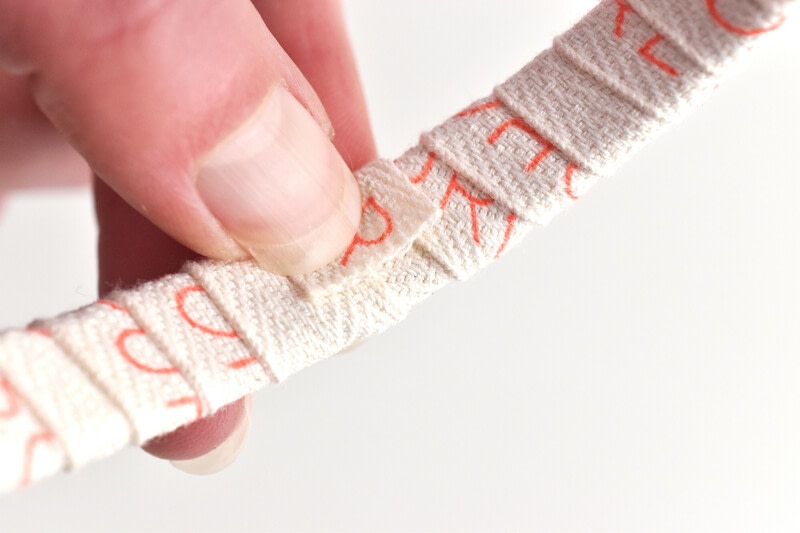
Begin wrapping your hoop with the twill tape, working at a slight angle and overlapping the tape so it holds the end in place. Be sure that you overlap each wrap so it's very tight.
Also, each wrap should overlap a little less than half the width of the twill tape. If it overlaps too much, the wrapping will be very thick, and that's not what you want.
-
 Step 4
When you reach the beginning of the wrapping, make sure that it meets and covers the starting point, then trim any extra twill tape off. You want the end of your twill tape to be on the inside of the hoop.
-
 Step 5
Grab your needle and thread and stitch down the end of the twill tape to secure it. Stitch through all the layers of tape, working around the edge and on the end of the tape.
Secure your thread with a large knot.
-
 Step 6
Now your hoop is ready to use just as you normally would! You may need to loosen the screw a little more so there's room to push the outer hoop down over the fabric and bound inner hoop.
I've found that larger hoops have a little more room and give when it comes to adding this "gripper" layer, but even my 4-inch hoop fits nicely now.


Got the hang of this technique?
Put your new skill to the test with this tutorial:
Is there a certain technique you'd love to learn or one that you could teach us? Send us a message!
Share
Follow
Comments