


About
Wands for the most wonderful wizard there ever was.
Looking for a cheap wand project that gives you more freedom than hot glue? You came to the right place. Essentially this project involves just wooden dowels and clay, but I'll help fill in the blanks during this step-by-step tutorial.
Tags
-
 Key West Witch favorited Harry Potter Character Wands
28 Jun 16:43
Key West Witch favorited Harry Potter Character Wands
28 Jun 16:43
-
 Rhona H. favorited Harry Potter Character Wands
16 Mar 22:17
Rhona H. favorited Harry Potter Character Wands
16 Mar 22:17
-
Key West Witch added Harry Potter Character Wands to Witchcraft
19 Mar 07:29
-
 Bette C. favorited Harry Potter Character Wands
09 Nov 23:20
Bette C. favorited Harry Potter Character Wands
09 Nov 23:20
-
 Rachel Y. favorited Harry Potter Character Wands
08 May 20:16
Rachel Y. favorited Harry Potter Character Wands
08 May 20:16
-
 Mariah M. favorited Harry Potter Character Wands
20 Apr 06:20
Mariah M. favorited Harry Potter Character Wands
20 Apr 06:20
-
Rebecca M. favorited Harry Potter Character Wands
11 Jun 20:04
-
 Kinhime Dragon favorited Harry Potter Character Wands
06 Jun 21:17
Kinhime Dragon favorited Harry Potter Character Wands
06 Jun 21:17
-
 San added Harry Potter Character Wands to Harry Potter
01 May 17:26
San added Harry Potter Character Wands to Harry Potter
01 May 17:26
-
Lindsay H. favorited Harry Potter Character Wands
30 Apr 08:37
-
 Step 1
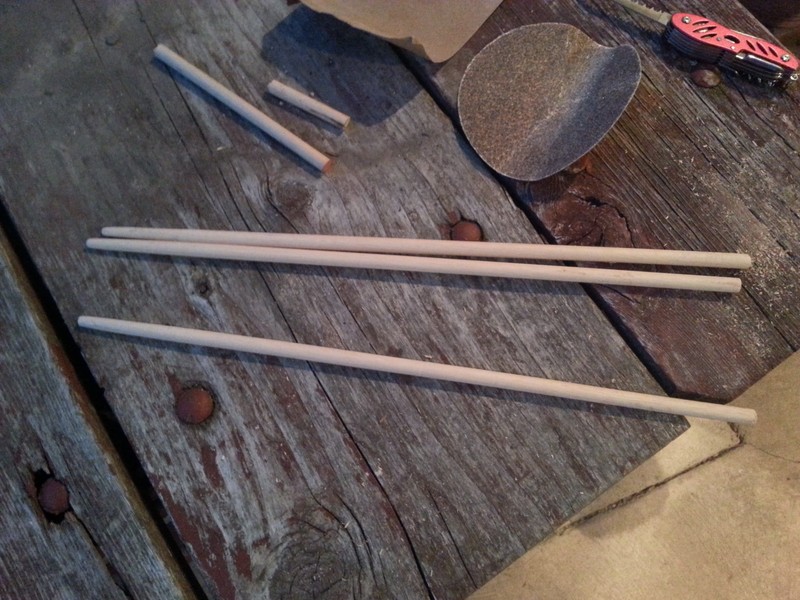
For starters, what you'll need are a drill, coarse AND fine sandpaper, pocket knife, and a dowel. The dowel can be whichever width you decide will best fit your project, but for my wands I used 3/8 X 48 in.
-
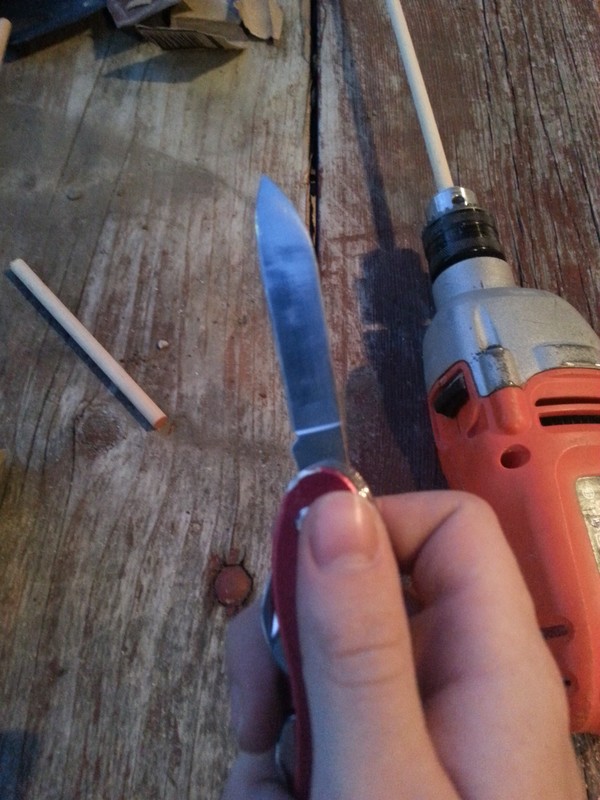
 Step 2
Use the saw blade on your pocket knife to cut your wand to size.
-
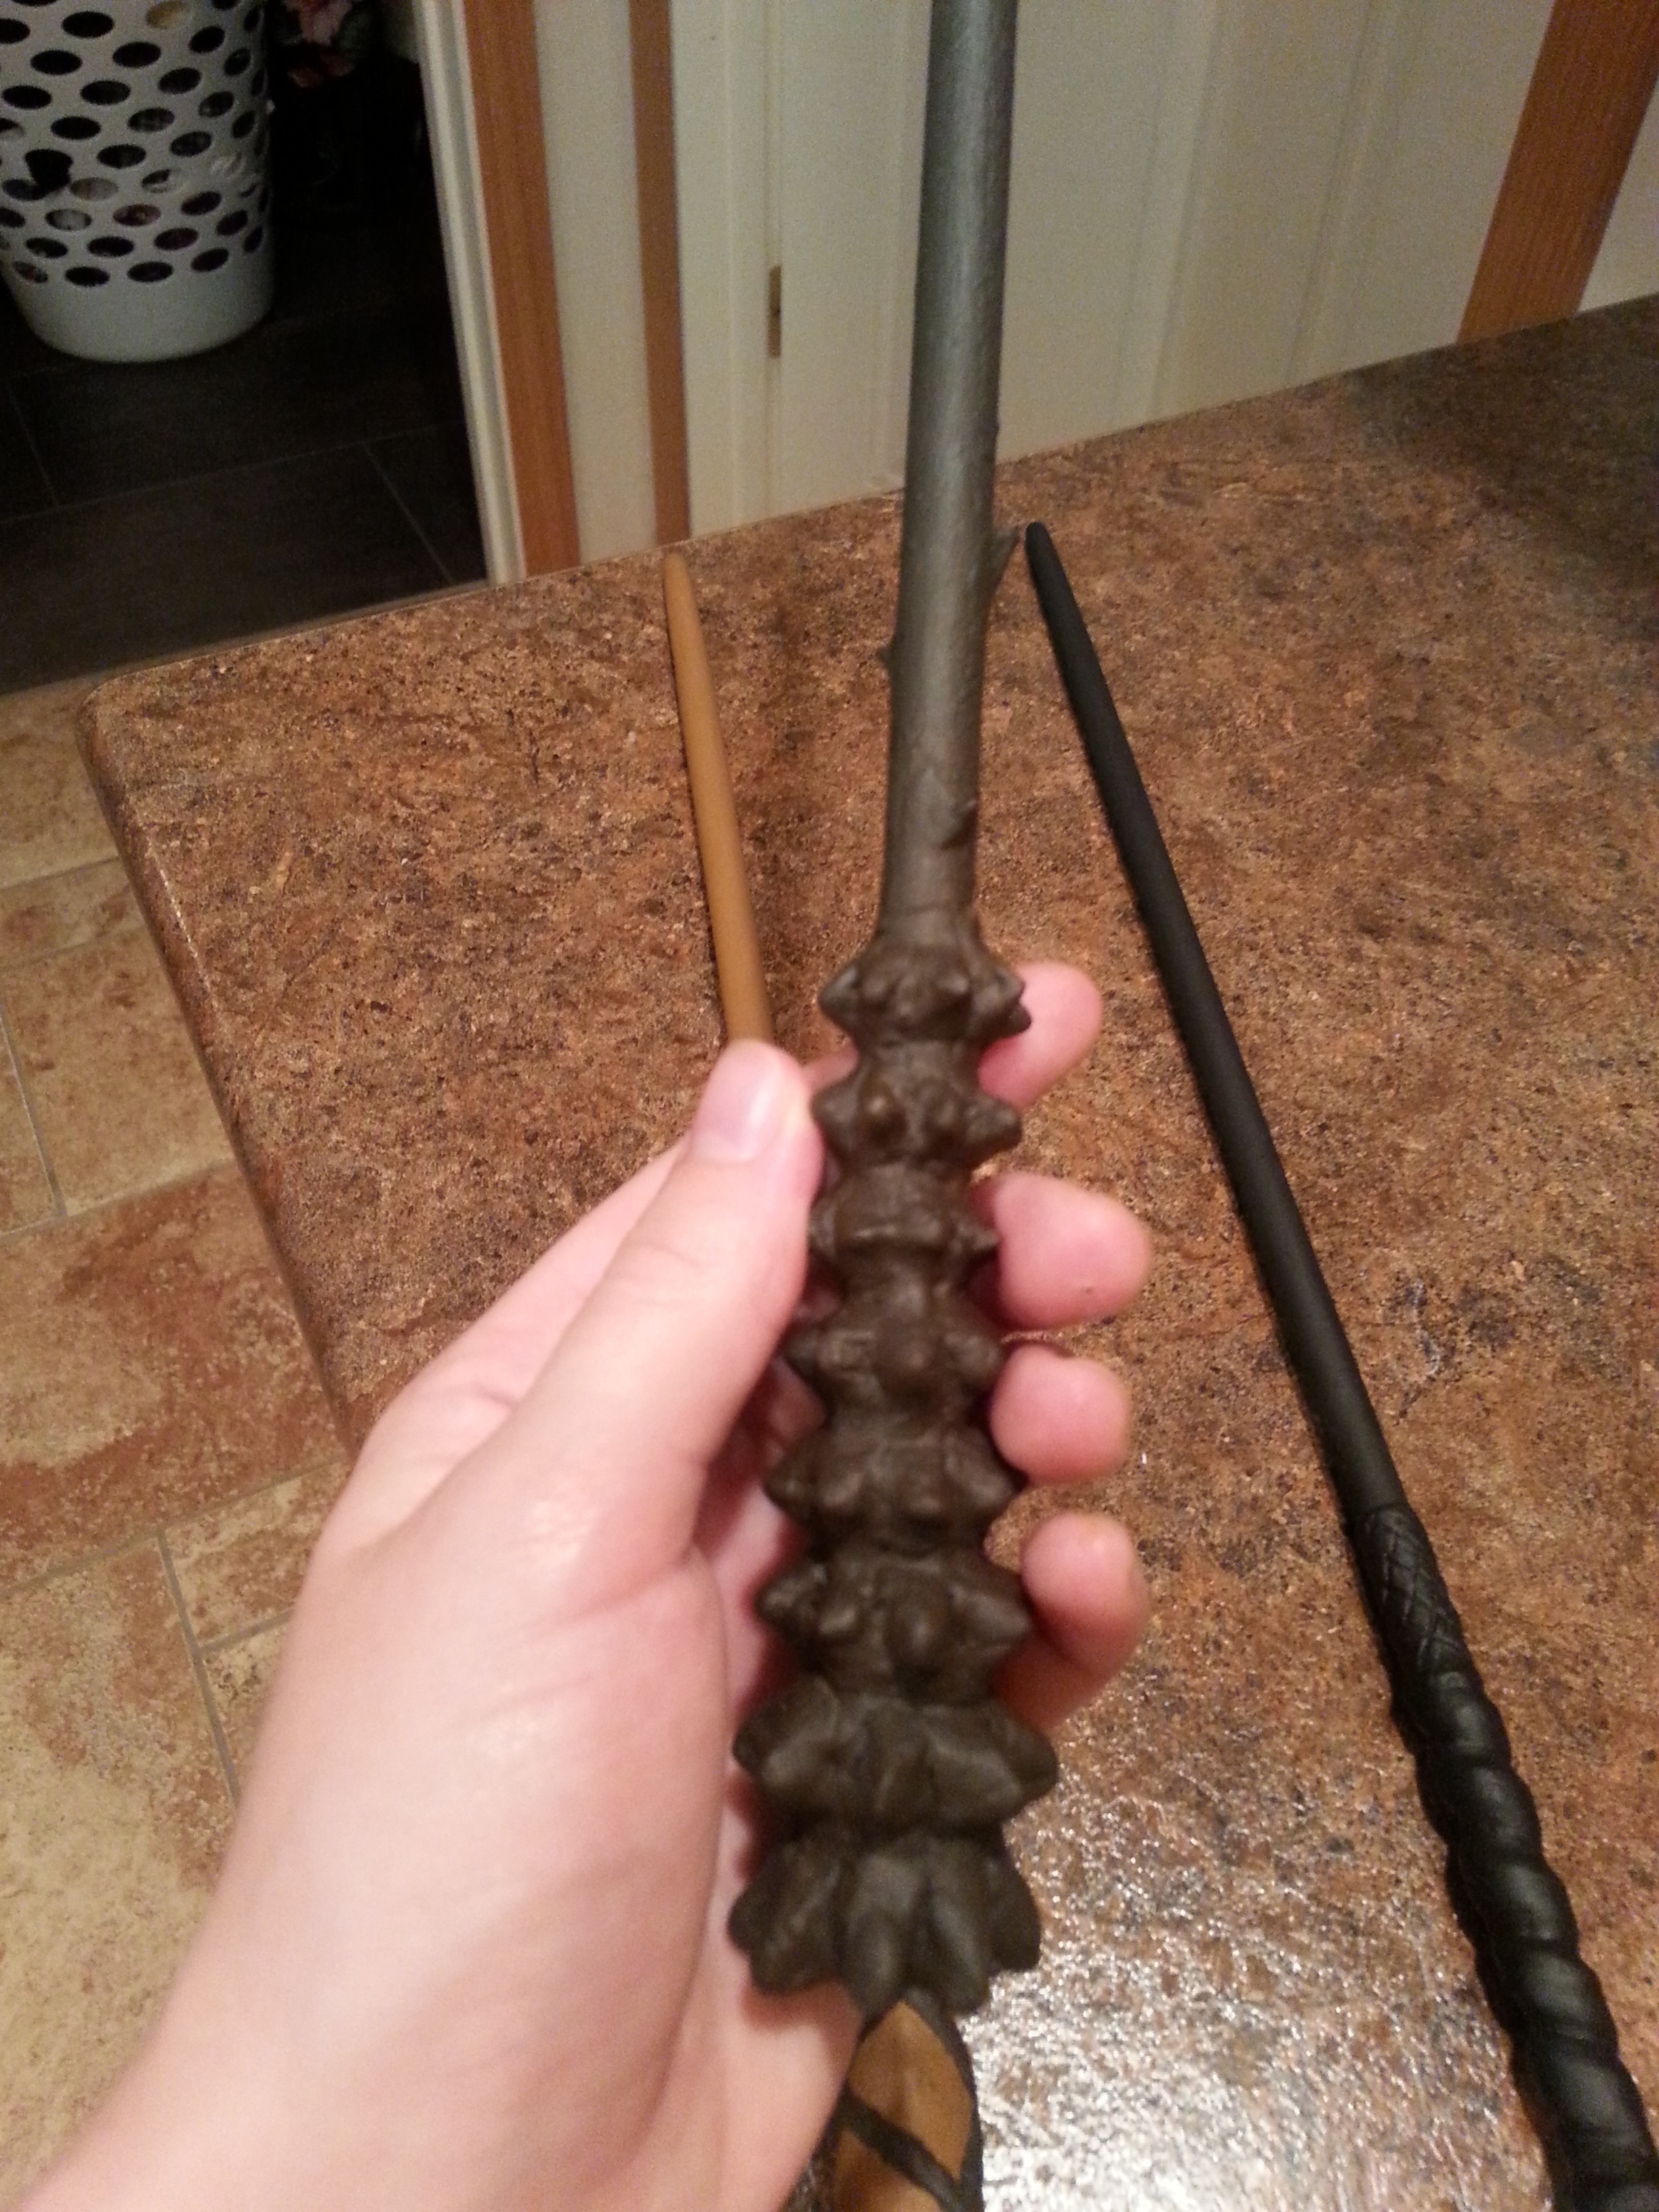
 Step 3
My wands are 16 inches long, but I have a wand replica that I purchased that is 14 3/4 inches long. You'll have to eyeball the proper ratio depending on the width of your dowel.
-
 Step 4
Now you'll need to switch over to the standard blade on your pocket knife.
-
 Step 5
Use your knife to shave the end of the wand to a gradual tip. It doesn't have to be perfect. We'll smooth it out in the next couple of steps.
-
 Step 6
Place the uncarved end of your dowel in the drill. Make sure it's tight and secure.
-
 Step 7
Wrap the coarse sandpaper around the tip of your dowel. Carefully turn on the drill as you move the sandpaper up and down. The drill works almost like a pottery wheel for your wand.
-
 Step 8
Repeat step 7 with the fine sandpaper. This will smooth out the scratches made by the rough sandpaper.
-
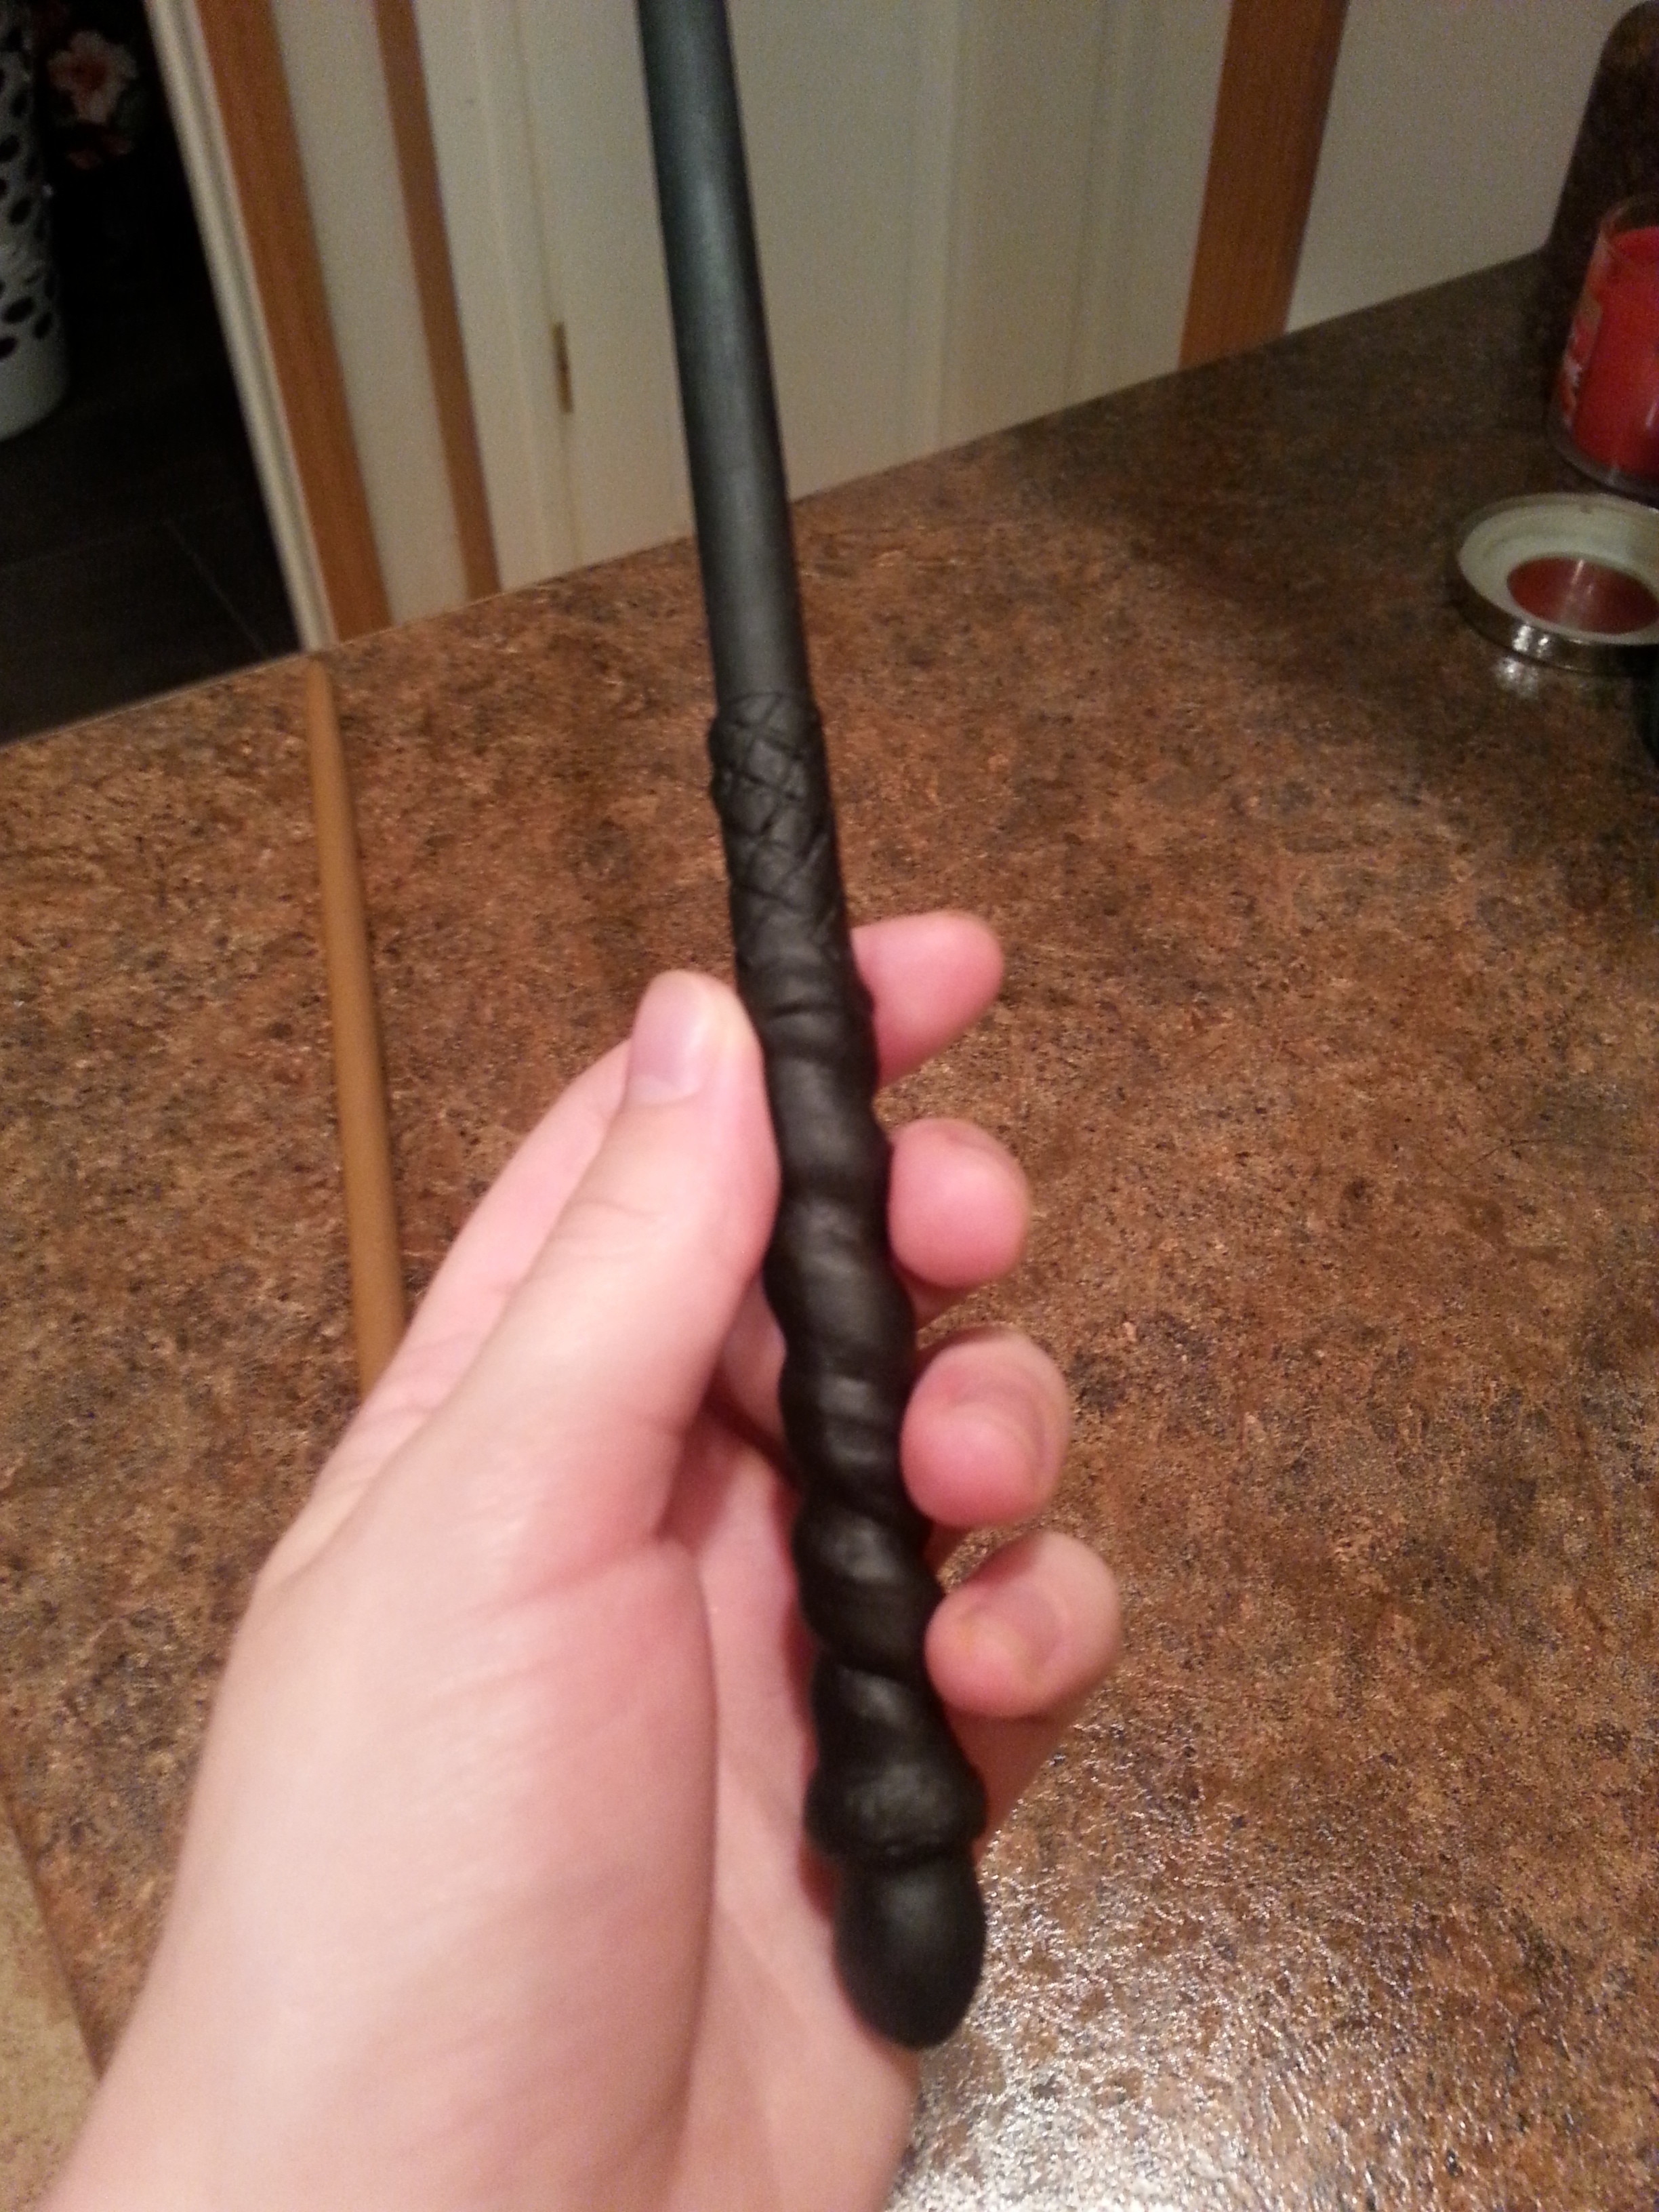
 Step 9
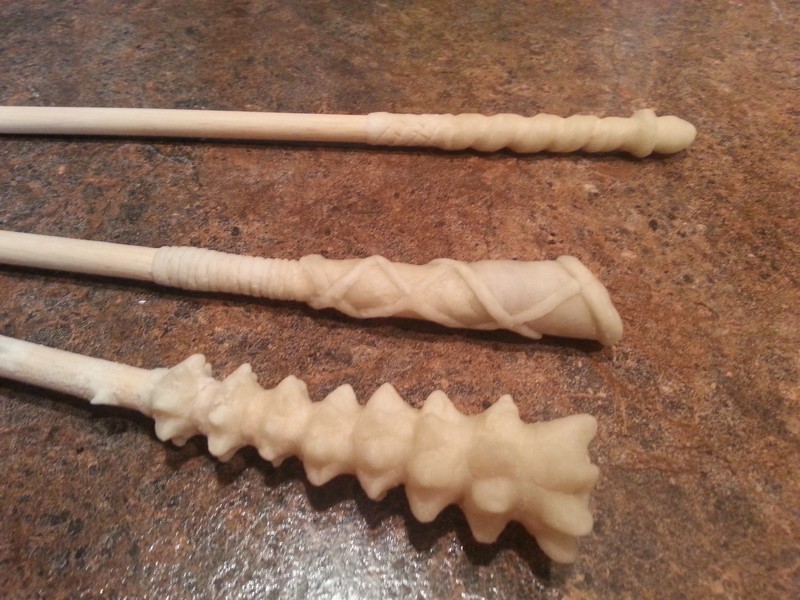
To smooth out the tip of your wand, rub the rough sandpaper and then the fine sandpaper over the tip. This is what my wands looked like after the sanding.
-
Step 10
Now your going to make your clay for the wand handles. You can use polymer clay, but for those of you who don't want to pay the high price for polymer, here's a little recipe for something almost as good. This clay is called bread dough.
-
Step 11
You'll need to take 3 slices of white bread and cut off the crust. Tear the 3 slices into small pieces and put them in a Ziploc bag. Next add 3 tablespoons of tacky glue to the bread in the bag.
-
 Step 12
Zip the bag and mash the contents together. Once mixed, knead the dough in your hands. The finished product should look something like this.
For future projects you can add food coloring to dye the dough. I left mine white because I'm going to paint it. Also, the bread dough will not mold. I have a trinket I made out of this stuff years ago and it still looks like it just dried. You can add three drops of lemon juice if you're paranoid but it'll work either way.
-
 Step 13
Sculpt the dough around the end of your dowel. This is where this project becomes time consuming. When you're done, let your wand dry overnight. It takes a while to completely harden, but if you let it dry overnight it will be hard enough to paint.
-
 Step 14
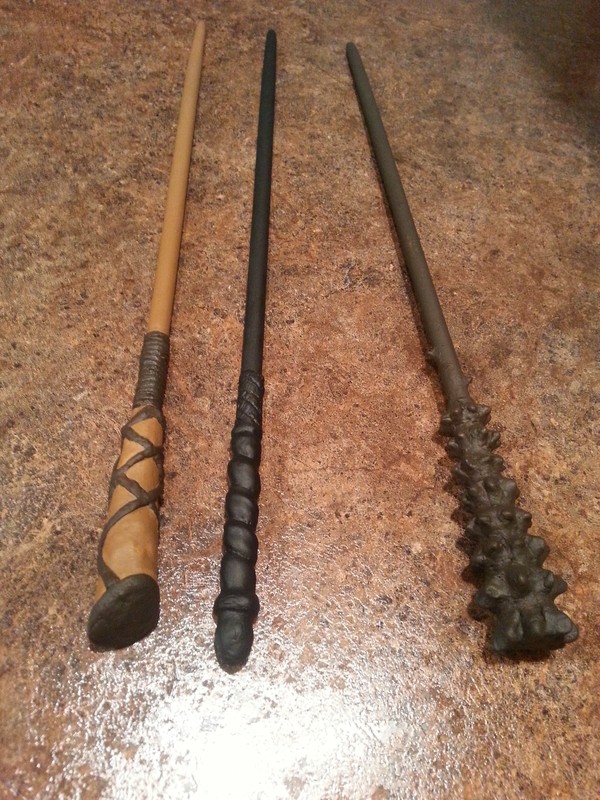
Now all you have to do is paint your wand. It'll only need about two coats. When it's dry, challenge your friends to a duel to see who is the true master of magic. Expelliarmus!


 1
Origami Clothes »
Money Origami Hat
1
Origami Clothes »
Money Origami Hat
 2
Envelopes »
Green Collage Envelope
2
Envelopes »
Green Collage Envelope
 3
Digital Artwork »
How To Turn A Picture Into A Line Drawing In Photoshop
3
Digital Artwork »
How To Turn A Picture Into A Line Drawing In Photoshop
 4
Pumpkins »
Pumpkin Plushie
4
Pumpkins »
Pumpkin Plushie
 5
Envelopes »
Blue Collage Envelope
5
Envelopes »
Blue Collage Envelope
 1
Papercraft »
How To Make Sock Snowman With Rice For Kids
1
Papercraft »
How To Make Sock Snowman With Rice For Kids
 2
Spiderwebs »
Make Woven Spider Web Magnets For Halloween Front Door Decor
2
Spiderwebs »
Make Woven Spider Web Magnets For Halloween Front Door Decor
