


About
Piping gives you style lines where you need it.
Sometimes, piping gives a sharper finish to any garment that needs to draw your eyes to your best feature.
-
 Alissa B. favorited Piping skills
31 Oct 03:43
Alissa B. favorited Piping skills
31 Oct 03:43
-
 Maria T published their project Piping skills
23 Oct 09:00
Maria T published their project Piping skills
23 Oct 09:00
You Will Need
-
 Step 1
This post shows how to add piping to a lined cap sleeve. You can use this technique any where you want.
-
 Step 2
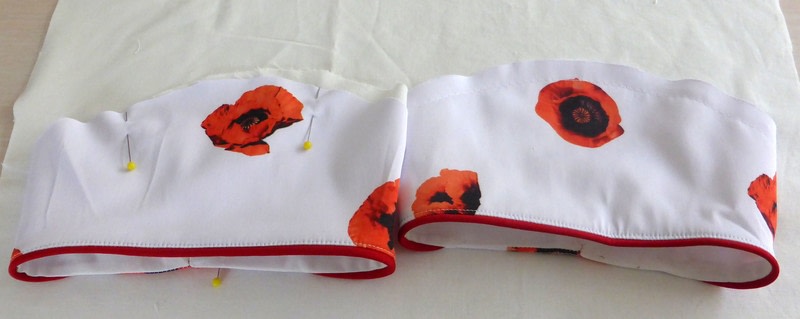
What you can see here is the outer cap sleeve with the piping sewn on.
Notice the piping does not go all the way across the sleeve.
This reduces bulk as the seams and in reality, this is the area you'll actually see the piping on this sleeve. -
 Step 3
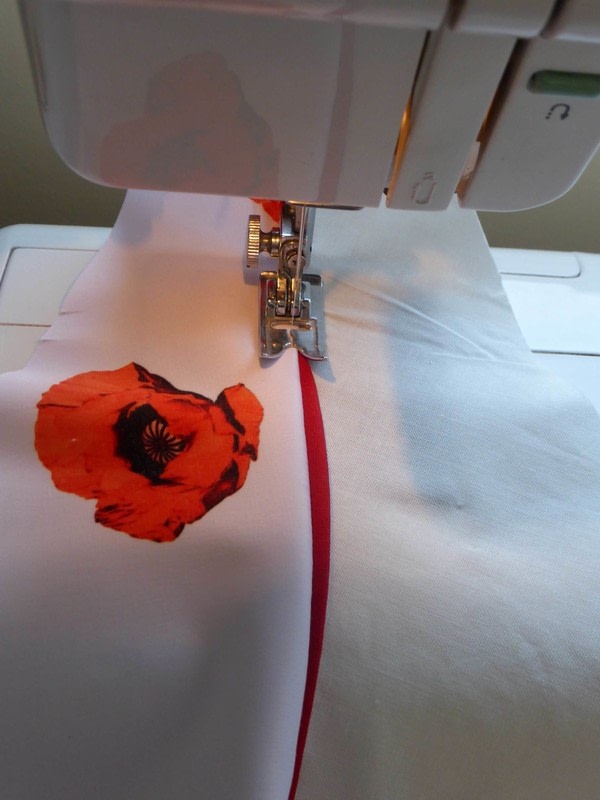
For those of you with an eagle eye, you'll notice that I'm stitching the sleeve lining on this sleeve however the stitching line is between the piping stitching line and the piping ridge.
This gives the piping an even finish. -
 Step 4
Then I've topstitched the finished seams so the sleeve will have a sharper finish once it's sewn into the dress armhole.
-
 Step 5
Here's how it now looks with the piping and lining sewn on this cap sleeve.
-
 Step 6
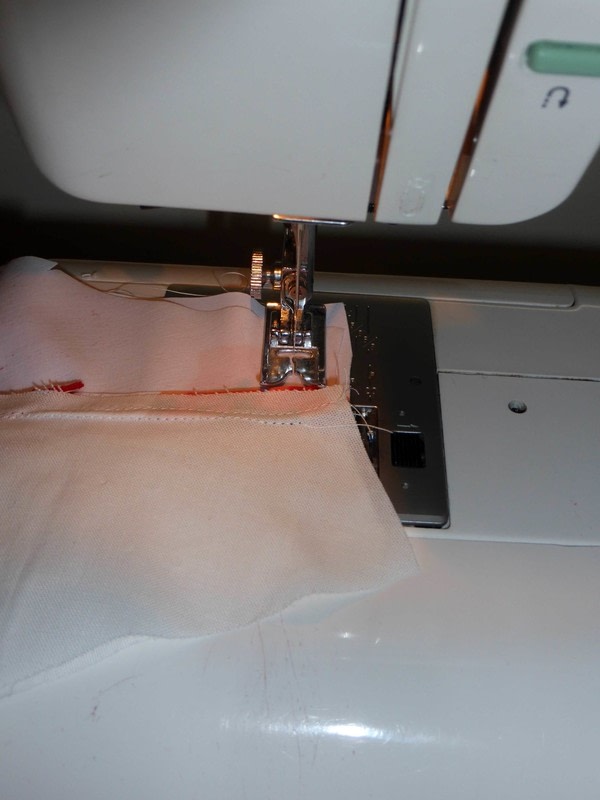
As you can see here, I'm sewing the sleeve cap closed and as the piping doesn't end here, the seam join is flat.
And that's a good thing. -
 Step 7
These are the finished sleeve caps.
-
 Step 8
To be safe, I sew the sleeve pieces together at the armhole edge before I begin to sew them into the final dress.
-
 Step 9
Here's the finished sleeve in the dress.


 1
Envelopes »
Green Collage Envelope
1
Envelopes »
Green Collage Envelope
 2
Origami Clothes »
Money Origami Hat
2
Origami Clothes »
Money Origami Hat
 3
Pumpkins »
Pumpkin Plushie
3
Pumpkins »
Pumpkin Plushie
 4
Envelopes »
Blue Collage Envelope
4
Envelopes »
Blue Collage Envelope
 5
Digital Artwork »
How To Turn A Picture Into A Line Drawing In Photoshop
5
Digital Artwork »
How To Turn A Picture Into A Line Drawing In Photoshop
