


About
How To: A Braided Veil
I've had the idea for my veil for as long as I can remember. Doesn't every little girl dream about what her wedding dress might look like? Well I didn't quite know what the dress would be like because my style varies with my mood, but the veil - now that I had a solid picture of in my head!
So, I struck up some nerves and made it today! :) Actually it was a pretty emotional time for me. It is the first time I've sewn this fabric and it's been 15 years of waiting. It got a little crazy in my brain for awhile Terry must have thought I was nuts because I was crying and sewing for most of the afternoonl. I never knew that I would be so attached to a piece of fabric in all my life.
Wanna know how to make your own braided veil? (You know... just in case you don't have a dream veil yet). Follow along as I make mine below.
Tags
-
 Diamond Sight Creations added Braided Veil to Make List
15 Sep 12:20
Diamond Sight Creations added Braided Veil to Make List
15 Sep 12:20
-
Step 1
Measure the circumference of your head. Mine is 22.5 inches
-
 Step 2
Cut 3 bands of your wedding dress fabric that area bout 3 inches by a number larger than your head circumference. I cut mine 3 inches by 24 inches. Remember that when you braid, the fabric length will shrink, so you need at least this amount. We'll add elastic around the back to make it fit.
-
 Step 3
Fold these strips up about an inch in every direction and press them in place. Then press the strips in half until you've got what looks like a tube. Sew along the open edge to form an actual tube.
-
 Step 4
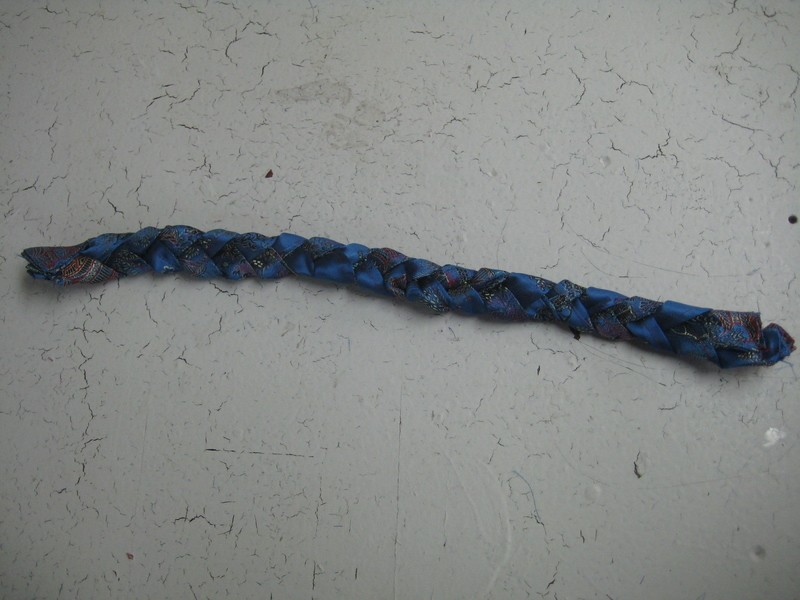
Once you've done that with all three bands, pin them together with a safety pin and start braiding.
-
 Step 5
Once you've got the braid complete, sew a line down both of the ends to keep in place.
-
Step 6
Measure the length of your braid. Mine shrunk down to 16 inches. This means I needed 6.5 inches of elastic to reach my head circumference number of 22.5 inches. Cut your elastic (don't worry about seam allowances or anything. You want the elastic to stretch a little to keep the veil from shifting around on your head while walking down the aisle in the wind!)
-
Step 7
Cut another band of wedding dress fabric to cover the elastic. I decided to triple the amount of elastic I cut to give it the crinkled elastic look at the back and make sure I had enough stretch to fit over any hairstyle I choose. My band was 3 inches by 20 inches.
-
Step 8
Make another tube like you did for the braid. I made sure that mine was exactly an inch wide when finished so that when I threaded the elastic through, it was perfect.
-
 Step 9
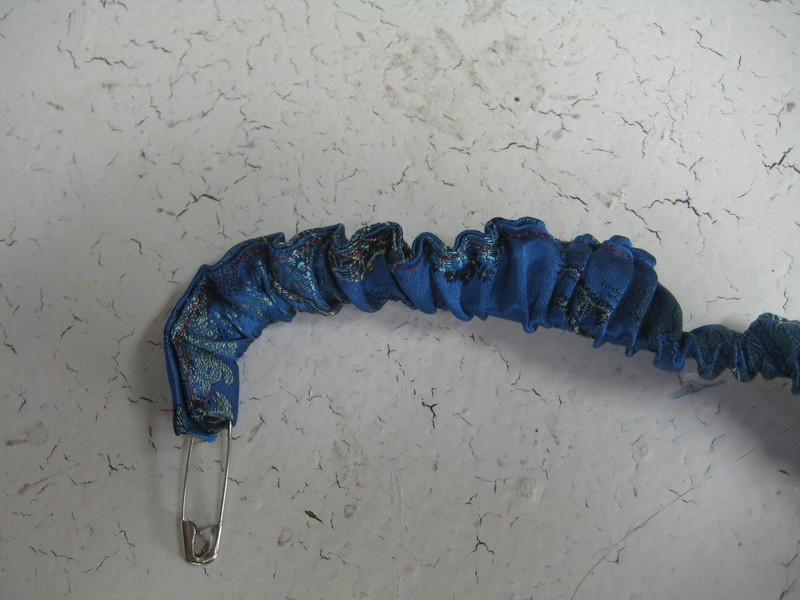
Thread the elastic through fabric tube. I used 2 safety pins to make sure the elastic didn't get lost in the excess fabric.
-
 Step 10
Sew the ends (including both fabric and elastic) to the braid. Make sure you don't get any twists in it! I had one and had to re-sew that part. Ooops!
-
Step 11
Cut your tulle to the desired length and add as many layers as you want. I made mine a metre long and had 4 layers. That way I could put one of those payers over my face if I wanted or have all of them puff out behind me.
-
 Step 12
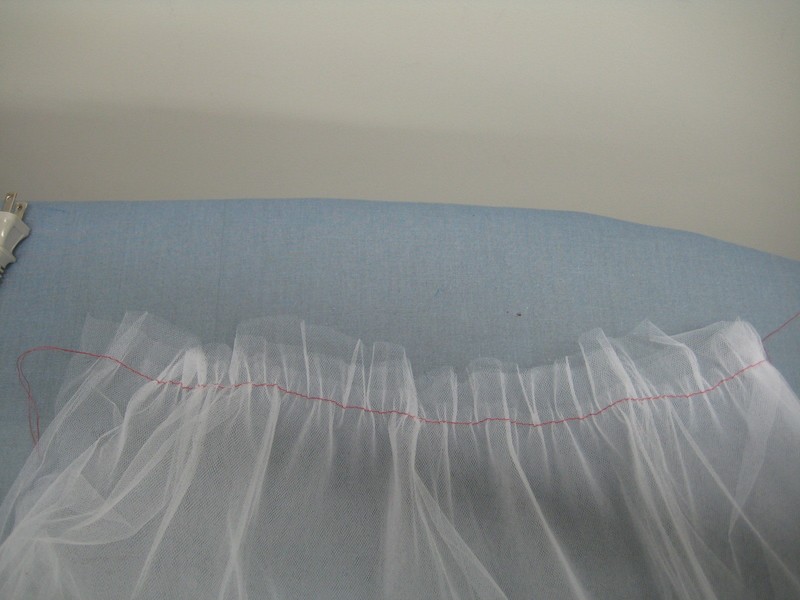
Sew a long basting stitch across the top of all your layers. Hint: you can turn the tension up on your machine while you do this to make the tulle ruffle a little without having to pull the bobbin thread afterward. I'm lazy, and this saves time hehehe.
-
 Step 13
Pull the bobbin thread to make the tulle ruffle until it's about the length of the elastic piece. Pin it to the elastic carefully.
-
Step 14
ew along the tulle and the braid. Make sure to pull the elastic straight as you sew in order to keep the thread from breaking when you stretch the elastic.
-
Step 15
Flip the braid upside down from the way your were sewing it to make the top edge of the tulle disappear. Take out your basting stitches.
-
 Step 16
Decorate! I used flowers and pearls on each side to hide the stitching of the braid to the elastic.
-
 Step 17
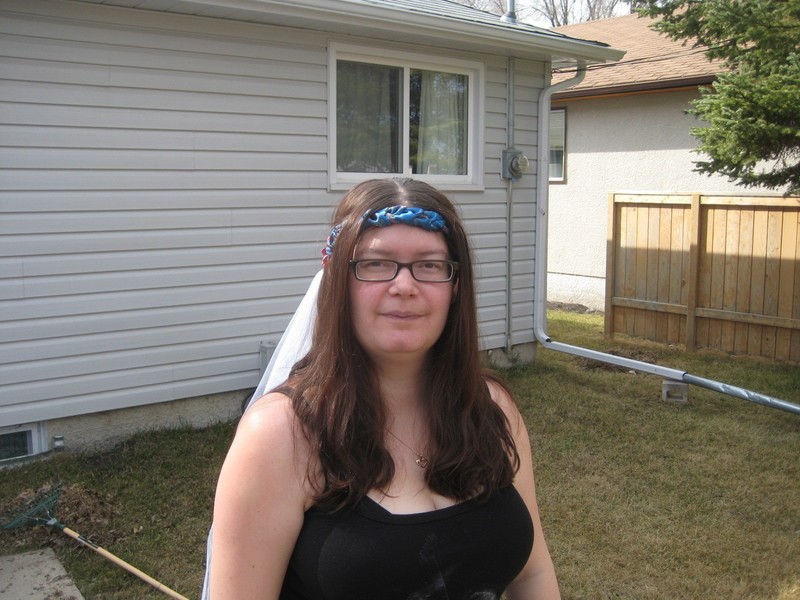
So pretty! It turned out perfect! Terry really likes it and it will look so nice once I get my hair all nice.
-
 Step 18
I apologize for the flat hair and glasses look. I certainly won't have that at my wedding, but it's how I look when I'm sewing. Now if only I could decide on a style of dress to sew!


 1
Envelopes »
Green Collage Envelope
1
Envelopes »
Green Collage Envelope
 2
Origami Clothes »
Money Origami Hat
2
Origami Clothes »
Money Origami Hat
 3
Pumpkins »
Pumpkin Plushie
3
Pumpkins »
Pumpkin Plushie
 4
Envelopes »
Blue Collage Envelope
4
Envelopes »
Blue Collage Envelope
 5
Digital Artwork »
How To Turn A Picture Into A Line Drawing In Photoshop
5
Digital Artwork »
How To Turn A Picture Into A Line Drawing In Photoshop


xoxox