


About
With free pattern download
I've been working in the English department of a high school for the last year, and left today because I'm starting teacher training as a textiles teacher. I decided to make a mascot for the department to say thank you and goodbye, and who better than Shakespeare?
This is all my own pattern, and would be a great thank you or goodbye gift for a special teacher. The pieces are included as a download - make sure you print them A4 to get a plushy about 6"/15cm tall.
There looks to be a lot of steps and there is, but only because I took so many photos to make sure the project is really clear. The actual making isn't too hard and could be achieved even without a sewing machine by an amateur sewer.
Tags
Downloads
- Shakespeare_pattern.pdf 1.1 MB [ Download ]
- Patterns.docx 549 KB [ Download ]
- Missing file
- Shakespeare_pattern.pdf 1.1 MB [ Download ]
-
 Nirit T. added Shakespeare Plushy to crafts
03 Jul 09:37
Nirit T. added Shakespeare Plushy to crafts
03 Jul 09:37
-
 Ana.Loli favorited Shakespeare Plushy
30 Mar 03:19
Ana.Loli favorited Shakespeare Plushy
30 Mar 03:19
-
 Minimax added Shakespeare Plushy to Fabric
29 Mar 16:32
Minimax added Shakespeare Plushy to Fabric
29 Mar 16:32
-
 Sophie P. favorited Shakespeare Plushy
26 Nov 02:23
Sophie P. favorited Shakespeare Plushy
26 Nov 02:23
-
 Michaela K. favorited Shakespeare Plushy
19 Jul 18:34
Michaela K. favorited Shakespeare Plushy
19 Jul 18:34
-
 Jynx favorited Shakespeare Plushy
09 Jul 10:14
Jynx favorited Shakespeare Plushy
09 Jul 10:14
-
Ninja Horse of Trample favorited Shakespeare Plushy
07 Jul 20:00
-
Minimax favorited Shakespeare Plushy
07 Jul 10:27
-
 Step 1
Cut your 6 base pieces.
-
 Step 2
Sew two together down one side only of the oval.
-
 Step 3
Add your next piece to the other side of the oval and sew. When you open them out they should look like this. Keep adding ovals until all six are sewn in a line, then sew the last on to the first, leaving a gap of one inch for turning.
-
 Step 4
Turn right-side out through the gap and you'll have a very deflated looking oval ball. Check all the corners have been sewn together at this point, because you can unturn it and correct if not!
-
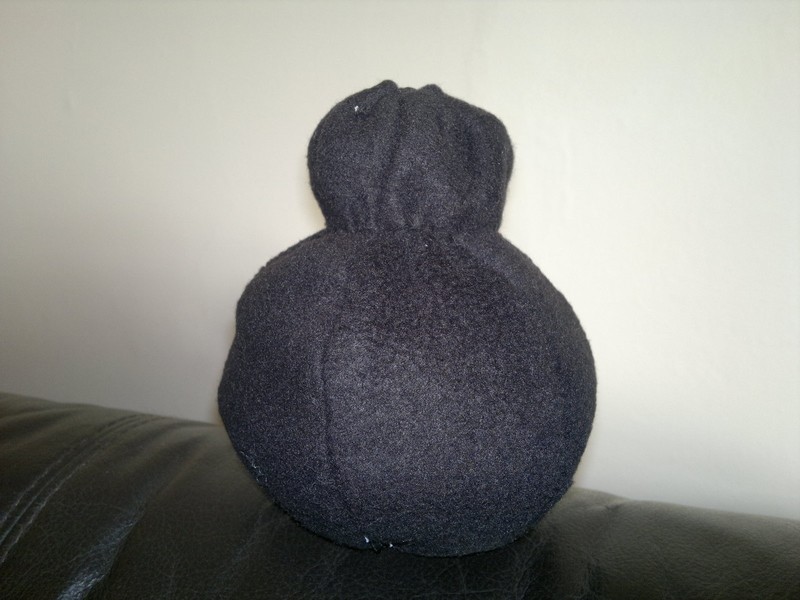
 Step 5
Stuff it until round and firm. This might take some squidging to achieve the correct shape, but it should look a bit squashed anyway. Sew up the hole and put the base to one side.
-
 Step 6
Grab your body, fold in half width ways, and sew the two ends together. Turn right way out.
-
 Step 7
Gather the top of the body (sew a loose line of running stitches round the top edge, yank the ends until the hole closes, and sew closed).
-
 Step 8
Hand sew the body on to the base. Make sure to leave a gap to stuff the body firmly, then once stuffed finish the stitching.
-
 Step 9
Cut out your six head pieces and make the head in exactly the same way as you made the base (this will turn out a flatter ball and require less squidging).
-
 Step 10
Sew the head to the body. It may look a little out of proportion at this point - don't worry, it does turn out balanced at the end! Pop your body to one side and grab your hair bits.
-
 Step 11
A note on the hair - the pattern says cut four or six bits. I only used four in the end, but there are gaps left between, so if you prefer you can overlap them when sewing on and have six. It's untested though, so may not look quite right.
-
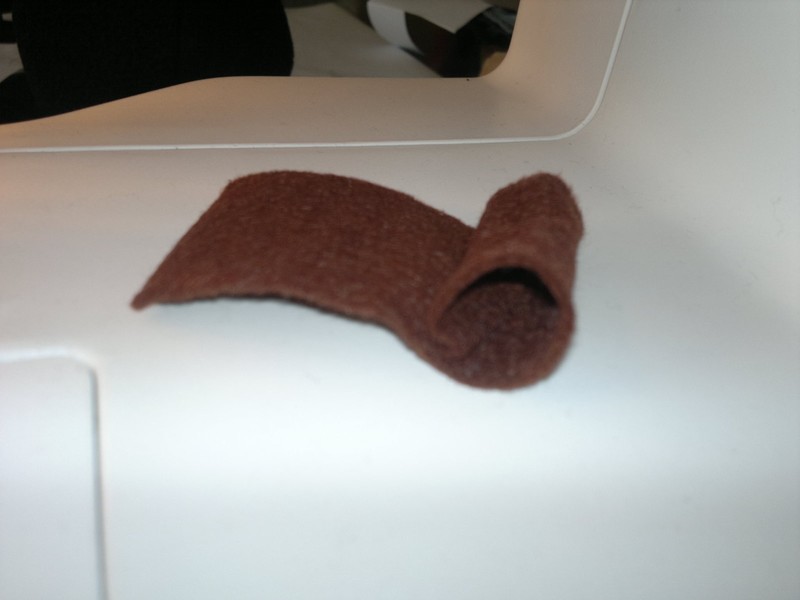
 Step 12
Wrap the bottom of the hair strip around your index finger, and pin in place. This makes a curl. Catch the end with a small stitch...
-
 Step 13
...and it should look like this!
-
 Step 14
Sew the hair to the head by placing it where you want it, then flipping it over length ways so the curl faces down and sew in place.
-
 Step 15
Then flip your hair back on itself and the curl is the right way up. (Please ask if these two steps don't make sense and I'll try to explain it better).
-
 Step 16
Sew all four or six hair strips on in this way. They will stick out at a funny angle, which we'll fix next step.
-
 Step 17
Pinch two sections of the hair together at the curls and sew a stitch to keep them together (use brown thread - I used white just to show you what I meant and replaced it after the photo). Do this for every edge that can touch another (so three stitches). You can de-poof the hair to hide the gaps when they're all sewn together.
-
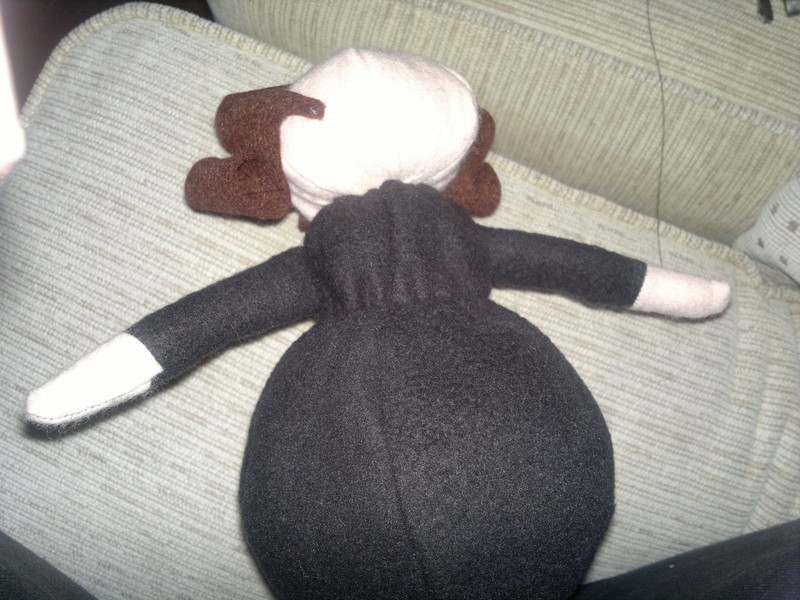
 Step 18
Here's what the sewn down hair looks like. Put your work so far to one side, and grab your arm and hand pieces.
-
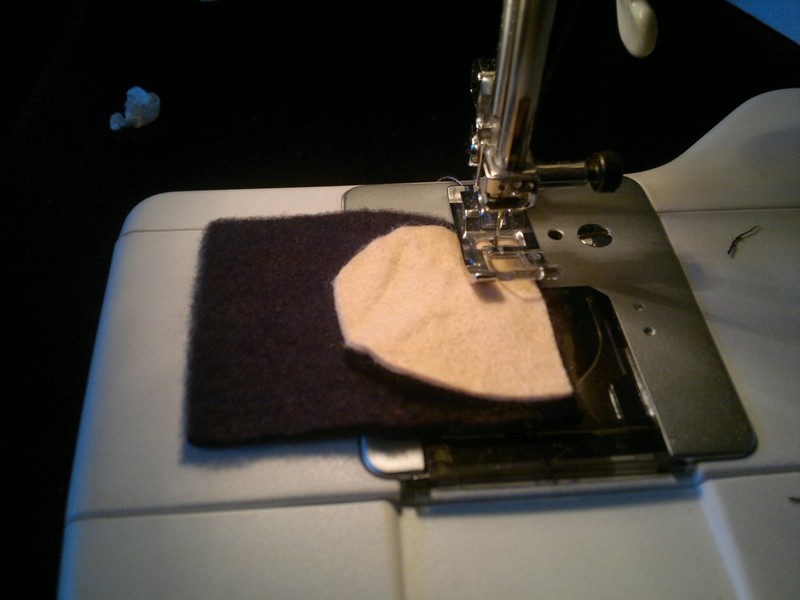
 Step 19
Sew the hand to the arm as shown - when you flip the hand out it has a smooth seam, it's not backwards.
-
 Step 20
Fold your arm in half length ways, keeping that hand seam on the outside, and sew down the long edge right to the fold of the hand. Leave the end of the sleeve open.
-
 Step 21
Turn your arm (use closed, round ended scissors to help), stuff, and sew the end closed flat.
-
 Step 22
Sew your arms in place on the side of the body.
-
 Step 23
With both arms sewn on, Shakespeare looks like he's having a stretch. They'll be brought into line with the scroll later so don't worry. He should look a bit more in proportion now too.
-
 Step 24
While you can still get to his face, use a few little scraps of brown felt to sew on as a pointy beard and moustache. (No pattern pieces for these because they're really small - they could be drawn on if you'd prefer too).
-
 Step 25
Cut out your ruff/ collar pattern piece. Make sure it's a horseshoe, and you've cut the bottom apart.
-
 Step 26
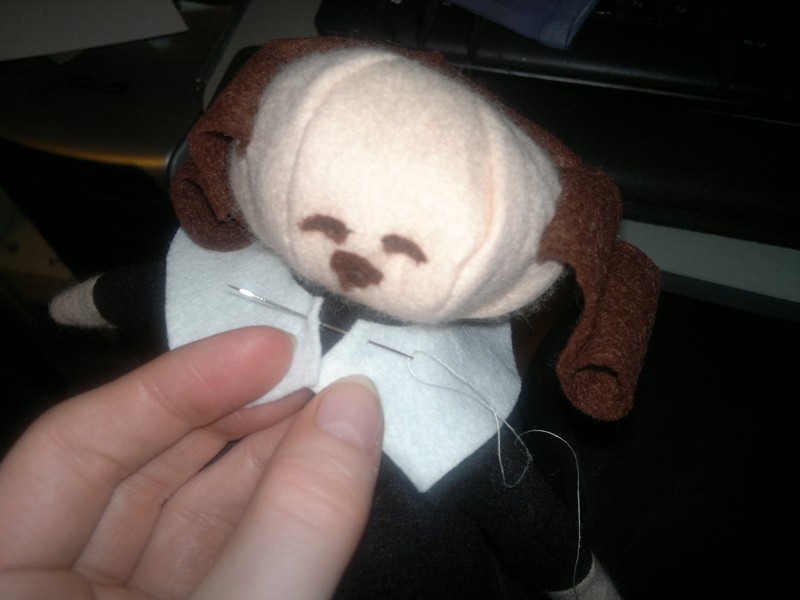
Slip the ruff around his chin and sew in place.
-
 Step 27
Close up on the sewing so you can see the type of stitch to use (hopefully). Pop him to one side again.
-
 Step 28
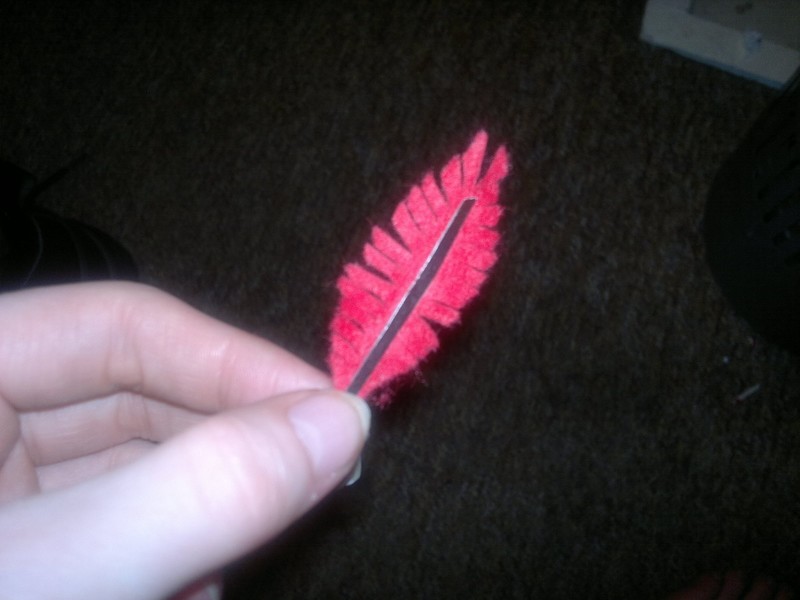
Get your quill bit now. You need to stick a small strip of black card down the centre to give it some solidity, and then snip round the edge to feather the felt. Ruffle it a bit when you're done so it's not too clean cut.
-
 Step 29
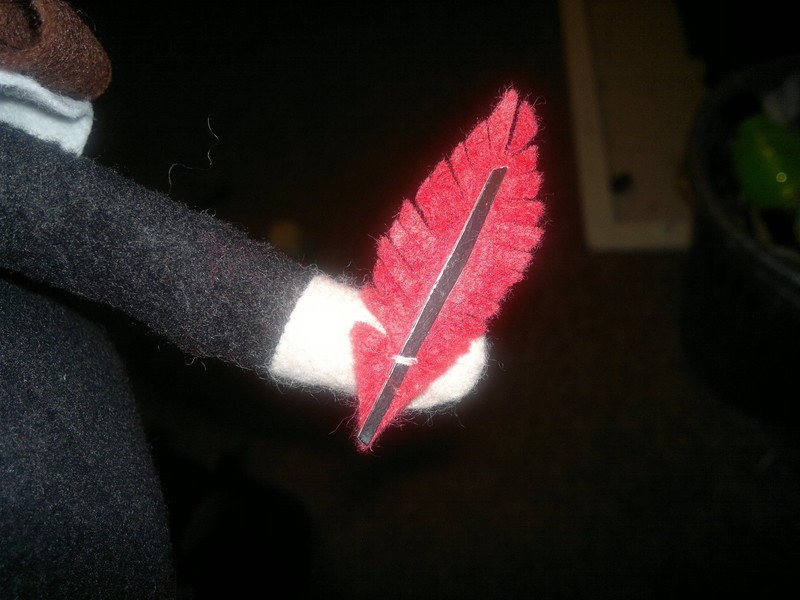
Sew the quill to one hand. I chose his left (from his POV) but you can do whichever.
-
 Step 30
Grab your scroll strip, and curl the ends in the same way as you did his hair.
-
 Step 31
Sew to both hands so he looks like he's holding it.
-
 Step 32
Grab the white fabric paint (I used 3D fabric paint in a tube, but regular should work ok).
Draw the shirt details (two 'seams' and three buttons) and put two blobs on the face as eyes. -
 Step 33
With the black fabric paint, drop some pupils into the eyes, and add eyebrows, a nose and a mouth. Leave these to dry overnight before you do the next step, just to avoid accidental smudging. The pupils may spread - mine did.
-
 Step 34
Finish Shakespeare off with some relevant scroll text. 'Thank thee!' seemed appropriately Shakespearian, but you could do anything, such as a famous Shakespeare quote, or a more personal message. Depends if it's a gift for someone else or for you to keep.
-
 Step 35
And that's it. One Shakespeare - mine got given to my colleagues with a selection of goodies and was received with lots of cooing and two commissions - result :)


Comments

