


About
<3
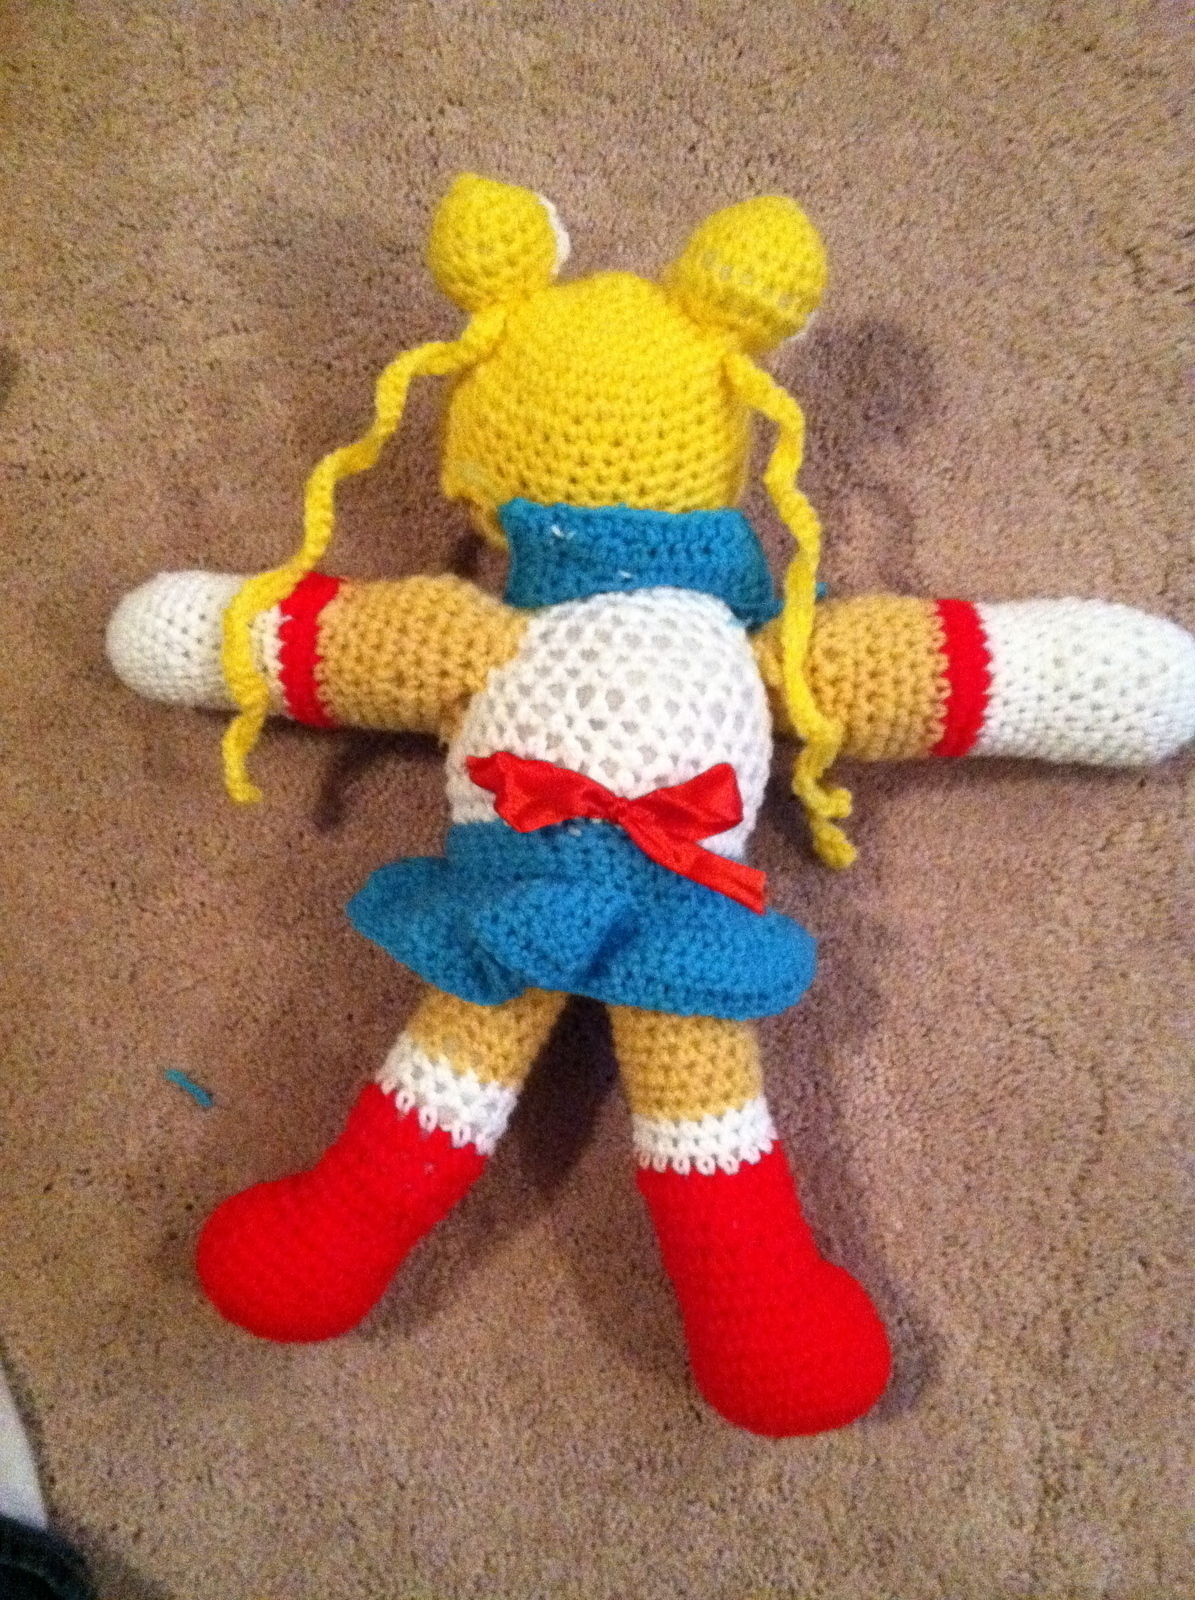
I've always loved sailor moon, so when i saw other sailor moon amigurumis, i got inspired to make my own! sorry if the instructions are a bit confusing, i may have gotten a bit lazy near the end! =P I've also attached a word document for you. If anything sound confusing, just reference the pictures! feel free to make and sell these as many times as you want! so if you have any questions or are confused on something, feel free to leave a comment and i'll get back to you!
Tags
Downloads
- Sailor_Moon_Pattern_Crochet.docx 94.8 KB [ Download ]
-
 jeny S. commented on Sailor Moon Amigurumi
09 Sep 16:22
jeny S. commented on Sailor Moon Amigurumi
09 Sep 16:22
-
 Kylene B. commented on Sailor Moon Amigurumi
11 Oct 00:05
Kylene B. commented on Sailor Moon Amigurumi
11 Oct 00:05
-
Kylene B. favorited Sailor Moon Amigurumi
10 Oct 23:36
-
Step 1
Gather all of your supplies
-
Step 2
HEAD:
Using peach:
Rnd 1: 6 sc in Magic Ring (6)
Rnd 2: 2 sc in each sc around (12)
Rnd 3: sc in next sc, 2 sc in next sc around (18)
Rnd 4: sc in next 2 sc, 2 sc in next sc around (24)
Rnd 5: sc in next 3 sc, 2 sc in next sc around (30)
Rnd 6: sc in next 4 sc, 2 sc in next sc around (36)
Rnd 7-12: sc in each sc around (36)
Rnd 13: sc in next 4 sc, dec over next 2 sc around (30)
Rnd 14: sc in next 3 sc, dec over next 2 sc around (24)
Begin stuffing at this point if you haven't already.
Stuff head firmly while shaping as you go along.
Rnd 15: sc in next 2 sc, dec over next 2 sc around (18)
Rnd 16: sc in next sc, dec over next 2 sc around (12)
Rnd 17: dec over next 2 sc around (6)
F/O, leave a tail for closing. Add any bits of stuffing needed to finish shaping the head nicely. Weave tail through the final row and draw up tight to close. Secure and weave in ends.BODY:
Using white:
Repeat rounds 1-7 of HEAD.
Rnd 8-11: sc in each sc around (42)
Rnd 12: sc in next 5 sc, dec over next 2 sc around (36)
Rnd 13-14: sc in each sc around (36)
Rnd 15: sc in next 4 sc, dec over next 2 sc around (30)
Rnd 16-17: sc in each sc around (30)
Rnd 18: sc in next 3 sc, dec over next 2 sc around (24)
Rnd 19: sc in each sc around (24)
Rnd 20: sc in next 2 sc, dec over next 2 sc around (18)
Rnd 21: sc in each sc around (18)
F/O and stuff moderately firm, leaving opening at neck as is for now.LEGS (Make 2):
Starting with red:
Rnd 1: 6 sc in magic circle (6)
Rnd: 2: 2 sc in each sc, around (12)
Rnd 3: sc in next sc, 2 sc in next sc, around (18)
Rnd 4: sc in next 2 sc, 2 sc in next sc, around (24)
Rnd 5-10: sc in each sc, around (24)
Rnd 11: dec 6 times, sc in next 11 sc (17)
Rnd 12: Dec 3 times, sc in next 11 sc (14)
Rnd 13-17: sc in each sc, around (14)
Switch to white
Rnd 18-19: sc in each sc, around (14)
Switch to peach/beige
Rnd 20-30: sc in each sc, around (14)
F/O and stuff moderately firm, leaving opening as is for nowARMS (Make 2):
Starting with white
Rnd 1: 6 sc in magic circle (6)
Rnd 2: 2 sc in each sc, around (12)
Rnd 3: sc in next sc, 2 sc in next sc, around (18)
Rnd: 4-6: sc in each sc, around (18)
This next part is for the thumb (Optional)
Rnd: 7: sc in next sc, ch 7. Sc in 2nd st from hk, sc in next 5 st.
sc in rest of sc, around (18)
Rnd 8-15: sc in each sc, around (18)
Switch to red
Rnd 16-17: sc in each sc, around (18)
Switch to beige
Rnd 18-27: sc in each sc, around (18)
F/O and stuff moderately firm, leaving opening as is for now
In order to give the thumb more dimension, fold it in half and stitch it into placeHAIR:
TOP OF HEAD
Using yellow
REPEAT ROUNDS 1-6 OF HEAD
Rnd 7-15: sc in each sc, around (36)
F/O do not stuffBANGS
Place the top of the hair on the head where you want it to be, then find the middle three stitches and on either side count back 5 stitches and start there
Row 1: sl st and sc 5 times towards the centre (5)
Row 2: turn, sc into each sc 13 times (13)
Row 3: turn, sc in to each sc 13 times (13)
F/O and repeat on the other sideBUNS/DUMPLINGS/MEATBALLS (Make 2)
Rnd 1: 6 sc in magic circle (6)
Rnd 2: sc in next sc, 2 sc in next sc, around (9)
Rnd 3: sc in next 2 sc, 2 sc in next sc, around (12)
Rnd 4: sc in next sc, 2 sc in next sc, around (18)
Rnd 5-7: sc in each sc around (18)
Rnd 8: sc in next sc, dec over next 2 sc, around (12)
Rnd 9: sc in next sc, dec over next 2 sc, around (8)
Stuff firmly
Rnd 10: dec over next 2 sc, around (4)
F/O and leave a long tail to attach to the head. Stuff firmly.HAIRBALL COVERS (MAKE 2):
Rnd 1: 5 sc in magic circle (5)
Rnd 2: sc in next sc, 2 sc in next sc, around (7)
Rnd 3-4: sc in eac sc, around (7)
Switch to white
Rnd 5-6: sc in each sc, around (7)
PIGTAILS (Make 2):
Chain as many times as you need, then sc in each stitch for two more rowsSkirt:
*DON’T DO THE SKIRT UNTIL YOU HAVE FINISHED ATTACHING THE REST OF THE PIECES*
For the skirt, I didn’t really have a set pattern; I just started near the bottom of the body and single crocheted around and around, and when I got to the third or fourth row I started adding more stitches in (crocheting two stitches into one stitch) until I reached a desired length.Collar:
Row 1: Ch 15
Row 2-5: sc in each sc
COLLAR SIDES (Make 2)
Row 1: Sc in each sc for five stitches (5)
Row 2: Turn around and dec four times (4)
Row 3: Dec three times (3)
Row 4: Dec two times (2)
Row 5: Dec once (1)
This may seem a little confusing, essentially, you’re trying to make the collar go around the head to the front, so you only single crochet a few times in the first row then keep decreasing until you only have one stitch. If you have any questions, please feel free to ask.
You may also adjust the size/stitches or whatever to fit your needs
F/O and leave a long tail to attach to the body
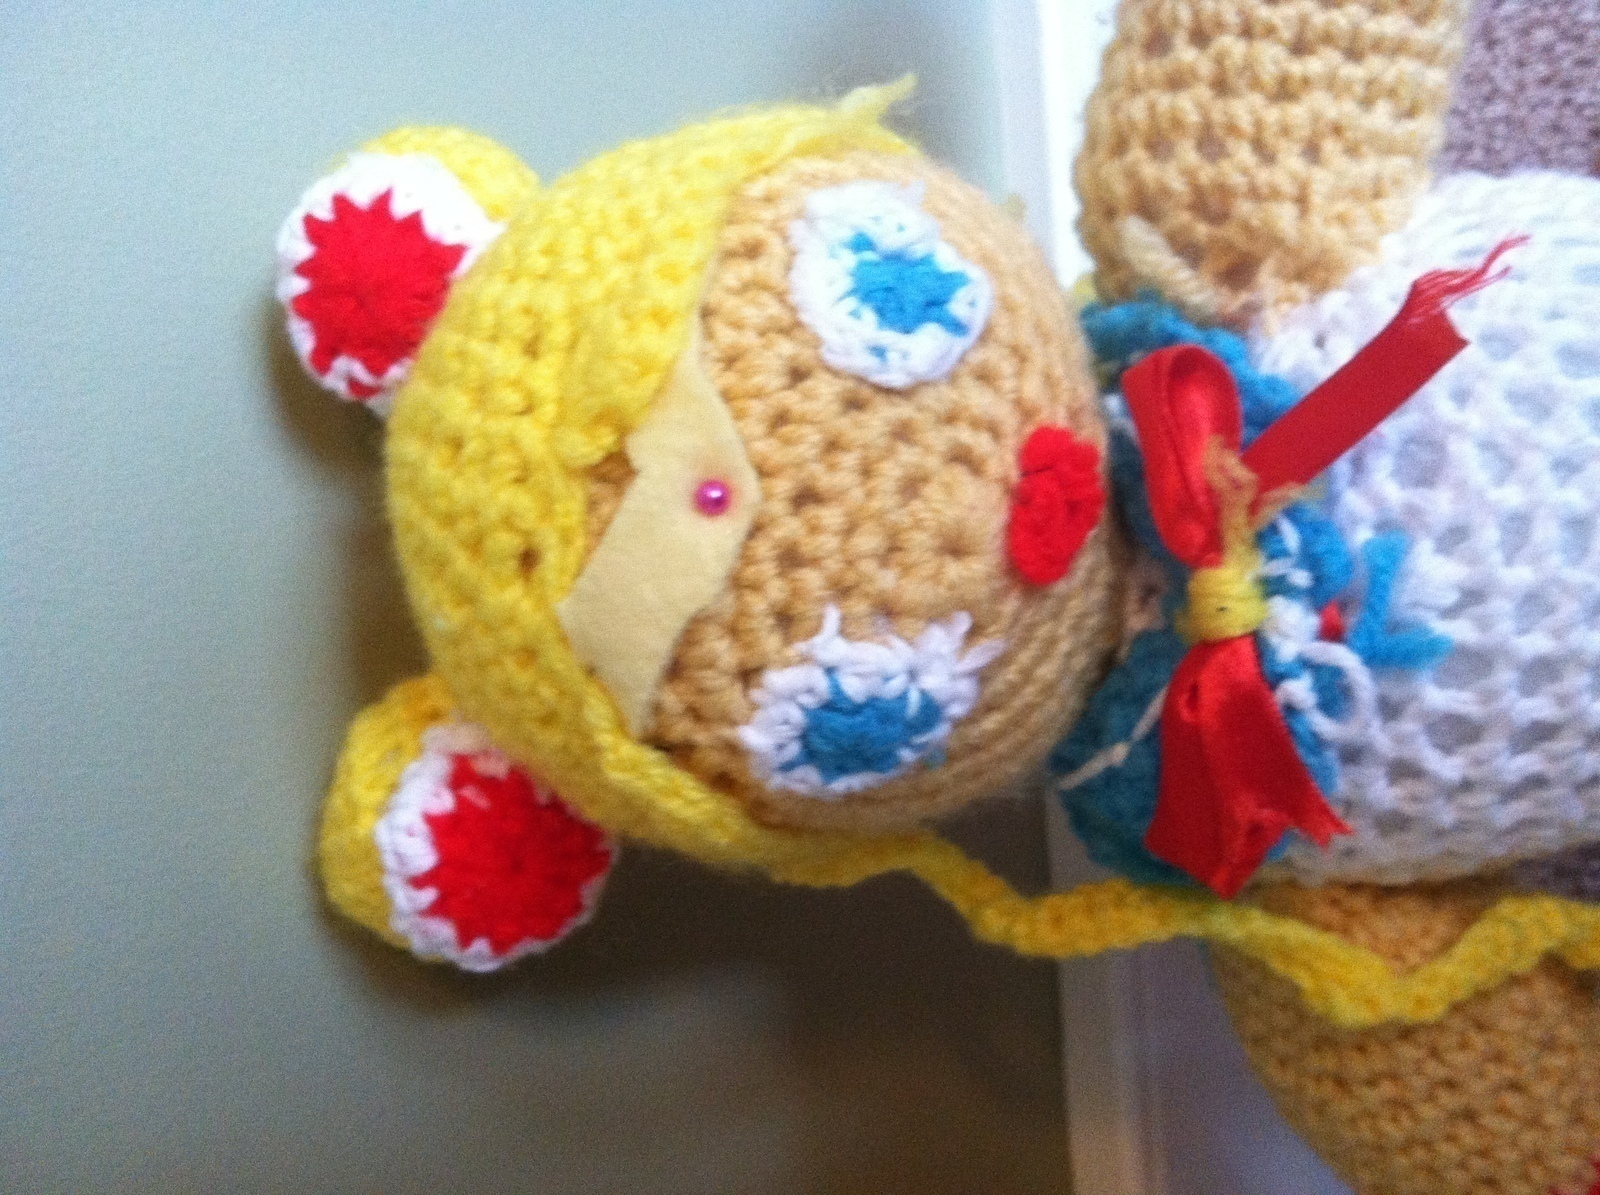
Attach the collar by taking white yarn and starting a little bit off the edge onto the collar and stitch around to also make the collar’s lining (see picture)
Now just tie a red ribbon into a bow and secure it onto the collar by stitching some yellow yarn around and onto the collarEyes (Make 2):
Rnd 1: 4 sc in magic circle (4)
Rnd 2: sc in each sc, around (4)
Switch to white
Rnd 3: sc in each sc around (4)
F/O and leave long tail to attach to the headMouth:
*DON’T MAKE THE MOUTH UNTIL THE VERY END*
For the mouth, just take some red yarn and keep stitching round to make a mouth shape (see picture) -
Step 3
ASSEMBLY
HEAD TO BODY:
Attach the opening of the head to the opening of the body, then stitch them into place
BODY TO LEGS:
Attach the opening of each leg to the bottom of the body, each on one side, then stitch them together . Make sure they’re not too far apart, and also make sure they’re facing the right direction!ARMS TO BODY:
Attach the opening of each arm to the sides of the body, one on each side. Make sure the thumbs are in a position you want them in, then stitch them togetherHAIR TO HEAD:
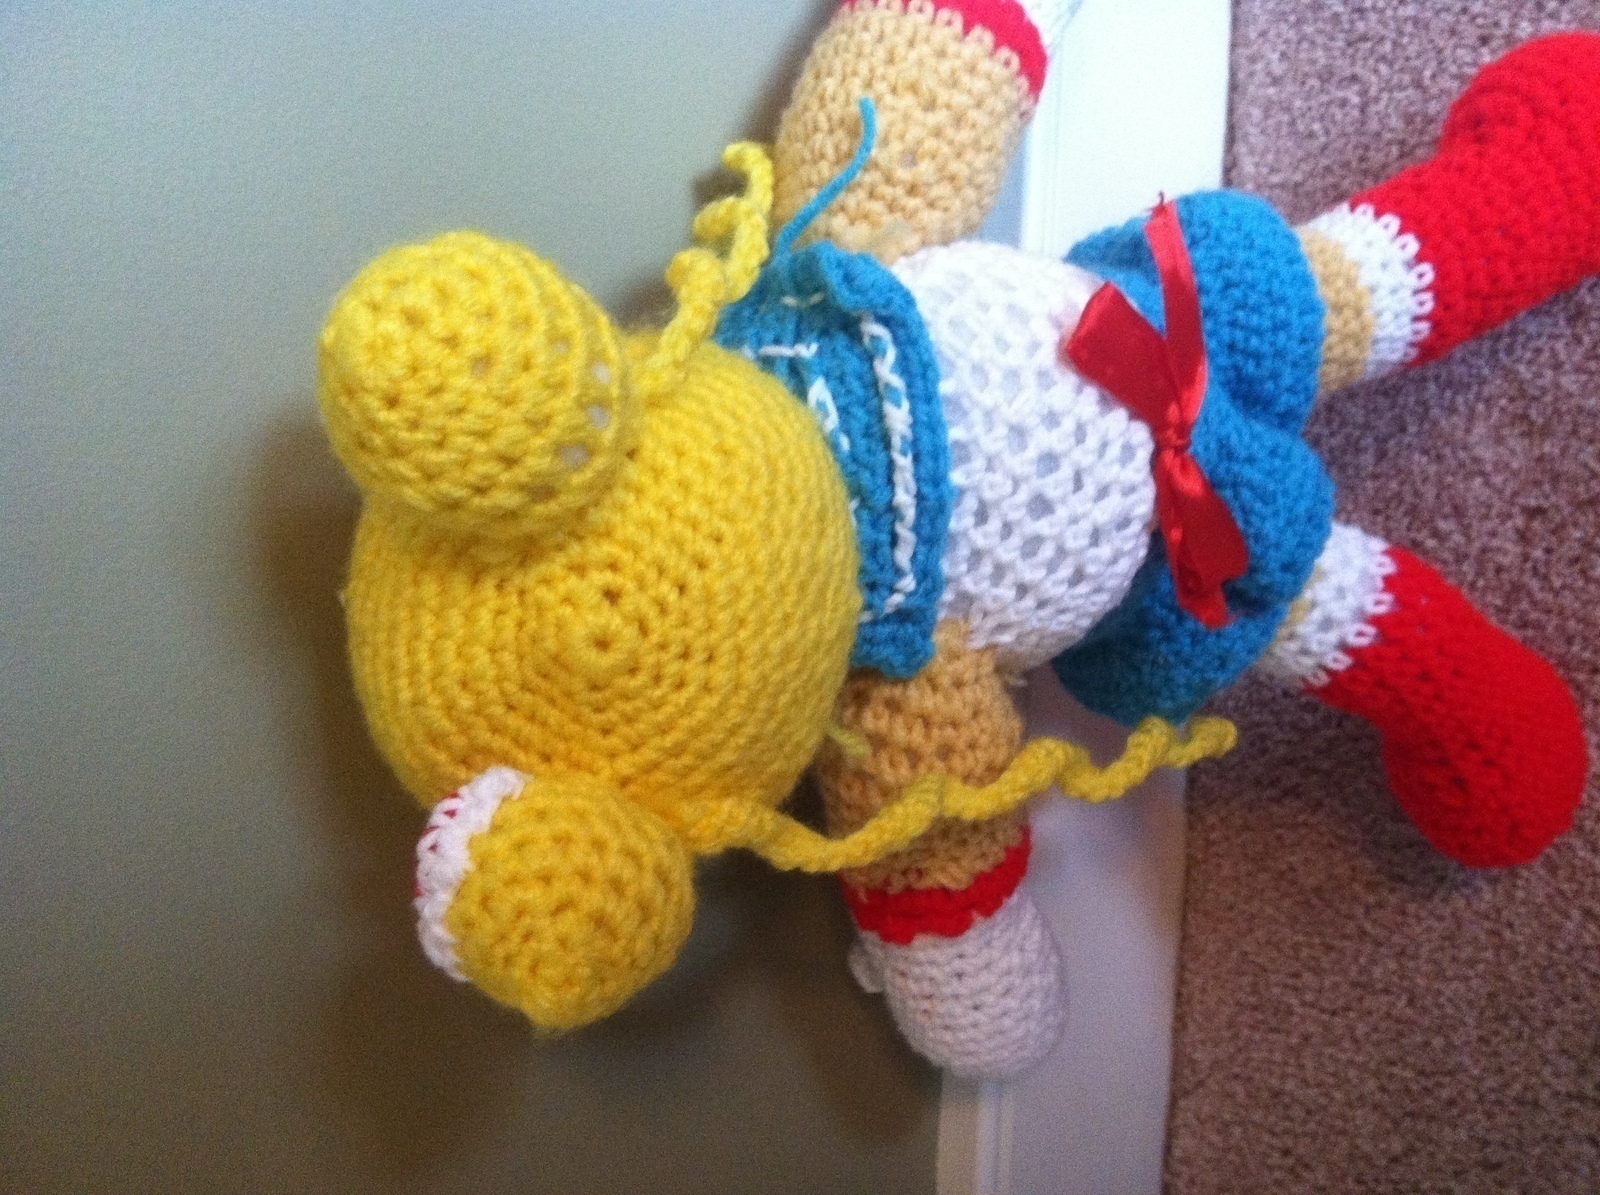
Attach the top of the head/bangs first and stitch them into place. Before stitching the buns onto the top of head, stitch one pigtail to each of the buns, then position and stitch the bun covers to the buns, then position and stitch them onto the top of head.COLLAR TO BODY:
Attach the collar by taking white yarn and starting a little bit off the edge onto the collar and stitch around to also make the collar’s lining (see picture)
Now just tie a red ribbon into a bow and secure it onto the collar by stitching some yellow yarn around and onto the collarTIARA:
Take some yellow cloth and cut it out into a “V” shape then attach it to the head, right under the bangs (see picture), and add a bead or something in the centre for the jewel.
EYESPosition the eyes onto the head, then stitch them into place.
NOW MAKE THE MOUTH AND SKIRT
don't forget to attach the ribbon in the back onto the skirt!
-
Step 4
And voila! Now you have your very own Sailor Moon amigurumi =) enjoy!
Comments


