

About
easy, cheap and fun baubles for the holiday season
These are quick, easy, cheap and great fun. You can use anything to decorate these baubles. It's a fun activity to do as a group, especially great as a family activity!Let your imagination run wild! I have several sets of these, some (as pumpkins and skulls) for Halloween some for birthdays and a whole bunch for Christmas.
This is my first how-to so please comment and tell me if I'm not clear enough. Sadly my camera is on strike, sorry if the illustrations are not clear enough.
Tags
-
 Siana favorited Paper Baubles
02 Dec 02:25
Siana favorited Paper Baubles
02 Dec 02:25
-
 Kemo S. favorited Paper Baubles
23 Oct 20:41
Kemo S. favorited Paper Baubles
23 Oct 20:41
You Will Need
-
 Step 1
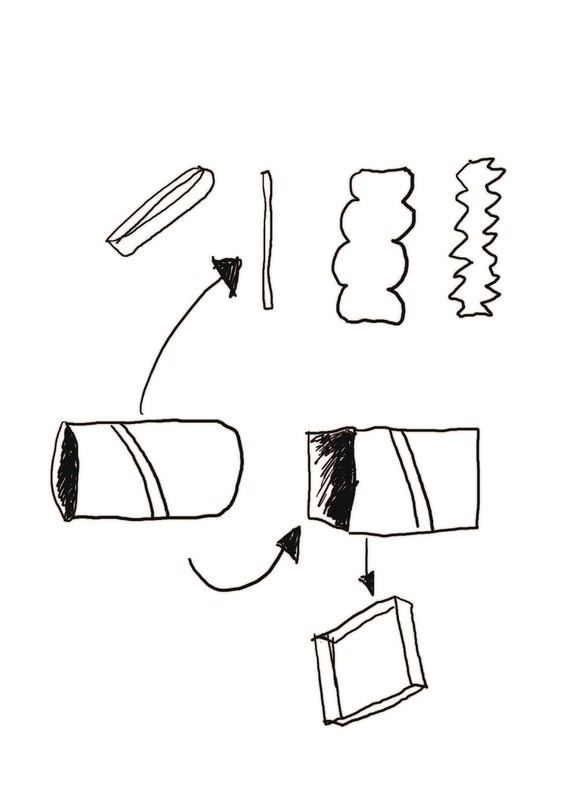
Take one toilet roll tube, flatten it slightly and mark out where you are going to make your cuts. I used mixed sizes for most of mine. Make sure the width of your ring is going to be wider than the diameter of your hole punch.
Flattening slightly will make it easier to cut (especially for kiddywinkles) and means there is no measuring needed for when you use you hole punch.
(Yes that is supposed to be a hand.....Yes I am aware that it looks nothing like a hand :| )
-
 Step 2
Once you have all your lines drawn start hacking away. You should have up to eight rings when your finished.
If you use pinking shears or scalloped edge scissor you can have a variety of nice effects.
If you squish the toilet roll tube completely twice (making it into a square shape) you can make other 3d shapes....
-
 Step 3
Now grab your deco stuff.
ribbons
crayons
paints
glitter (lots of shiny glitter)
buttons
glue
sequins
tin foil
tissue scraps
wrapping paper
fabric scraps
wool
stickers
etc.....basically anything you can get your mitts on!
Warning: Remember you still need to make two little holes in your ring, so don't cover that area. (I know I'm stating what seems to be obvious, but when you're dazzled by glitter and laughing your socks off because your brother is doing a Harry Potter impression with two of the rings, you can forget all sorts of things. -
 Step 4
When everything is dry grab your magic hole maker and go nuts.... well not too nuts...in fact let's stay on the right side of sane for the moment.
You may need to resquish your ring slightly just to get the placement right, then mark your spots and hole punch!
-
 Step 5
now gather 2-4 of your rings. I don't recommend more than four because the next bit can become fiddly.
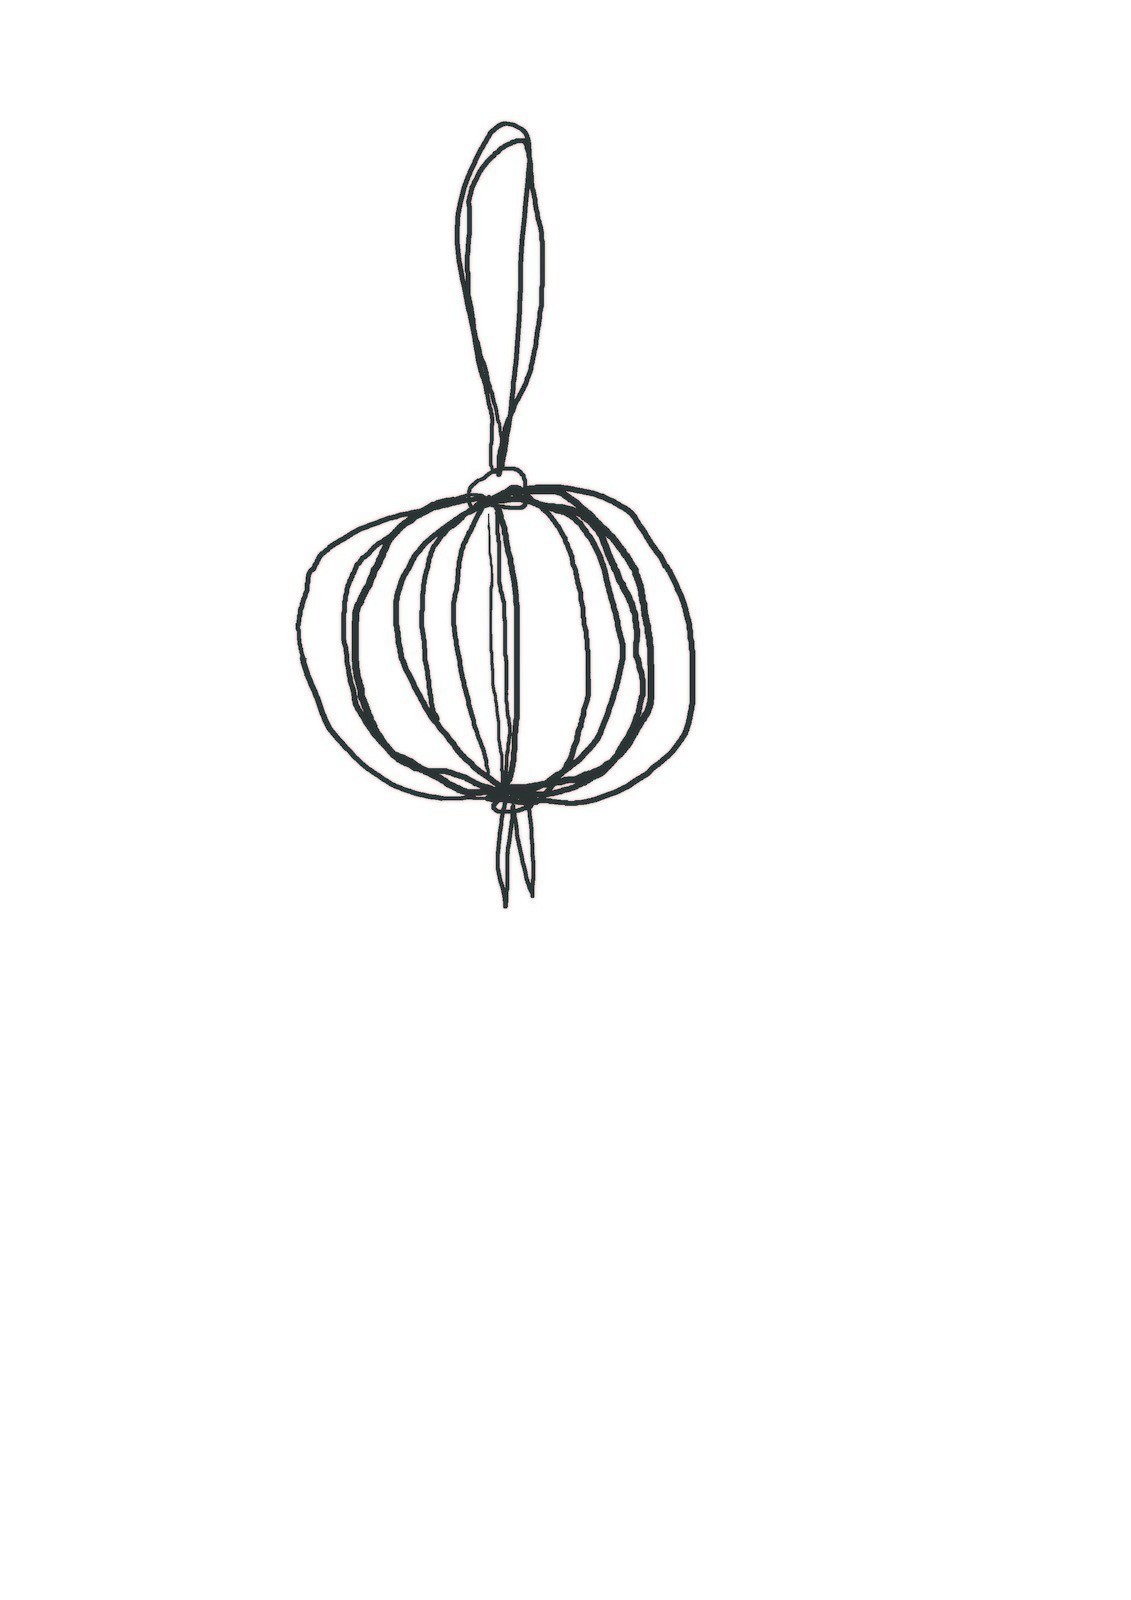
Go grab the ribbon (or beads or string etc) you set aside to make your loop. fold it in half and tie a knot (bows are prettiest, and as an extra Christmassy touch you could add a bell). Now keep this within arm's reach.
Now you need to fit your rings one inside the other (the fiddly part we discussed is coming up!). You have to make sure all the holes line up.
An easy way to do this is to stick a pen or thin paintbrush through the holes.Next grab your loop and feed it through the holes. When it's through the top hole you need to tie another knot, or you can string some beads on first (I have a few with beads in the middle). You can get a really nice effect by push down slightly on the rings.
-
Step 6
You can do loads of really fun things with these baubles.
For Halloween I put them on a longer loop and attached them to a mobile. I put about 30 on really short loops of varying lengths and made a long garland
I made a second garland by stringing several on the same loop.My next challenge is to attached them to fairy lights without burning the house down :D
I hope you have fun


Thanks for 'Loving' my project.
Here is the answer from admin.
Hey Amelia,
We cache pages to make them faster, so it may take a while for the images to appear but they will appear for everyone eventually! If you're still having issues though, send us a link to the project and we can have Tom, the tech guy check it out.
Crafterella
Let me know if you still have trouble and I will contact the techwizard
You're not really missing much because my camera is broken so I drew the pics on photoshop. They are standard jpg pics so I'm not sure why they won't show.I'll send a message to the admin to see if they have an answer.