
About
It's much neater then a box.
So I was using this little box to store my headbands, and it wasn't working out too well. I had the bands hanging over the side of the box, and I had so many jammed in there, that when I pulled one out, three more came with it. I've been trying for months to think of some other way to store them. And then it dawned on me. I keep my hair clips on a strip of ribbon hanging over the side of my dvd stand. So why couldn't I do something similar with the hairbands.
Tags
-
 Angzii Attackz favorited Headband Rack
21 Jan 02:04
Angzii Attackz favorited Headband Rack
21 Jan 02:04
-
 Emo Chick favorited Headband Rack
10 Jan 14:43
Emo Chick favorited Headband Rack
10 Jan 14:43
-
 WaterAngel added Headband Rack to Organize!
07 May 00:12
WaterAngel added Headband Rack to Organize!
07 May 00:12
-
 eFenuska added Headband Rack to Stuff
05 May 20:06
eFenuska added Headband Rack to Stuff
05 May 20:06
-
 Sandra W. favorited Headband Rack
20 Dec 14:23
Sandra W. favorited Headband Rack
20 Dec 14:23
-
 Sarah R. favorited Headband Rack
06 Dec 11:58
Sarah R. favorited Headband Rack
06 Dec 11:58
-
 ninasnaturals favorited Headband Rack
09 Nov 19:25
ninasnaturals favorited Headband Rack
09 Nov 19:25
-
 naya.x.black added Headband Rack to home decor
20 Sep 20:45
naya.x.black added Headband Rack to home decor
20 Sep 20:45
-
 Kim B. favorited Headband Rack
09 Sep 19:35
Kim B. favorited Headband Rack
09 Sep 19:35
-
 LEENA B. favorited Headband Rack
03 Sep 22:02
LEENA B. favorited Headband Rack
03 Sep 22:02
-
Step 1
I got a thick poster board, grosgrain ribbon and some vinyl drawer liner from the dollar store. This whole project cost me $3.00.
-
 Step 2
First I had to cut the board. I kept the length of the board, and cut it wider then my headbands. I want my headbands to lay flat against it.
-
 Step 3
I got this vinyl drawer liner to cover the board. I would have used wrapping paper, but I couldn't find anything that wasn't flowery or colorful. I found this in the kitchen area. It was just wide and long enough to cover the width and length of my board. This stuff looks wider and longer then it really is. It's 12x30in. I wanted the pattern to line up just right on the board, so I wasn't worried about wasting the vinyl and saving scraps.
-
 Step 4
If your using regular wrapping paper or fabric or something else to cover the foam board, then you'll want to lay the board out on the paper and trace out enough to cover the board.
-
 Step 5
I used rubber cement and covered both the board and the back of the liner. Once it dried I very carefully laid it tight to the board. Getting the pattern to line up just right was the hardest part. If your using regular wrapping paper, I suggest gluing a small section at a time. The 2nd board I made had glue bubbles cause I laid the paper down all at once. I would have used glue sticks for the thinner paper if I had any.
-
 Step 6
Then I measured out were I want the ribbon loops to sit. I used a sharpie to mark it. I marked 15 spaces on this one. Make sure to leave space between the loops for the bigger headbands. If the thicker band loops are to close together then the band won't lay close to the board.
-
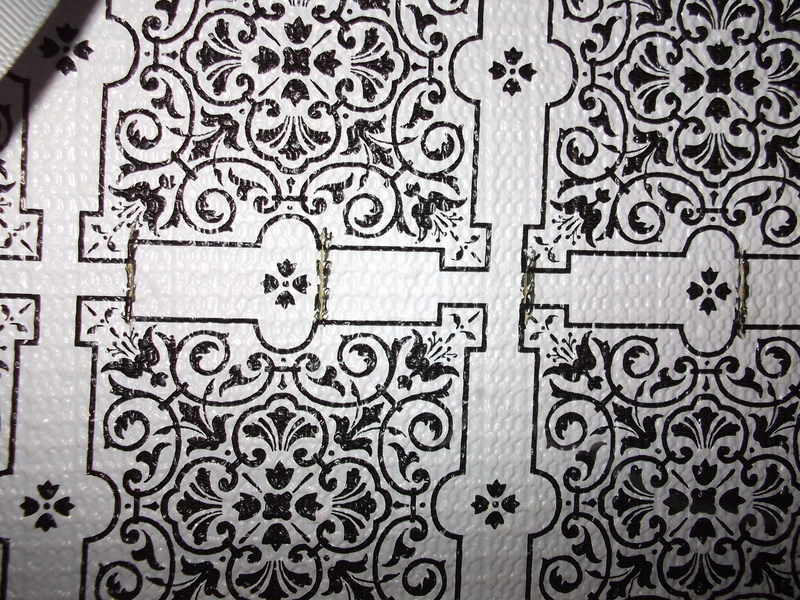
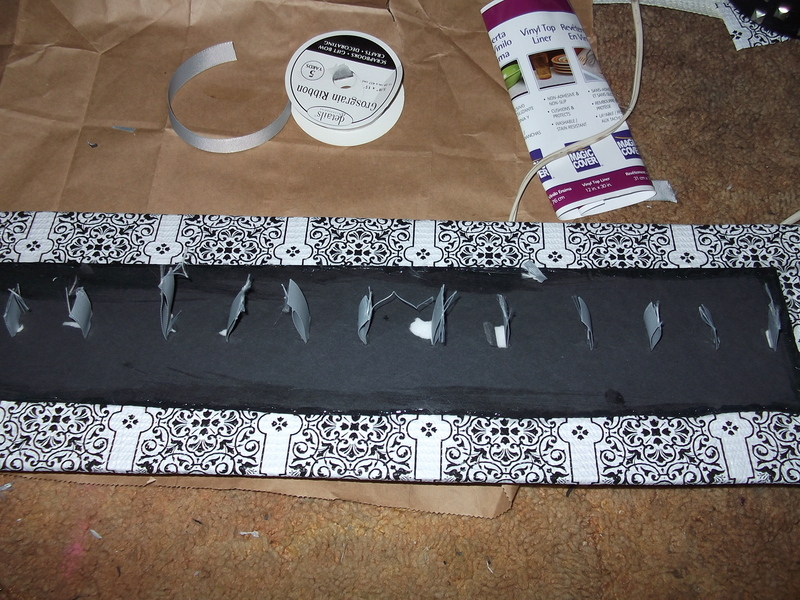
 Step 7
Then I used a box cutter to cut out the notches. Make sure to cut a little wider then the ribbon your using.
-
 Step 8
I used grosgrain ribbon for this project. I thought the texture of the ribbon would help hold onto the headbands better then other ribbons. But you can use what you like. I measured the ribbon around the thickest part of my thickest band. Then I added two and a half inches for the parts that will be glued to the back of the board.
-
Step 9
I cut 4 strips of ribbon 6 inches long. This will be the loops for the wider headbands. Then I cut 11 strips 4 inches long for the smaller band loops.
-
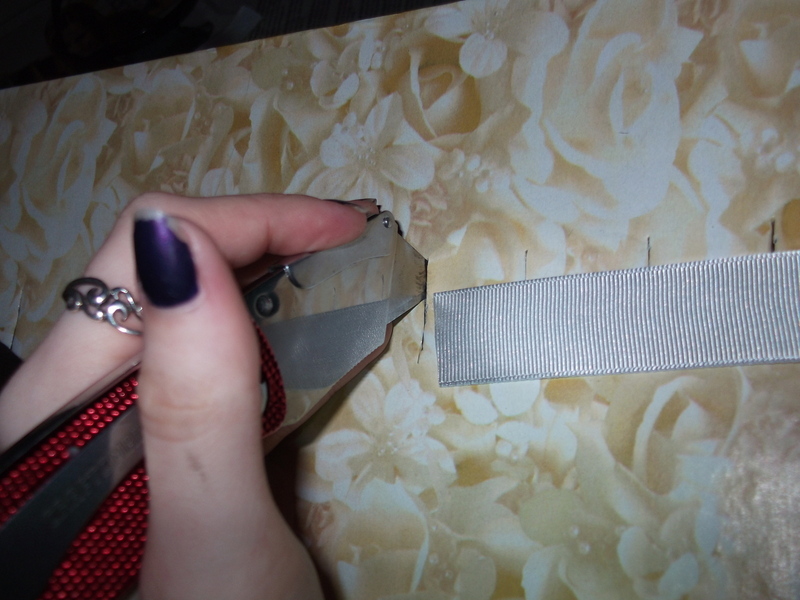
 Step 10
Then I pushed one end of the ribbon through the hole I cut at the bottom of the board.
-
 Step 11
Then I pushed in the other end of the ribbon. Repeat steps 9 & 10 for all ribbon loops.
-
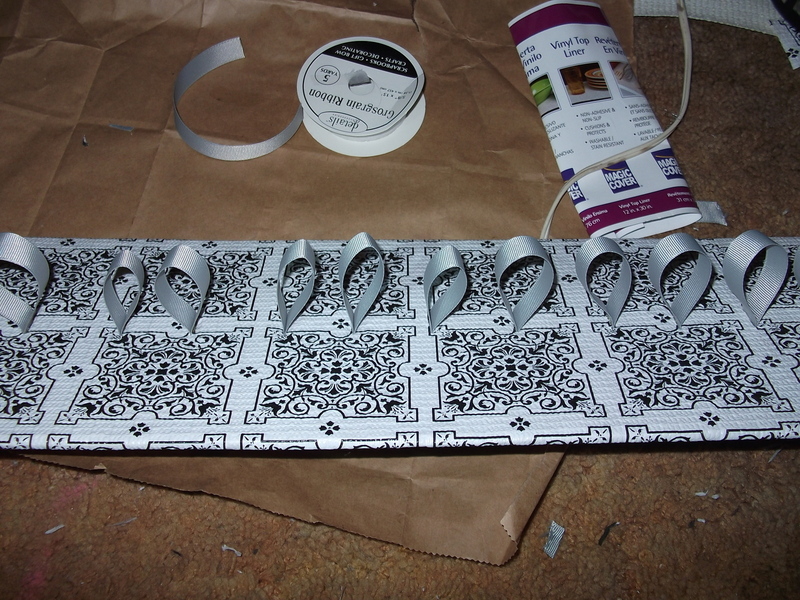
 Step 12
You should have something like this on the front.
-
 Step 13
And this is what the back should look like.
-
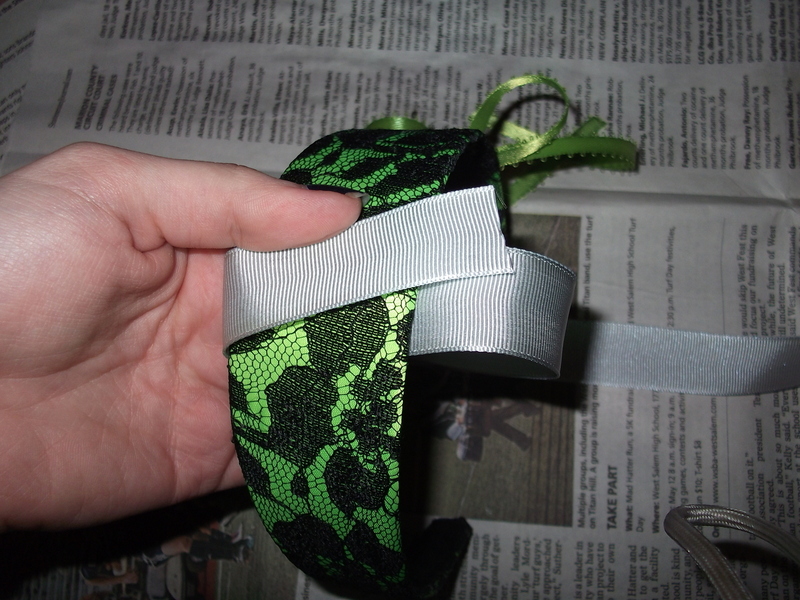
 Step 14
I used my glue gun to glue down the ends of the ribbon on the back of the board. I sized it by sliding a headband through and pulling the ribbon tighter, but not to tight. If the ribbon is to loose or too tight, then the band will fall out easy or it'll be to hard to get in or out. Do this for all the loops. Make sure to make some loops smaller and some bigger. Not all headbands are the same size. I put the smallest loops at the top of the board and the biggest at the bottom.
-
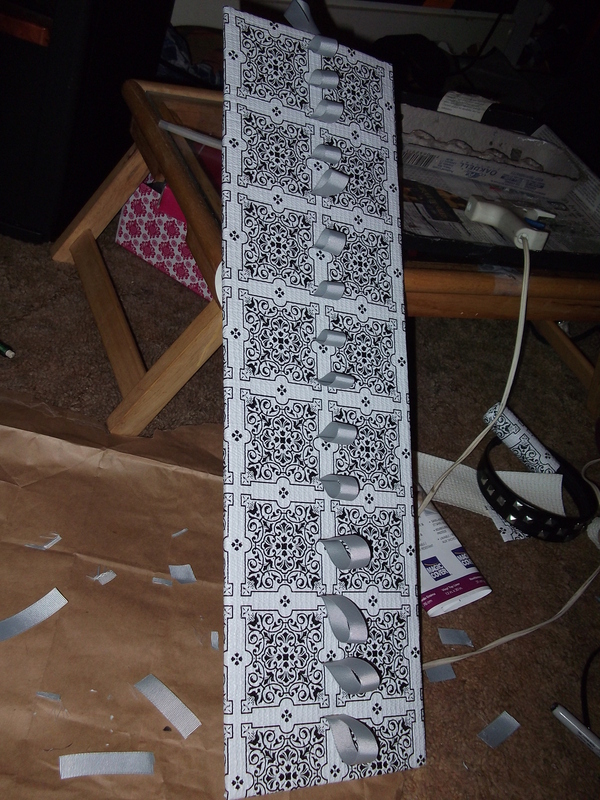
 Step 15
After I glued all the other ribbon ends down, this is what that should look like. I also glued down the vinyl liner edges.
-
 Step 16
Cut a small scrap of ribbon and glue it down in a loop. Now you can hang it up.
-
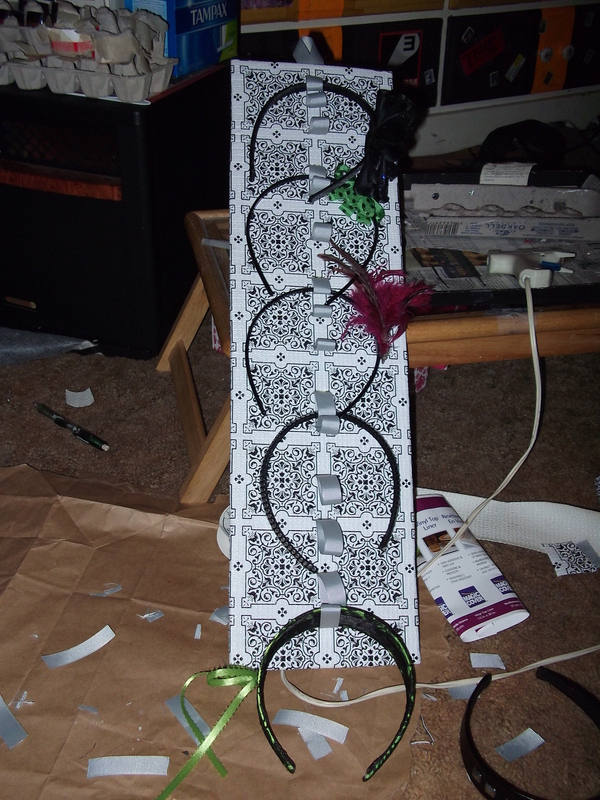
 Step 17
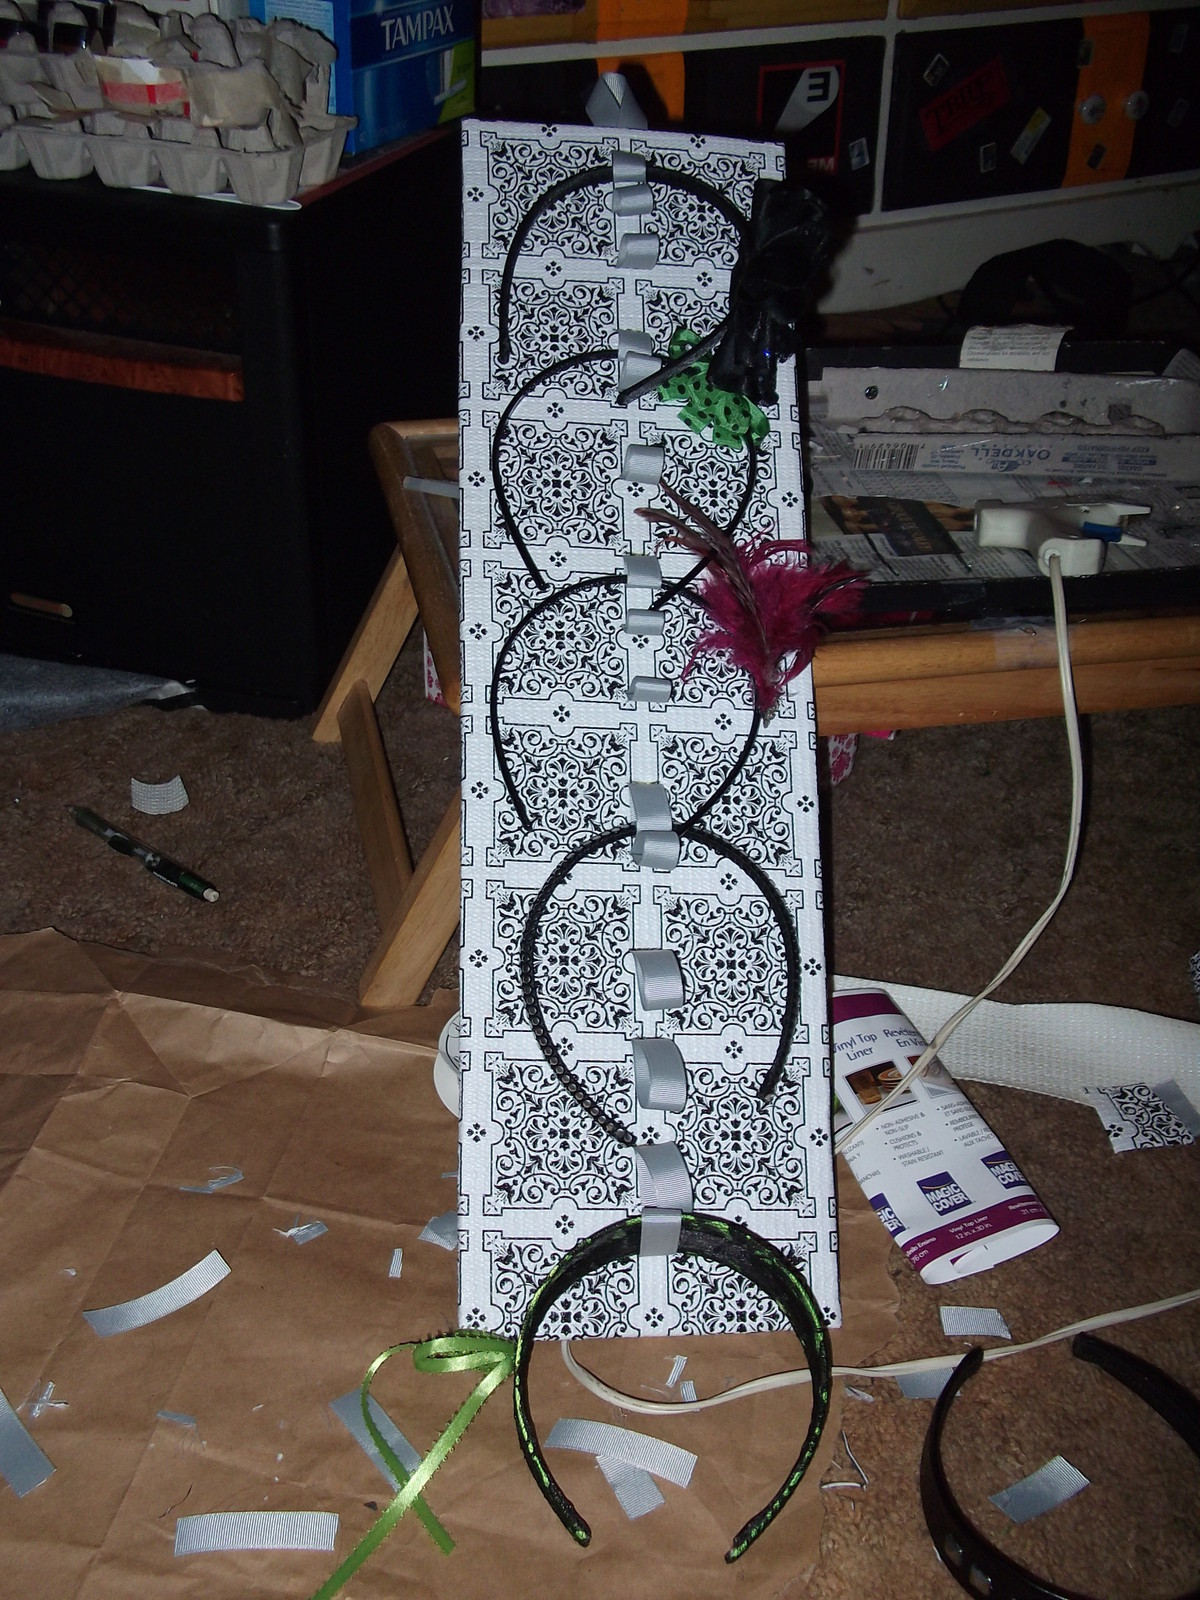
All done. Now you just have to put a headband through the loops.
-
 Step 18
All finished.
-
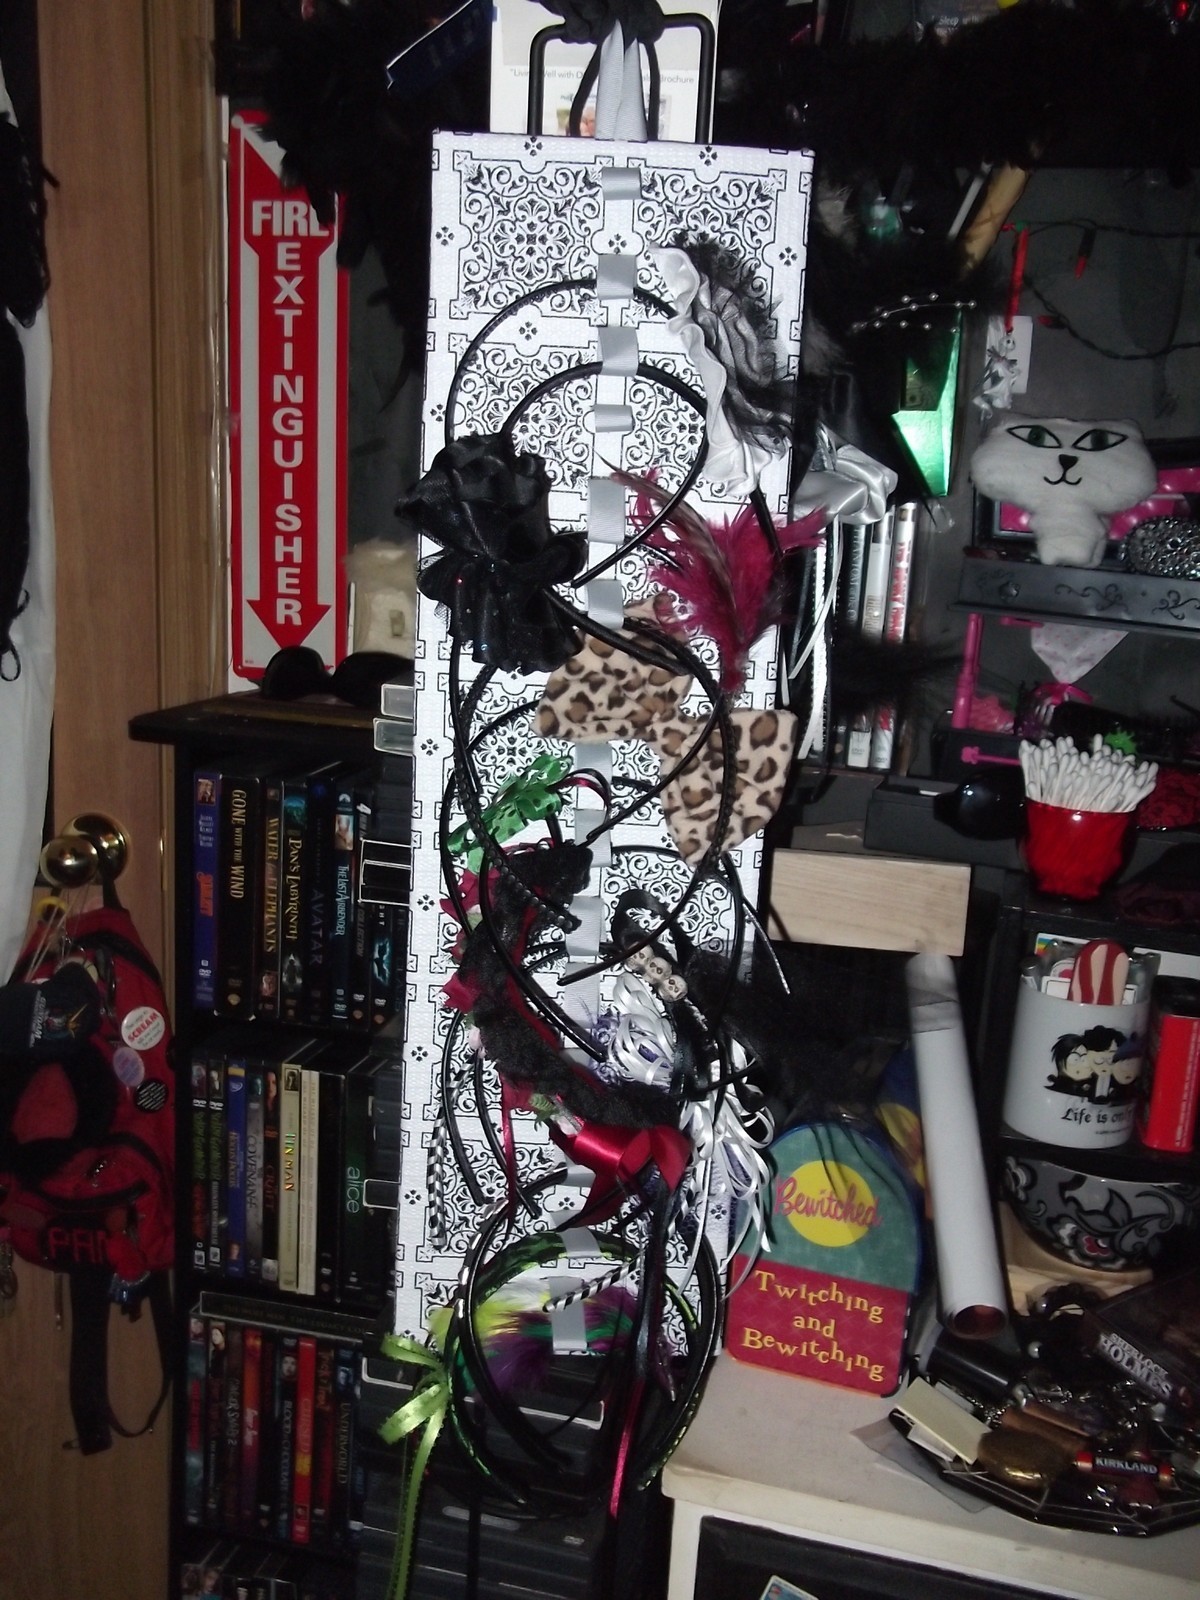
 Step 19
This is mine all full.
-
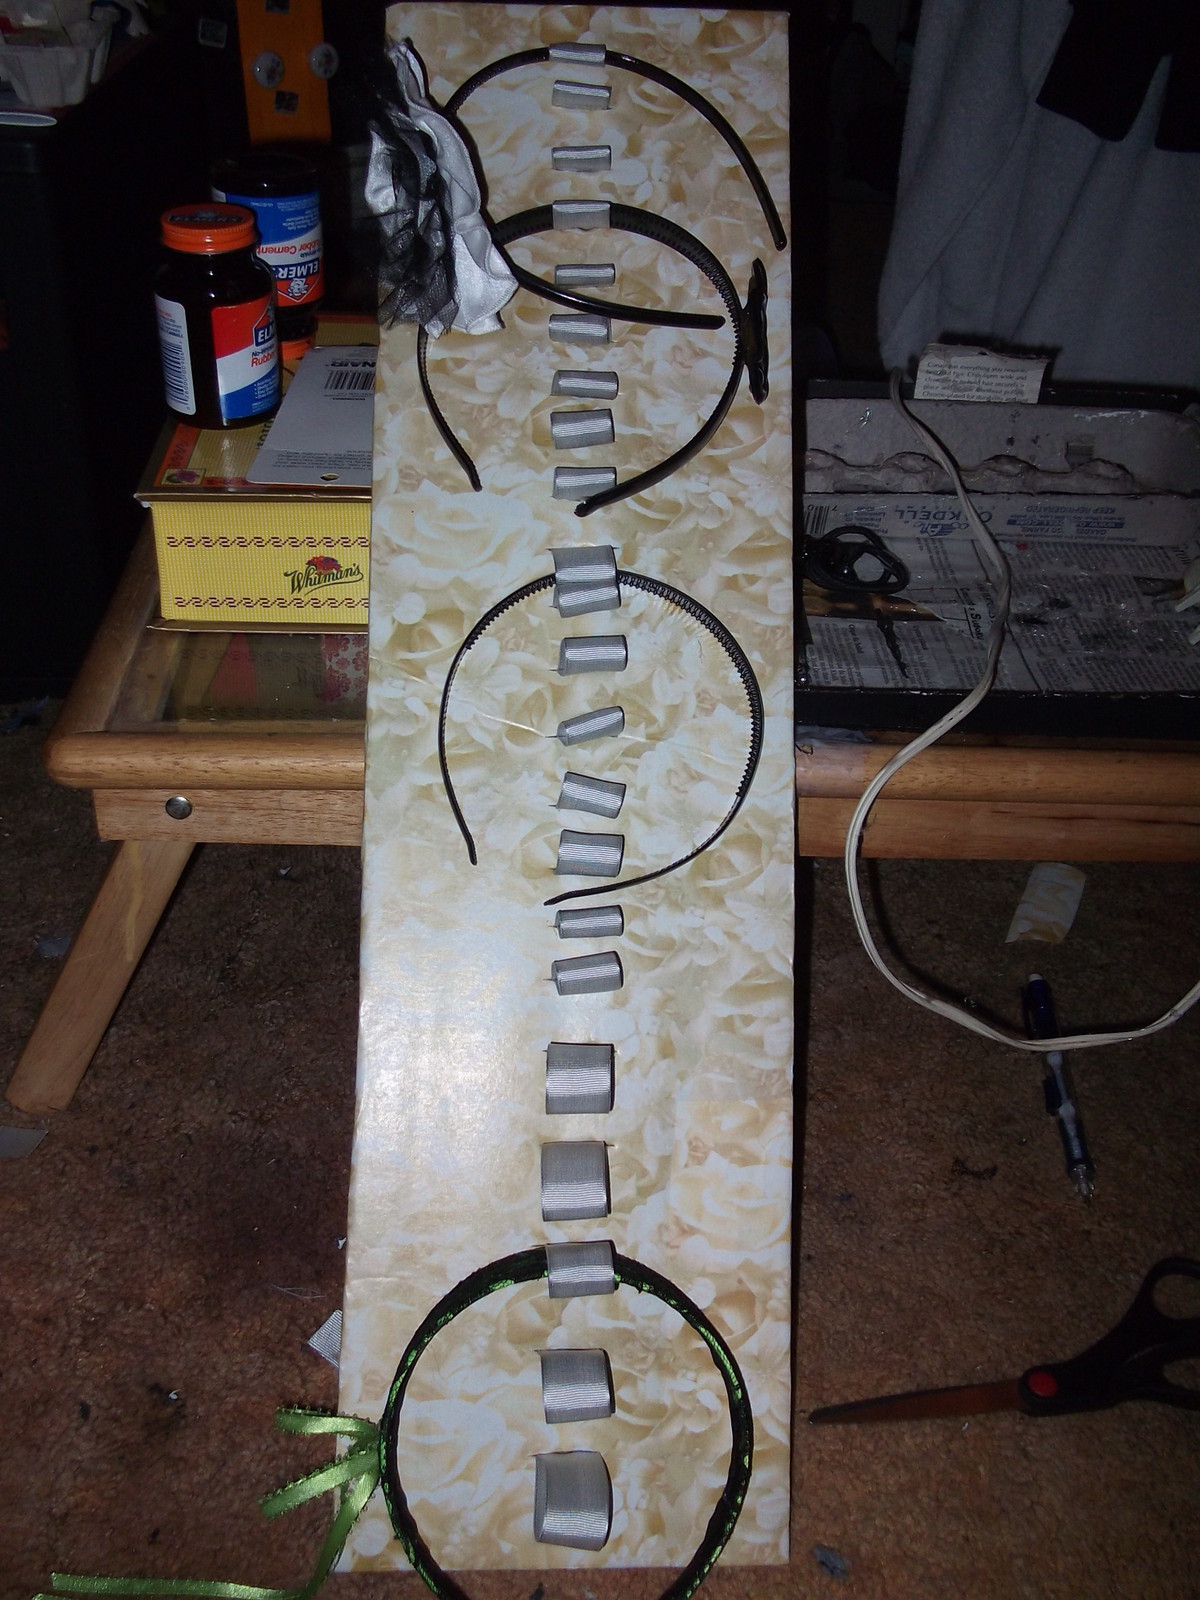
 Step 20
This was the second board I did. I'm not really sure why the ribbon loops look so crooked. I cut the holes straight. Oh well, it won't really matter when the headbands are on it. This board holds 22 bands.