


About
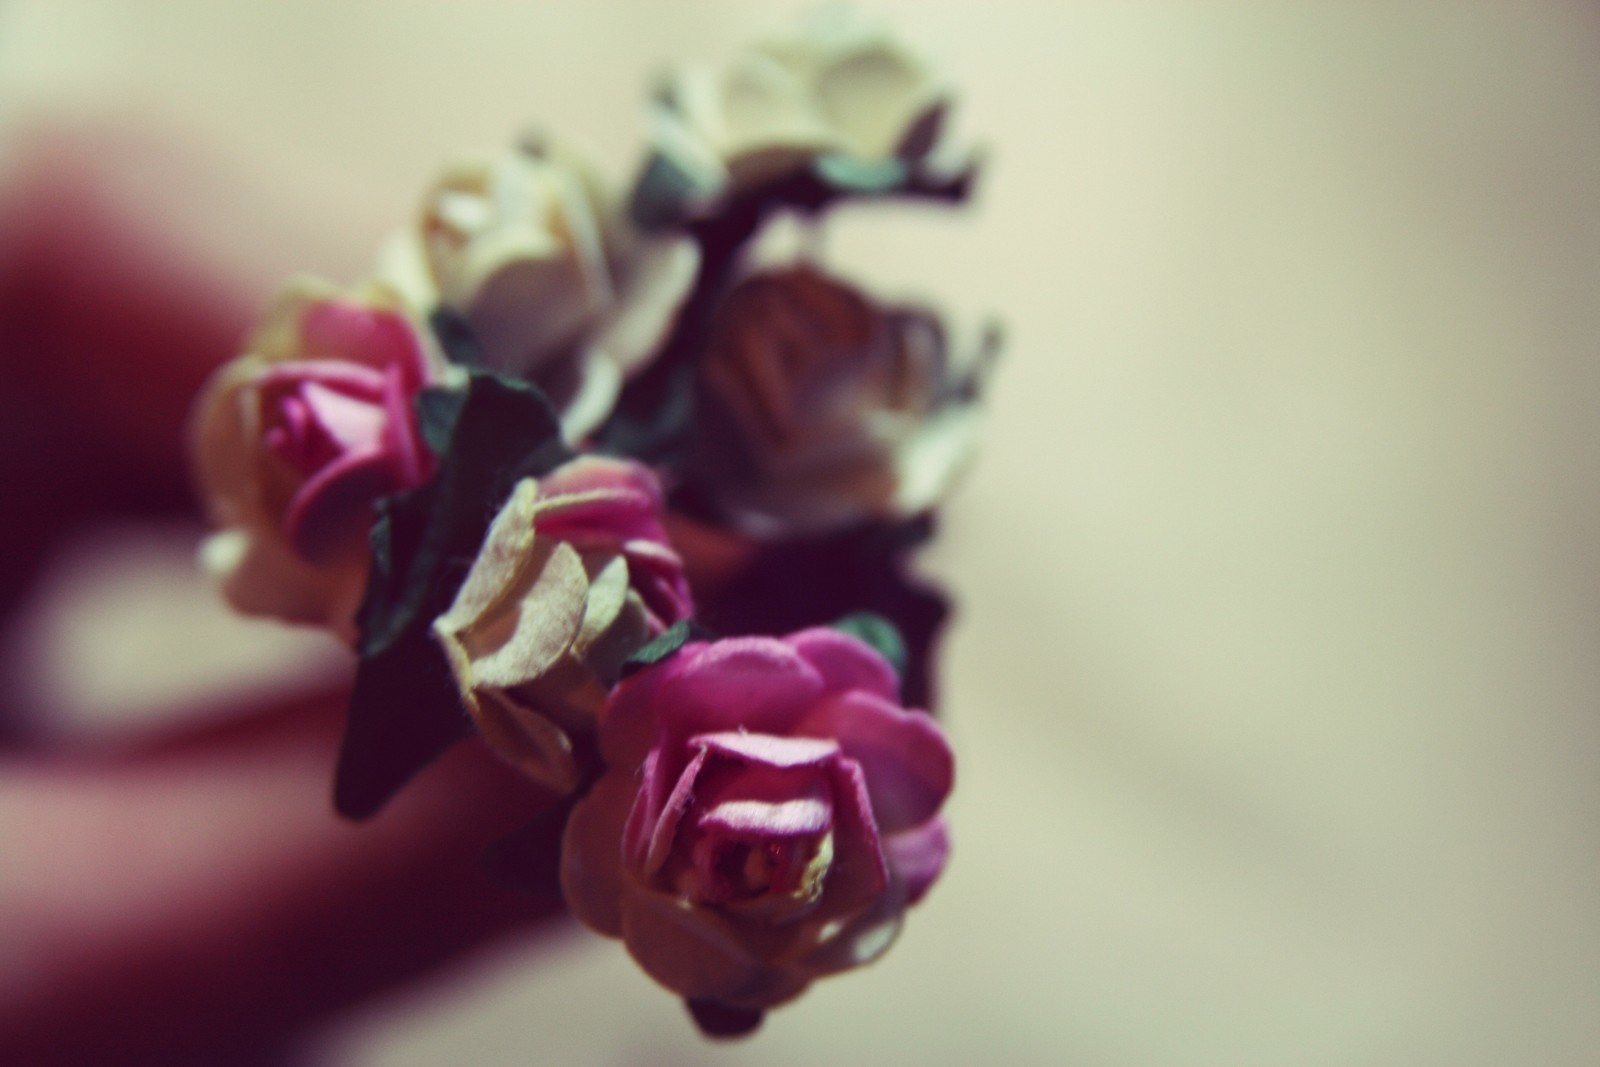
A dainty accessory perfect for spring
I meant to post this quite a while ago, had I not left my laptop behind over the holidays I would have had it done much sooner. Alas, there is nothing to be gained thinking of what could have been. This project was sparked into existence when I stumbled upon the loveliest little flowers in a small haberdashery in Staines. I'd gone with the student newspaper team for a trip the the nearest amusement park, spending most of the day on the teacups with a good friend of mine. We left a little early and took the shuttle back to the train station, and were it not for my stupidity and our getting off at the wrong stop we would have never found this treasure. Little mistakes are sometimes magical.
Ah, back to the tutorial!
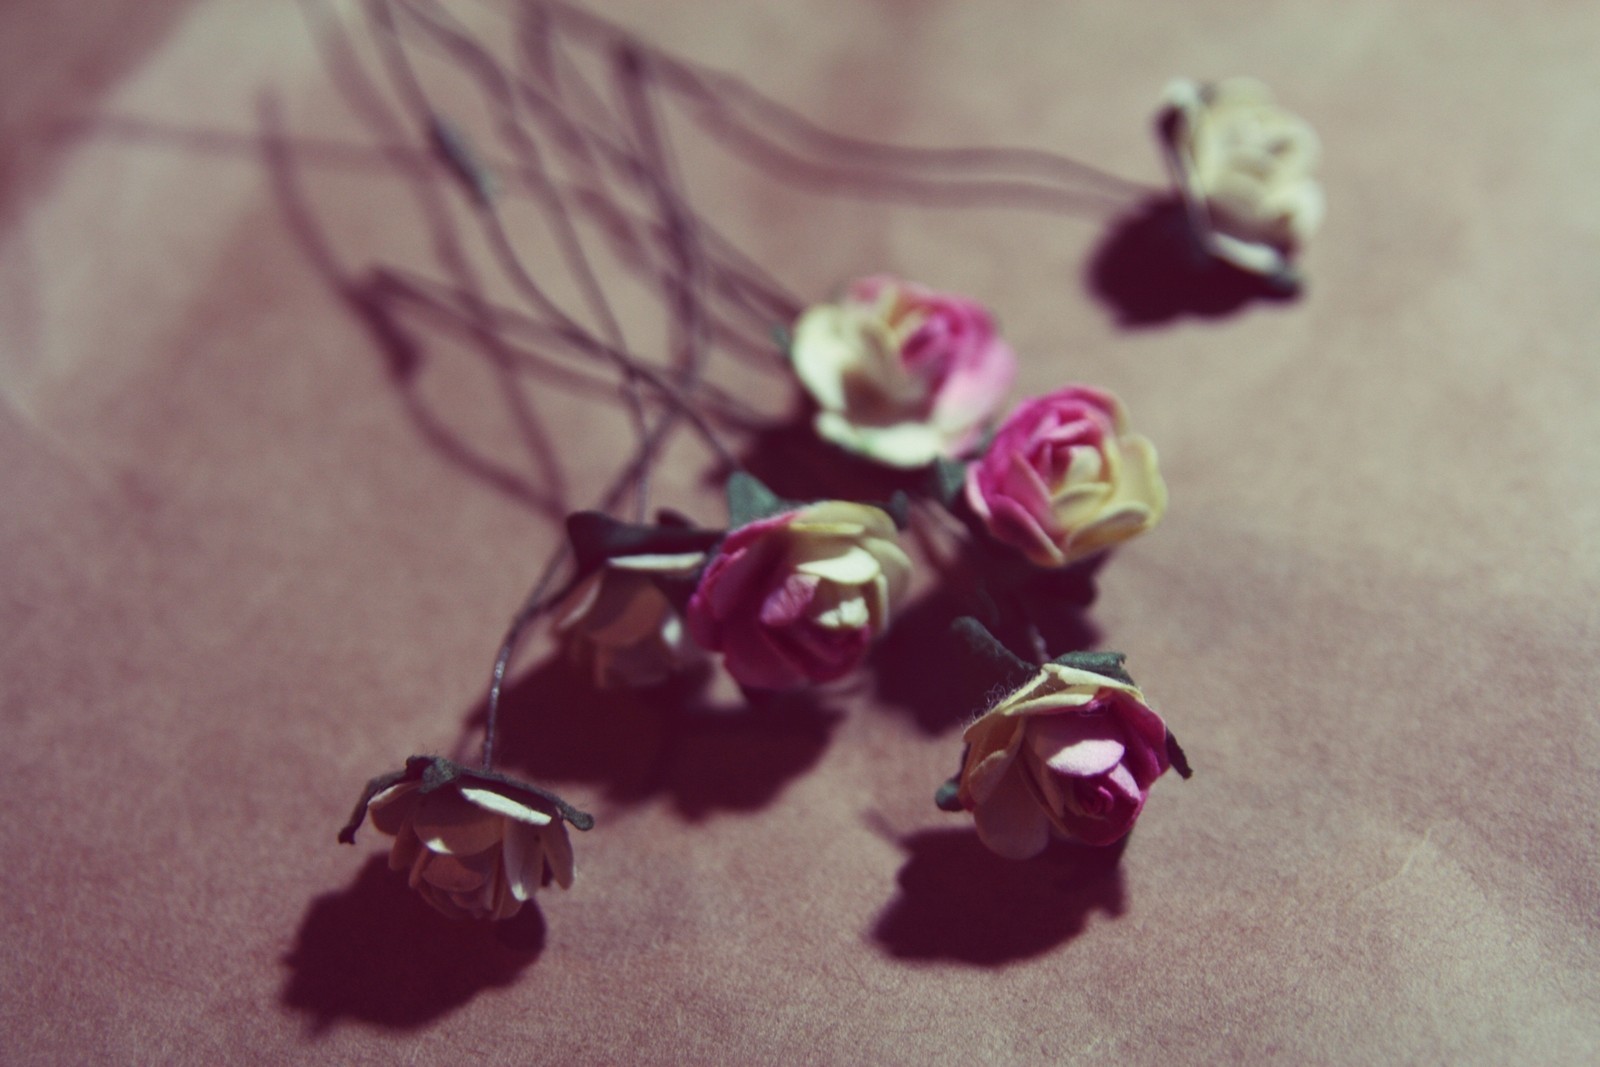
The only materials needed are flowers, as the flowers I used have long wire stems. If you are using flowers without stems (pound shops are good for finding cheap plastic flowers), find some low gauge wire which you could cover in green ribbon once the headband is done or paint green if that suits you better. Alternately, the flowers could be attached to an existing headband, if you wish to take the easiest route.
If you like the photos, visit my blog for more: http://unchicpetit.blogspot.com/ :)
Tags
-
 Key West Witch favorited Floral Headband
12 May 16:28
Key West Witch favorited Floral Headband
12 May 16:28
-
 Brittney S. added Floral Headband to Jewelry
07 Jul 05:51
Brittney S. added Floral Headband to Jewelry
07 Jul 05:51
-
 Alice N. added Floral Headband to Accessories
19 Dec 13:56
Alice N. added Floral Headband to Accessories
19 Dec 13:56
-
 Karen D. favorited Floral Headband
18 Aug 05:26
Karen D. favorited Floral Headband
18 Aug 05:26
-
 Naomii<33 added Floral Headband to kan dr mee door
28 Oct 10:54
Naomii<33 added Floral Headband to kan dr mee door
28 Oct 10:54
-
 PinkWeeds added Floral Headband to Labyrinth
17 Jul 00:49
PinkWeeds added Floral Headband to Labyrinth
17 Jul 00:49
-
 Meredith T. favorited Floral Headband
29 Jun 02:35
Meredith T. favorited Floral Headband
29 Jun 02:35
-
 Morgan favorited Floral Headband
21 Jun 07:14
Morgan favorited Floral Headband
21 Jun 07:14
-
 angie.grenier favorited Floral Headband
07 Mar 16:55
angie.grenier favorited Floral Headband
07 Mar 16:55
-
 Cricket V. favorited Floral Headband
10 Jan 10:20
Cricket V. favorited Floral Headband
10 Jan 10:20
You Will Need
-
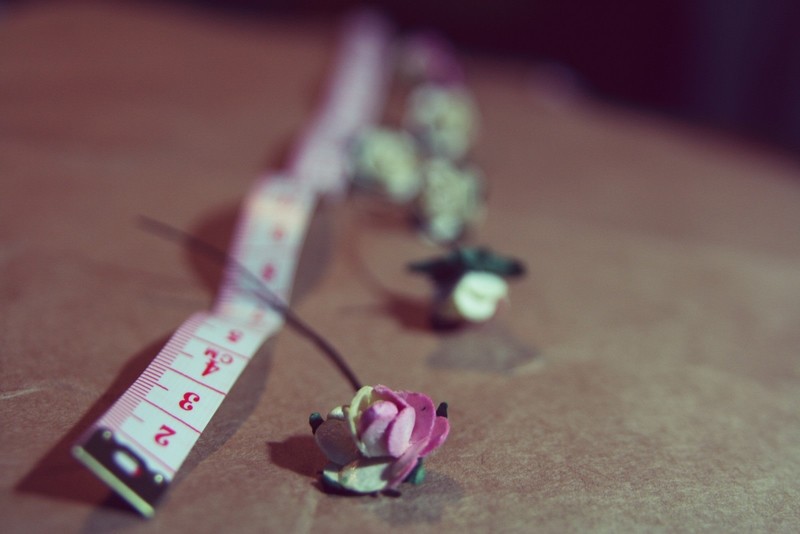
 Step 1
Measure the circumference of your head at the point at which you would like the headband to sit, allow a little room, the flowers are light and the headband should generally cling to your hair rather than needing to fit too snugly. Lay out this measurement on a flat surface and arrange the flowers so that they are equally spaced along it.
-
 Step 2
Twist the wires of the flowers together to join them. Make sure to tuck in the ends tightly so that they do not snag on your hair as you put the headband on and off.
See the animation here: http://dressesonaclothesline.blogspot.com/2011/04/tutorial-floral-headbandwreath.html
-
 Step 3
Feel free to add some twirls and swirls or leave or flourishes of any other kind, to make your headband even more unique.
-
 Step 4
Voilà, it is done!
Now go dance and prance, like the faeries that come out at night and scatter their magic among the roots of the ancient trees of the forest.


CO + K User
I got the flowers from a haberdashery, Tatters in Staines to be exact.
The dress is from topshop and I look a little sad because I was a little sad when I took the photos
ps-Loving the dress
x