


About
Perfect for gifts!
My first tutorial! I really suck at explaining things so I'm sorry if you don't understand. My English is limited. Not my native tongue. Feel free to ask questions and I'll try my very best to squeeze my wittle brain for answers.
Tags
-
 Key West Witch added Clay Locket to Jewelry
30 Jun 04:07
Key West Witch added Clay Locket to Jewelry
30 Jun 04:07
-
 Conner W. added Clay Locket to Things to try and make/ideas
14 Feb 01:01
Conner W. added Clay Locket to Things to try and make/ideas
14 Feb 01:01
-
 Ëdy F. favorited Clay Locket
17 Nov 03:59
Ëdy F. favorited Clay Locket
17 Nov 03:59
-
 Jade V. favorited Clay Locket
08 Sep 02:29
Jade V. favorited Clay Locket
08 Sep 02:29
-
Conner W. added Clay Locket to craft ideas
06 Sep 00:56
-
Conner W. added Clay Locket to gift ideas
06 Sep 00:56
-
Conner W. added Clay Locket to fashion
06 Sep 00:56
-
 KozmicBlues added Clay Locket to Anti-avorriment
25 Aug 13:42
KozmicBlues added Clay Locket to Anti-avorriment
25 Aug 13:42
-
 Heather H. favorited Clay Locket
02 May 01:58
Heather H. favorited Clay Locket
02 May 01:58
-
 Sarah S. added Clay Locket to Jewelry
19 Jan 07:12
Sarah S. added Clay Locket to Jewelry
19 Jan 07:12
-
Step 1
First things first: Plan your design. Always think ahead, especially on your first time. Experiment, use different methods, decorations, if you wish.
Then, gather your materials.
-
 Step 2
I used a butterfly clay mold I made the other day. You can use beads, too.
I've also thought of using wires, spiraling them, and push them into the clay to make abstract effects. Haven't done it yet, but you could try it out.
-
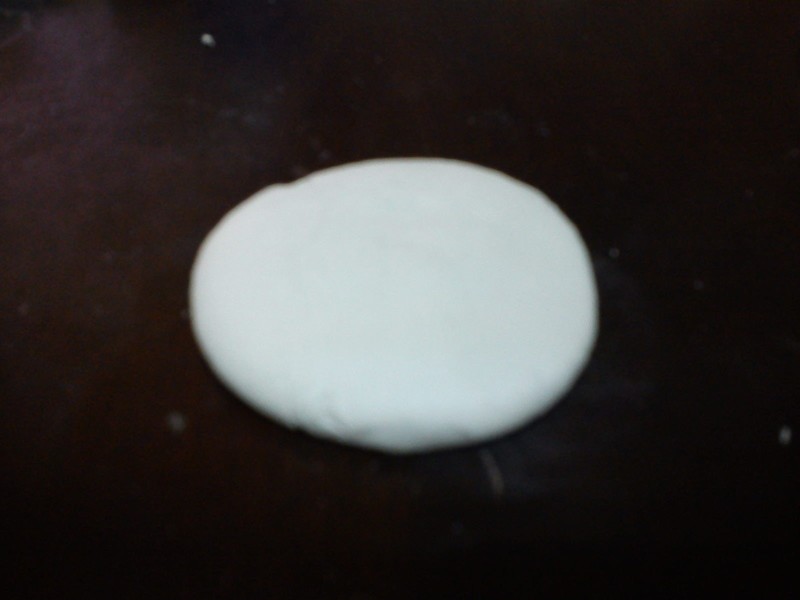
 Step 3
Take your clay, roll it, then using glue or whatever, flatten it like a pizza.
*If using molds: for the front of the locket (where the design will be,) make it a a bit thicker than the back part.
-
 Step 4
Using the cap of a gluestick, or any material you can use, cut out a circle from the clay.
-
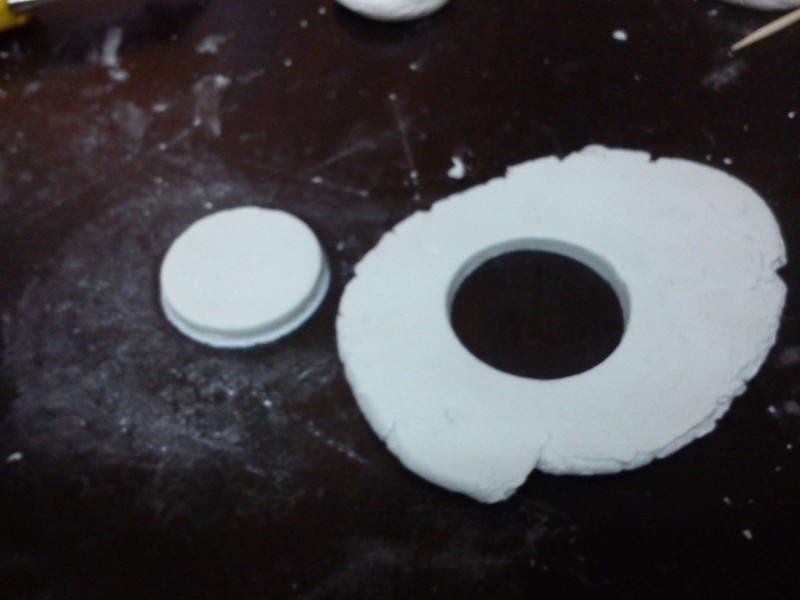
 Step 5
Sprinkle baby powder on the clay and push it into the mold. Cut it out again with the cap and make sure the design is in the center. Smoothen edges with a toothpick.
*The one on the left is flat. I made a new one and made it an almost dome shape.
-
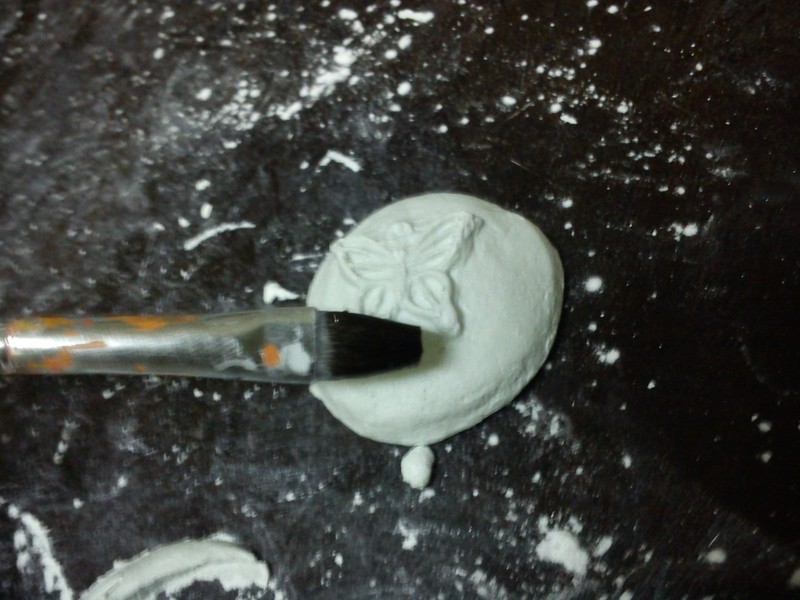
 Step 6
You can use a brush, too, for making it smooth. Then let it dry, or bake. Depends on what kind of clay you used.
-
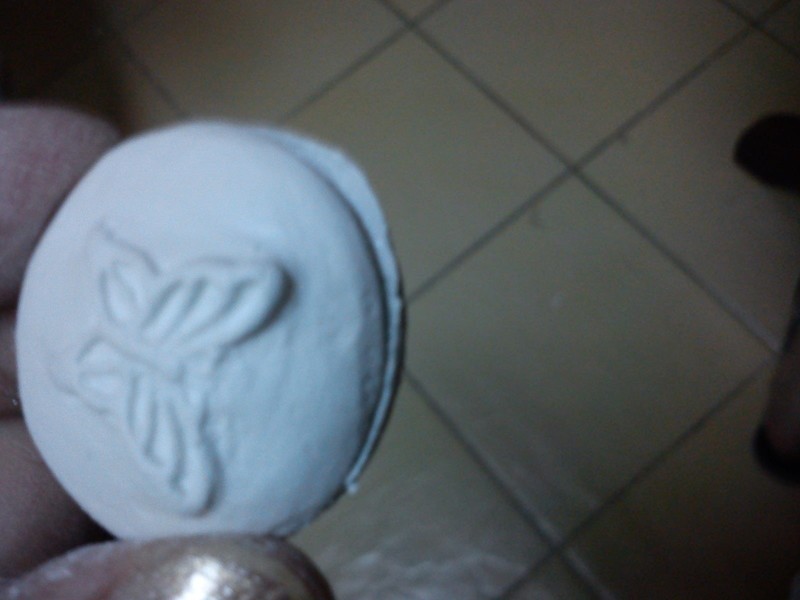
 Step 7
After it has dried, I sued nail file to, again, smoothen it & remove fingerprints.
-
 Step 8
Cut out a strip of ribbon, at least an inch, depending on the size of your locket.
-
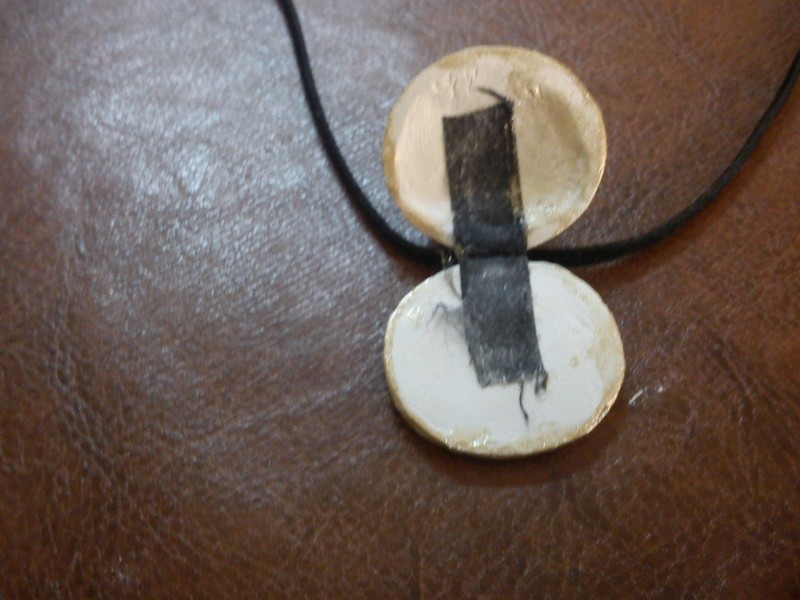
 Step 9
Paste it on the back sides, like in the picture.
-
 Step 10
Now you can flip it up and down. Sew the lower part of the ribbon so the lockets won't.. uh.. sway.
-
 Step 11
Smoothen the edges again with the nail file until satisfied. (haha)
-
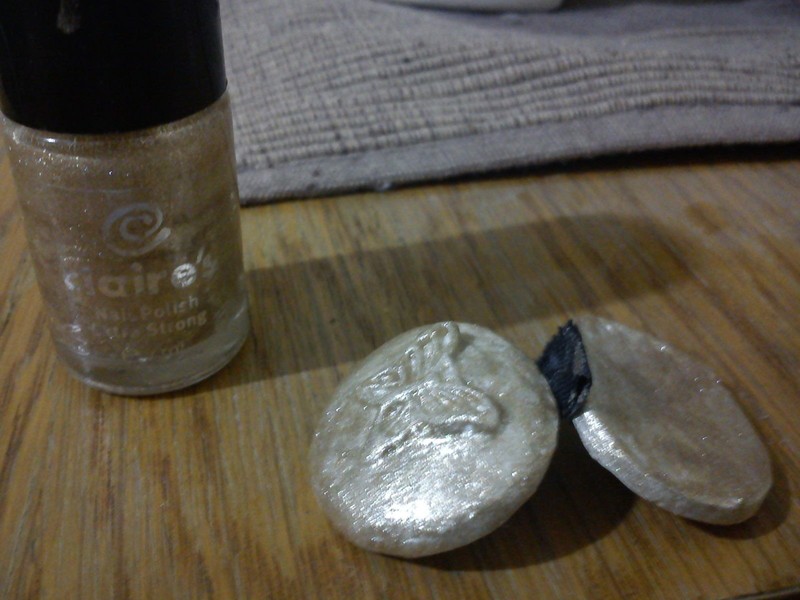
 Step 12
Paint it with the color you desire. I originally planned to use paint, but the color I wanted is not currently available in stores.
So instead, I used a brown glittery nail polish. After it has dried, I coated it with clear nail polish.
I don't know how it reacts with varnishes, though. I've heard that the colors change sometimes..
-
 Step 13
Put the string through the loop.
-
 Step 14
Then paste a picture (using super glue, other glue don't work with clay).
I haven't decided on what to put on mine though :/
-
 Step 15
I made an adjustable loop with the necklace. To do so, take both ends.
-
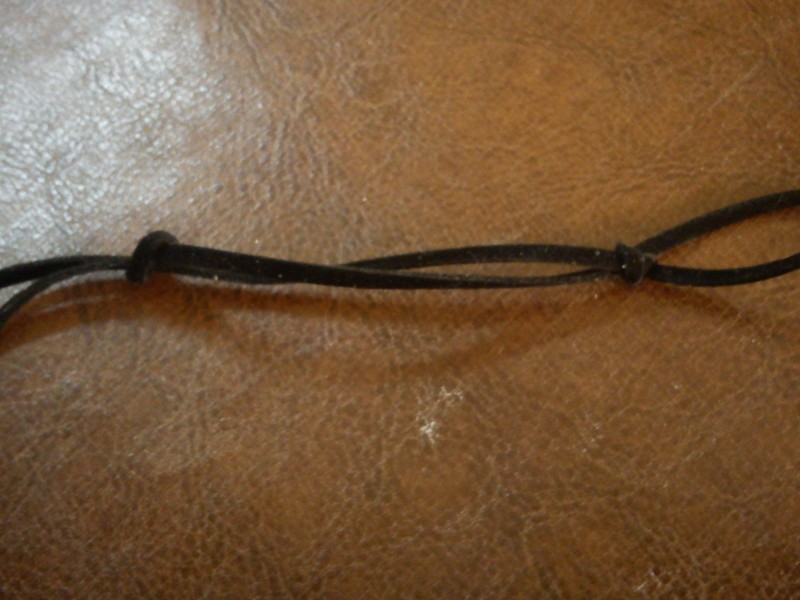
 Step 16
Tie the other end (Let's say, end A) to the other (B) like in the picture. It's quite hard to explain.
-
 Step 17
Then tie end B to the end A. Now by pulling the ends, you can adjust the size of the necklace.
Or if you can, just use those metal thing-y.
-
 Step 18
And voila.


adorable gift or for us selfs;-D xxxxxxx