


About
Wrought iron keyfob
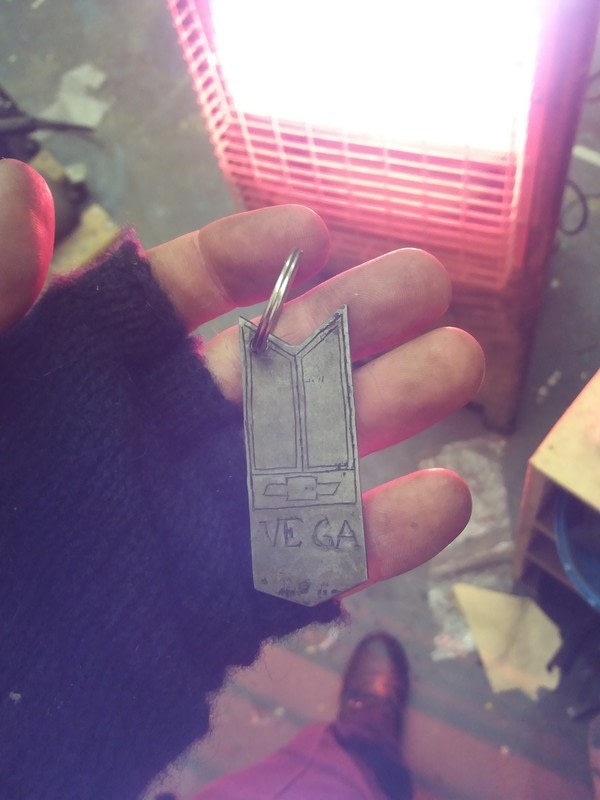
I made this Chevy Vega key fob for an online christmas secret santa gift. I had very little information to work from, little cash and an afternoon to make this. It didnt turn out as nice as I was hoping for, but it was a learning curve either way.
-
 Crafterella featured Wrought Iron Key Fob
21 Jan 23:00
Crafterella featured Wrought Iron Key Fob
21 Jan 23:00
-
 DeadGirl favorited Wrought Iron Key Fob
14 Jan 07:12
DeadGirl favorited Wrought Iron Key Fob
14 Jan 07:12
-
 Glittering Edge (Greg) replied to a comment on his project Wrought Iron Key Fob
13 Jan 01:52
Glittering Edge (Greg) replied to a comment on his project Wrought Iron Key Fob
13 Jan 01:52
-
 Cat Morley commented on Wrought Iron Key Fob
12 Jan 08:24
Cat Morley commented on Wrought Iron Key Fob
12 Jan 08:24
-
Glittering Edge (Greg) published his project Wrought Iron Key Fob
12 Jan 08:24
-
 Step 1
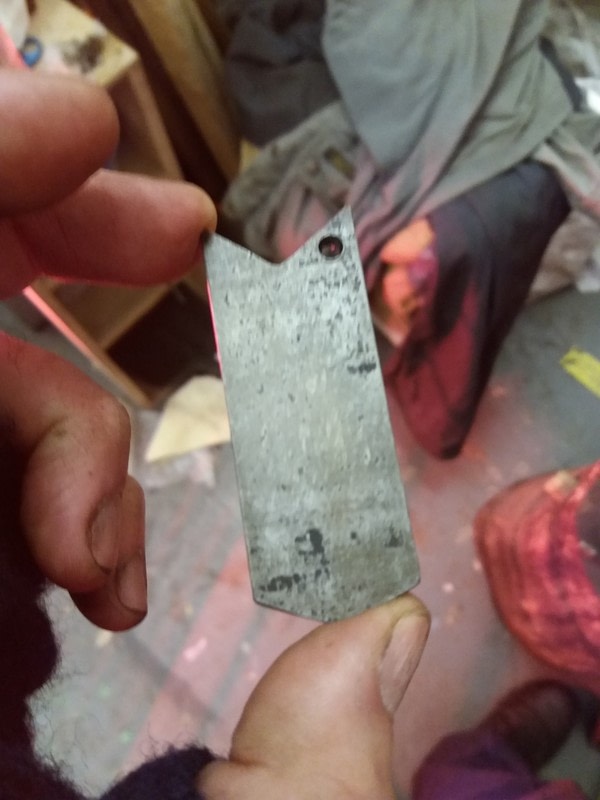
Select your metal and cut it out. This wrought iron is about 2-3mm thick
-
 Step 2
neaten up your edges - either with files or powertools (I would recommend files for this)
-
 Step 3
clean up your surfaces, leave some pitting for that 'rustic' effect. from the rougher finish, neaten the surface with sandpaper
-
 Step 4
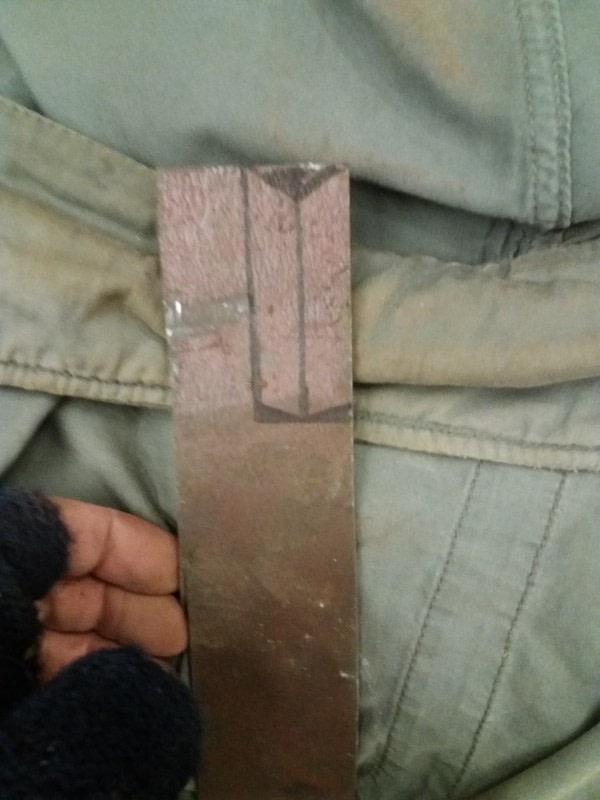
Draw on your lines with a thin marker (I didnt have a thin one to hand sadly) and start chiselling your lines in with a fine chisel and rubber mallet
-
 Step 5
rest your hands periodically
-
 Step 6
, drill your split ring hole, clean up your work again, rub with denatured alcohol/white spirit etc to remove any grease from the work
-
 Step 7
Dip it into the acidic solution. I use ferric chloride but nitric acid works well too.
-
 Step 8
after the etch its very important to neutralise the acid, else it will get rusty very quickly.
-
 Step 9
remember to oil/wax/lacquer the work afterwards
-
 Step 10
add your split ring annnnnd you're done!


Comments


