


About
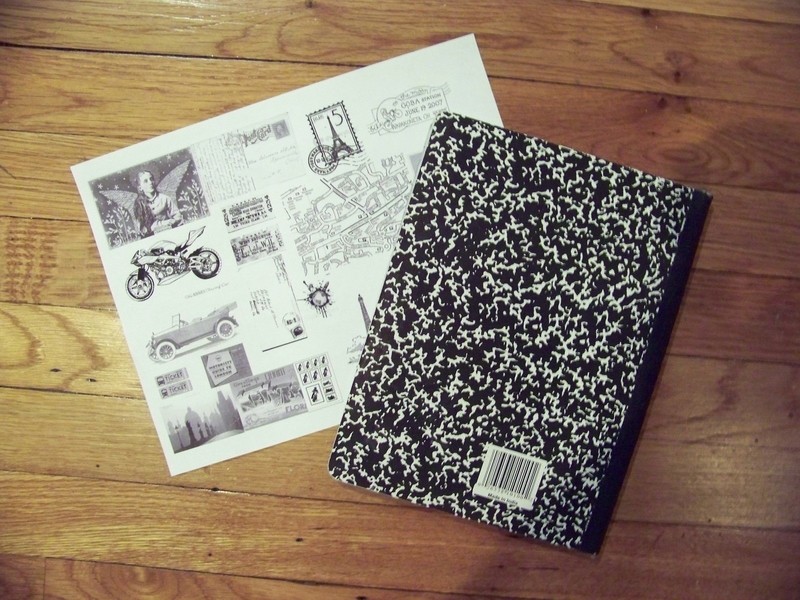
Vintage style travel journal.
Materials:
Marble composition book (hard cover)
White printer paper, traced and cut to fit the front and back journal covers
Glue stick
Vintage travel images: Google image search for vintage images like this: tickets, postcards, cars, trains, exotic locations, post marks, etc.
Scissors
Awl or small nail
Utility knife (exacto blade)
Permanent markers and high lighters in bright, pastel colors
Mod Podge – I used the matte finish, made for paper crafts
Brush and water cup
¼” black elastic strip (Mine came in a 3 yard package, measure and cut to ensure a snug fit)
2 - 1/2" small brass fasteners (for holding elastic on back of journal)
-
 Conner W. added Vintage Style Journal to Office/school supplies
06 Feb 18:53
Conner W. added Vintage Style Journal to Office/school supplies
06 Feb 18:53
-
Conner W. added Vintage Style Journal to gift ideas
06 Aug 01:45
-
Conner W. added Vintage Style Journal to craft ideas
06 Aug 01:45
-
Conner W. added Vintage Style Journal to book crafts
06 Aug 01:44
-
 dippydiscoball added Vintage Style Journal to maybe one day
31 Dec 23:20
dippydiscoball added Vintage Style Journal to maybe one day
31 Dec 23:20
-
 sfloyd1 added Vintage Style Journal to to make
06 Sep 02:40
sfloyd1 added Vintage Style Journal to to make
06 Sep 02:40
-
sfloyd1 favorited Vintage Style Journal
06 Sep 02:40
-
 Lalainia R. favorited Vintage Style Journal
29 May 03:32
Lalainia R. favorited Vintage Style Journal
29 May 03:32
-
Lalainia R. commented on Vintage Style Journal
29 May 03:32
-
 Fuzzy bunny commented on Vintage Style Journal
04 Apr 03:00
Fuzzy bunny commented on Vintage Style Journal
04 Apr 03:00
-
 Step 1
1)Trace the front and back covers of your composition book onto the white printer paper and cut out. Glue the paper onto the front and back jouranl covers. Next, create 2 Power Point slides, filled with vintage travel images. Print your images out in black and white. I needed about 3 copies total to cover the front and back journal covers. Cut around the images making the borderless pictures into rectangles and squares. Color the images in using light pastel markers and bright high lighter colors. Try to balance the color range, size and theme in order to achieve an overall balance in your collage. Arrange the images on the two covers and glue down using glue stick.
-
 Step 2
2) Here is a sample of some of the vintage style images cut out and colored in using high lighters and permanent markers.
-
 Step 3
3) I needed about 3 pages total to cover the front and back journal covers. Cut around the images making the borderless pictures into rectangles and squares. Try to balance the color range, size and theme in order to achieve an overall balance in your collage. Begin arranging the images on the two covers and glue down using glue stick.
-
 Step 4
4) I used a black, permanent marker to add outlines around each image after gluing. Finally, I coated the front and back covers with a layer of Mod Podge and left the journal covers laying cover side up on the table in order to dry completely without sticking to any surface.
-
 Step 5
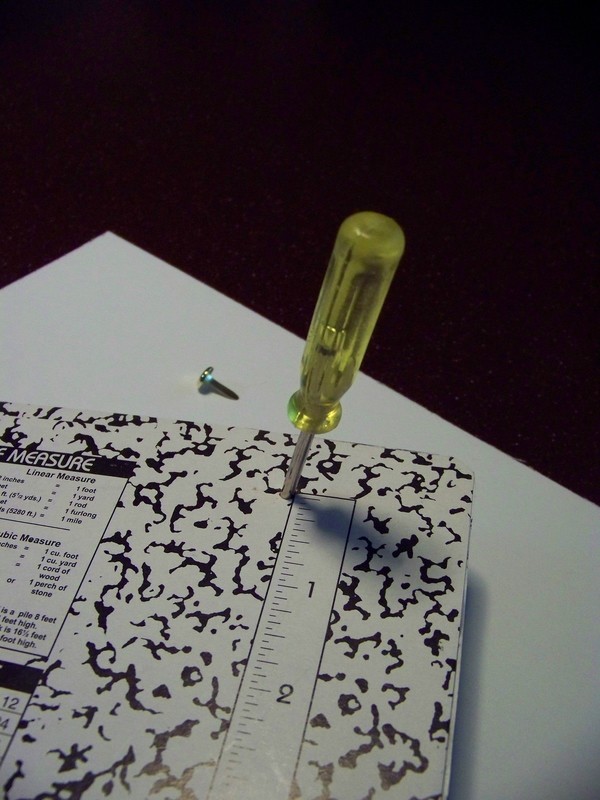
5)I have to admit, I thought the elastic band would be easy, but it took me a few minutes to figure out how to make it work. I poked two holes, (using my awl) one about ½” down from the top inside, back cover and one about ½” up from the bottom, inside cover.
-
 Step 6
6)Wrap a length of the elastic around the back cover and hold it a bit taught. Cut the elastic so that there will be some overlap once wrapped around the inside and outside of the back cover. Cut a small slit (I used an exacto blade for this) into the elastic where it overlaps the hole on the inside of the journal cover. Make another slit into the opposite end of the elastic where the two pieces will overlap.
-
 Step 7
7)Slip a brass fastener through one piece of elastic and then through the hole in the journal cover. Open the fastener “wings” and flatten them out towards the inside of the joural cover. Repeat this step near the bottom of the journal cover. No ocerlapping elastic this time. The fastener should hold the elastic band in place. Note that the fastener is holding the outer band of elastic in place only. The inside band needs to remain free in order to wrap it around the front, outside journal cover.
-
 Step 8
8) Try stretching the elastic band around to the outside front cover. It works great. Pictured here is a close up of how the elastic looks on the outside of the journal.Notice how the elastic is overlapped here.
-
 Step 9
9)Here is a view of the finished front and back covers of the journal. Notice that the spine of the journal was not covered with collage.


Versions

Comments


