Two Color Block Print
Extract from Block Print for Beginners • By Young, Elise • Published by Quarto


About
Block Print for Beginners
Creating a block print with multiple colors requires more effort in planning. There are several standard ways to create multicolored prints. In almost all cases, correctly positioning each layer through proper registration is always a key step. This project is an easy example of creating a two-color block print without going through a complicated registration process. Instead, we’ll use two separate elements that can be arranged without precise positioning. As separate elements, it’s easy to print each object in different color combinations, or swap one for another design.
-
 Sara B. commented on Two Color Block Print
05 May 06:40
Sara B. commented on Two Color Block Print
05 May 06:40
-
 Crafterella featured Two Color Block Print
30 Apr 23:00
Crafterella featured Two Color Block Print
30 Apr 23:00
-
 Delicate Stitches favorited Two Color Block Print
21 Apr 13:53
Delicate Stitches favorited Two Color Block Print
21 Apr 13:53
-
 Aurum Press published her project Two Color Block Print
21 Apr 09:00
Aurum Press published her project Two Color Block Print
21 Apr 09:00
You Will Need
-
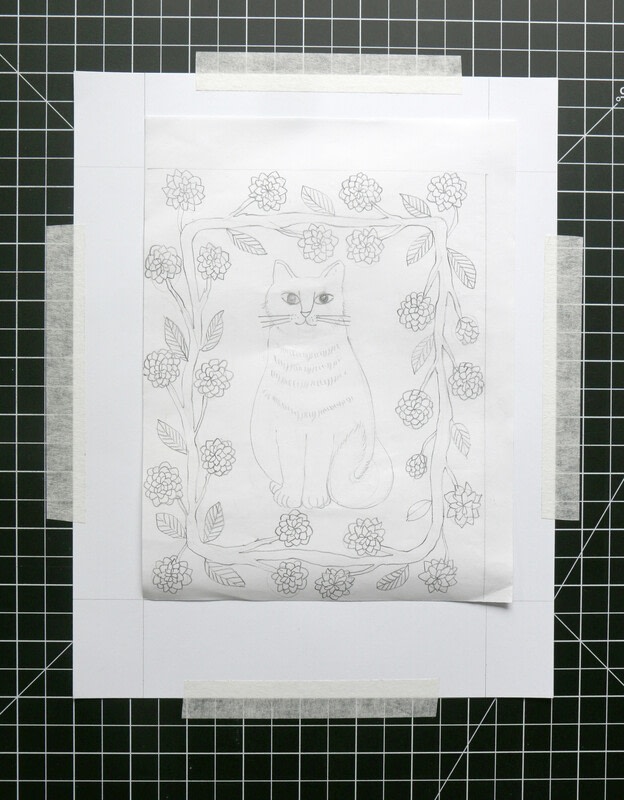
 Step 1
Sketch the image on a piece of drawing paper with a soft lead pencil. When making two-color or multicolored block prints, it’s important to design each element as an independent design to prevent the images from overlapping when they are printed. In this piece, I’m demonstrating the concept with a design that has one element (a cat) in the middle and a second element (bush) as the border.
-
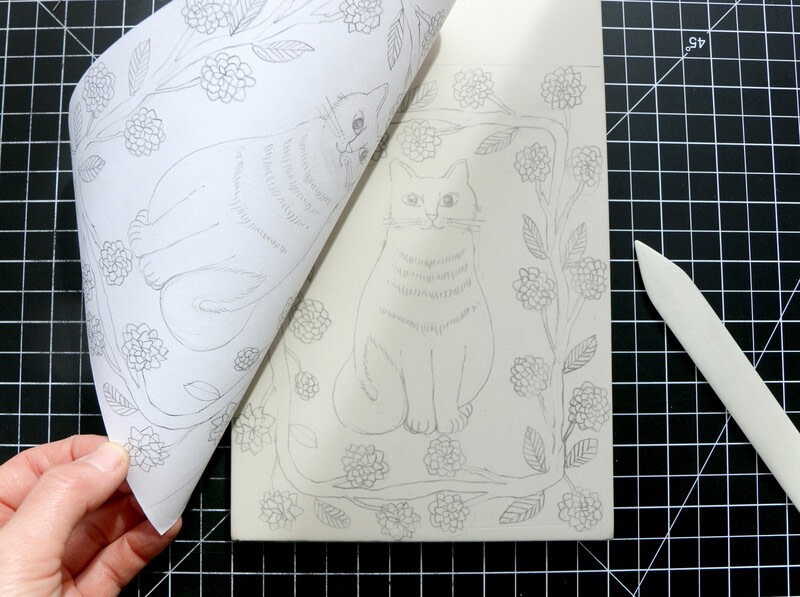
 Step 2
Place the drawing paper facedown on the block and tape the top edge with masking tape. Press the bone folder against the back of the paper and apply even pressure over all the pencil lines to transfer the image to the carving block. Once the transfer is complete, trim the block to the original drawing size using a transparent ruler and a craft knife.
-
 Step 3
For this project, you need a second block for the center element, and you can use the remaining piece of the original linoleum if it’s large enough. Using the same transfer method, make an additional image to carve on the second block—a cat in this project.
-
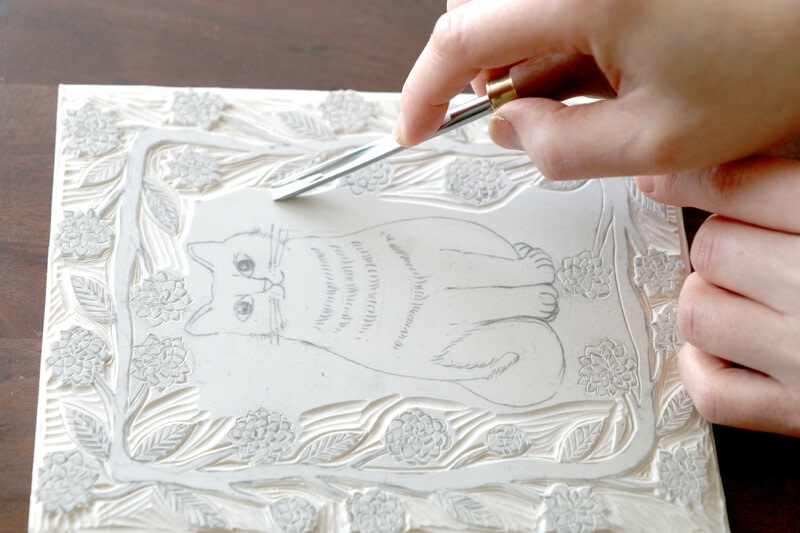
 Step 4
Once the blocks are prepared, it’s time to carve. Start by making an outline of the image using V-shaped gouges. After finishing the initial carving, move on to the large areas with U-shaped or wider gouges.
-
 Step 5
For the center block, you will only use the single image, so cut out the area around the object using a craft knife, leaving some margin around the outline.
-
 Step 6
When you finish carving the blocks, make sure to remove any scraps or carved residue with an old paintbrush.
-
 Step 7
Make a printing board for registration using a blank board paper. Once you make the guidelines for the outer block, make a registration guideline for the center block.
-
 Step 8
Remember that the final image on your print is reversed from the original block. Therefore, place the sketch facedown on the base and transfer the center image using an embossing stylus. Don’t forget to align the bottom edge of the sketch to the guideline you created with the larger block.
-
 Step 9
To make the center design more visible, use a pen or pencil to trace the embossed outline on the base of the printing board.
-
 Step 10
Apply a small amount of ink to the inking plate and load the brayer with a thin layer of ink. Gently roll the brayer on the first block. Be careful not to miss those edges during the inking process. Place the printing paper on the block with the bottom edge lined up with the printing board. Burnish using the baren and wooden spoon, applying even pressure.
-
 Step 11
Gently pull the print from the block. Once you are satisfied with the test print, repeat to create the final edition to be combined with the second block.
-
 Step 12
Repeat to ink the second block, considering the size of your center block—you may not need much ink if the block is small. Place the inked center block on the marked area of the printing board.
-
 Step 13
Carefully place the border print on the top of the center block. It’s very important to carefully line up the edge of the bottom side of the print paper with the printing board. Burnish the back with the baren or wooden spoon. The baren is ideal for applying general pressure, and with the wooden spoon you can apply more refined, detailed pressure to achieve the precise shapes of each line.
-
 Step 14
Gently pull the print from the block with both hands, ensuring the center block stays in position.
-
 Step 15
If you are satisfied with the result, let the print dry. It’s an interesting experiment to use contrasting colors—feel free to explore various color combinations until you find your favorite.