About
I really love writing thank you cards
I really love writing thank you cards, and after the holidays I have several to write. In the age of computers, handcrafting a thank you card seems like a lost art - I encourage you to bring it back by making your own!
-
 Cheryl S. added Thank You Cards to Creating Cards
19 Dec 17:07
Cheryl S. added Thank You Cards to Creating Cards
19 Dec 17:07
-
 Step 1
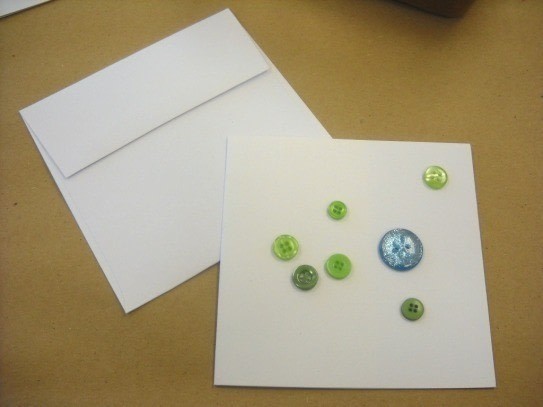
Start with your white card and envelope - begin choosing buttons of different shapes and sizes that “tickle your fancy.” I decided florals are nice for thank yous, so I chose buttons to go with that theme.
-
 Step 2
Here you see me organizing my buttons - it took me about five minutes to get the look I wanted, once I had chosen the colors I liked!
-
 Step 3
Glue all of the buttons down with craft glue. Just slide the other buttons to the side a little. Allow the glue to dry for 24 hours before sending. If you want to, write “Thank You” on the front with a marker like I did.
-
 Step 4
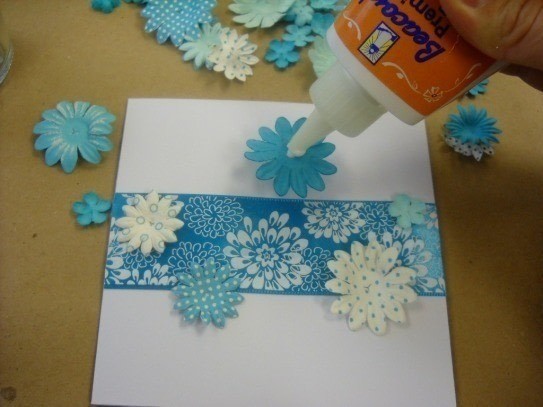
For the ribbon card, trim the ribbon to fit across the front of the card. Glue down and allow to dry for a few minutes.
-
 Step 5
Glue some paper flowers down, and then some buttons into the middle. Again, allow to dry for 24 hours before sending. On this card I’m going to leave the front blank but write a sweet message inside.
These only took me a few minutes, and I actually ended up using my entire pack of cards - I had five thank you cards in less than an hour. Easy, fun and inexpensive.