


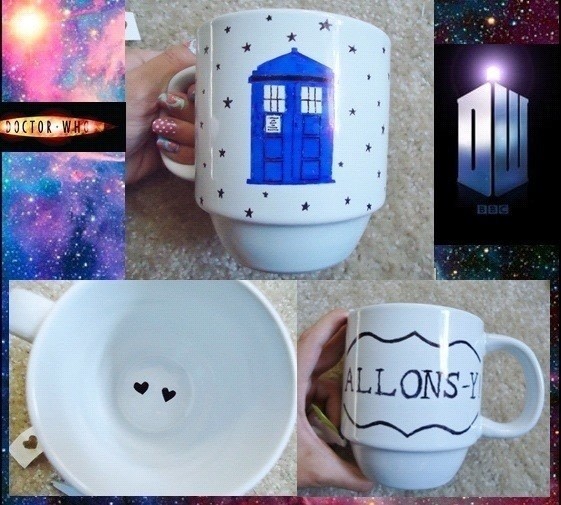
About
Let everyone know how much of a Whovian you are by creating a Doctor Who TARDIS mug!
For all those crafty Whovians out there!
Tags
-
 PineconePrincess favorited Tardis Mug
07 Nov 01:56
PineconePrincess favorited Tardis Mug
07 Nov 01:56
-
 Rachel's Craft Channel entered her project Tardis Mug to Selfie Toaster
05 Nov 18:32
Rachel's Craft Channel entered her project Tardis Mug to Selfie Toaster
05 Nov 18:32
-
 Xfluffy_unitatoX favorited Tardis Mug
20 Nov 01:15
Xfluffy_unitatoX favorited Tardis Mug
20 Nov 01:15
-
Rachel's Craft Channel entered her project Tardis Mug to StickerApp
24 Oct 03:44
-
 Emma H. favorited Tardis Mug
05 Jul 16:33
Emma H. favorited Tardis Mug
05 Jul 16:33
-
Rachel's Craft Channel entered her project Tardis Mug to Ladies Of Letterpress
13 Jun 00:38
-
Rachel's Craft Channel entered her project Tardis Mug to ChattyFeet
28 Feb 15:24
-
Rachel's Craft Channel entered her project Tardis Mug to Printic Contest
30 Jan 05:00
-
 Victorian Dreamer favorited Tardis Mug
19 Dec 17:20
Victorian Dreamer favorited Tardis Mug
19 Dec 17:20
-
Rachel's Craft Channel entered her project Tardis Mug to Secret Santa
07 Dec 00:52
You Will Need
-
Step 1
I have a video tutorial for this project, which is very similar to the one below this step, but the tutorial below actually has more detail.
Link: http://www.youtube.com/watch?v=OhOSBvgrzPI
-
 Step 2
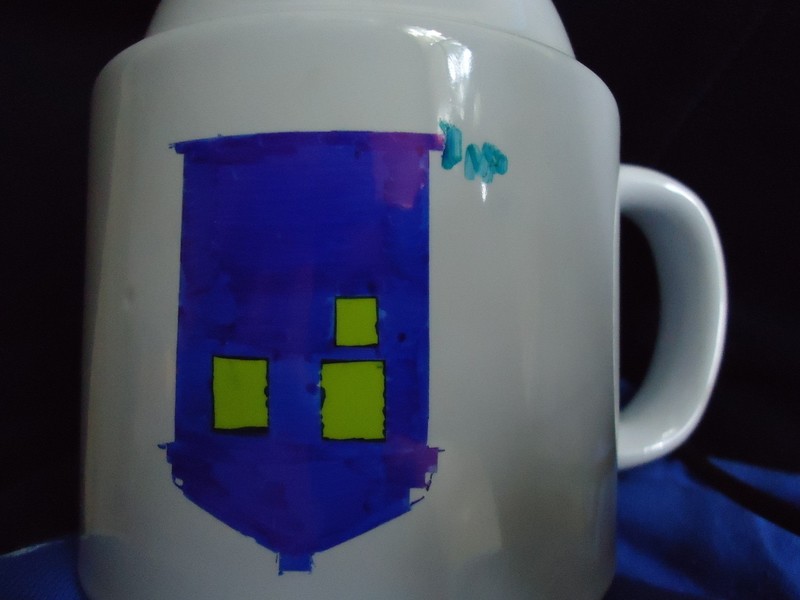
Fold a piece of paper in half and trace out a Tardis outline on half and then cut out. Looking up "Tardis outline" on Google helps. Mine was 2 inches tall and 1 and 1/4 inches wide.
-
 Step 3
Place paper Tardis on mug and tape around it so you have a nice area to later fill in with a sharpie. This part may look complicated, but you simply cut little square notches in the tape to fit around the tiny square pieces of the Tardis.
Otherwise, you can try cuting out the Tardis from contact paper or a large piece of tape, stick the outline on it and do it that way.
OR, just use thicker paper, use tape to attach the Tardis, and hold the paper down as your outline the Tardis and then fill in the Tardis.
-
 Step 4
Also, you can cut small square pieces of tape and place them where the windows and Police Call Sign are so you don't color them in.
-
Step 5
Press the tape down firmly. IT IS OK if the marker does seep through the edges because as long as you have a dry-erase marker or nail polish remover you can fix any errors!
-
 Step 6
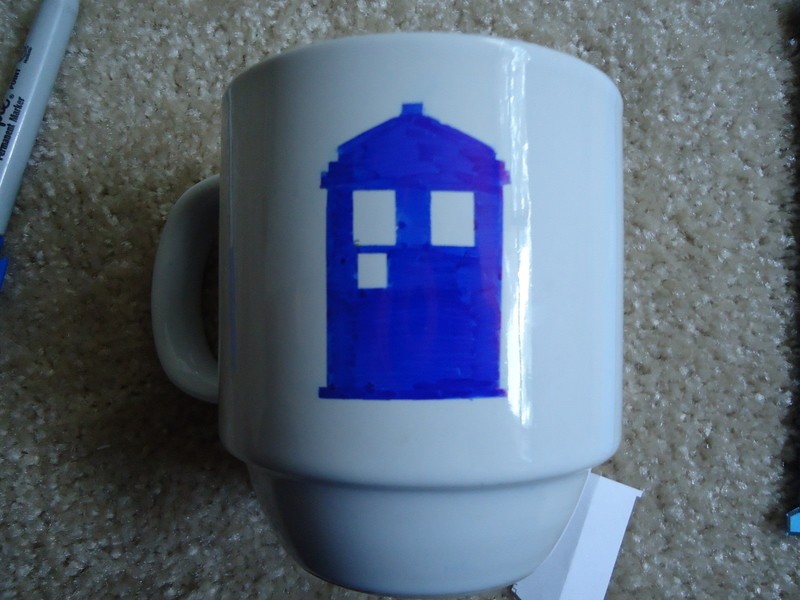
Alright, peel off the tape and tidy up the edges by drawing ON the errors with a dry-erase marker and then rubbing off the dry-erase markings. DO NOT rub the dry-erase marking off toward the inside of the Tardis or it will rub off part of the Tardis and you'll have to color in that bit again.
-
 Step 7
Try not to rub the sharpie on the mug because it isn't fixated onto the mug yet. I used a pin to peel up the corners of the window tape and then peeled if off with my fingers.
-
 Step 8
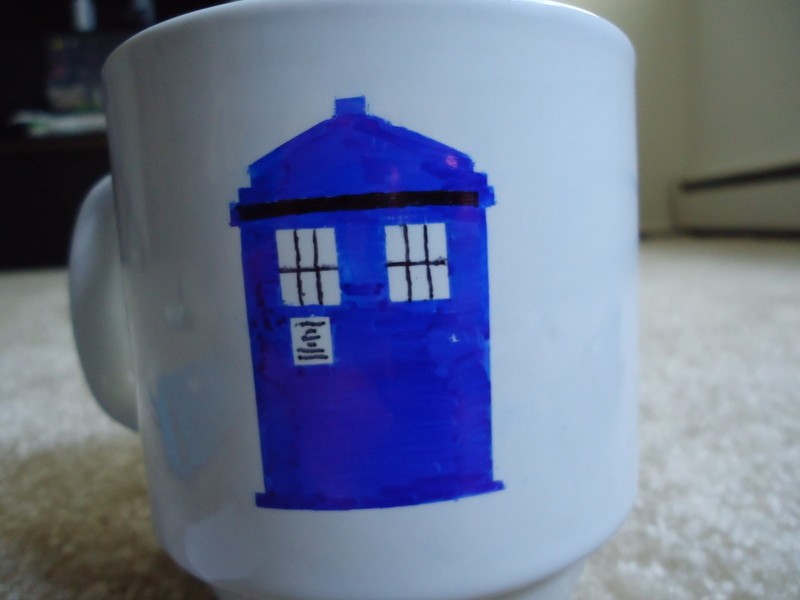
Now is the free handed part, which, if you want to use a piece of thick paper to help draw straight lines on the Tardis you can, I do not recommend using tape on the parts you already colored though. First, I added the window lines, drew some little lines to look like writing, and added a bar for the "police box" sign.
(Use a fine-tip sharpie for this.) -
 Step 9
You can leave the design of the tardis at the previous step, but I added in squares on the doors, a line for the door, and a tiny line indicating the handle to open the tardis. I also added little free-handed stars all around the tardis with the fine-tip sharpie.
-
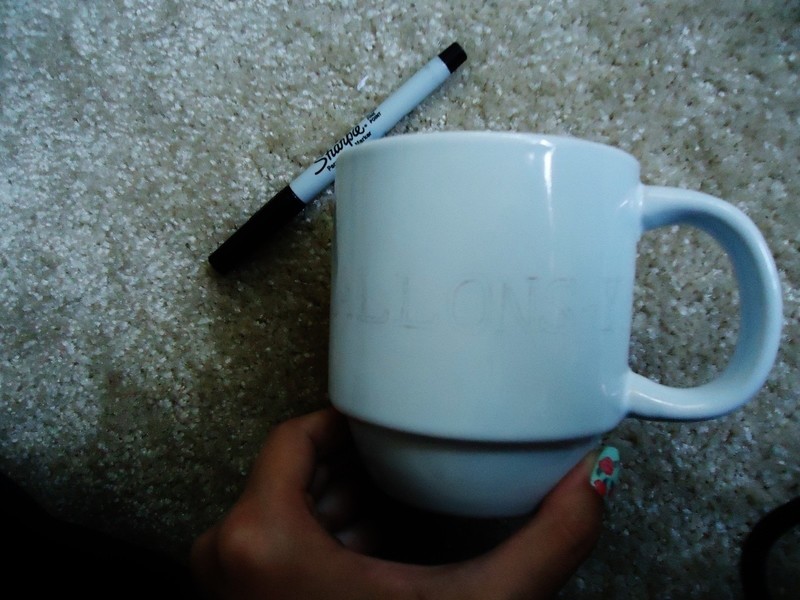
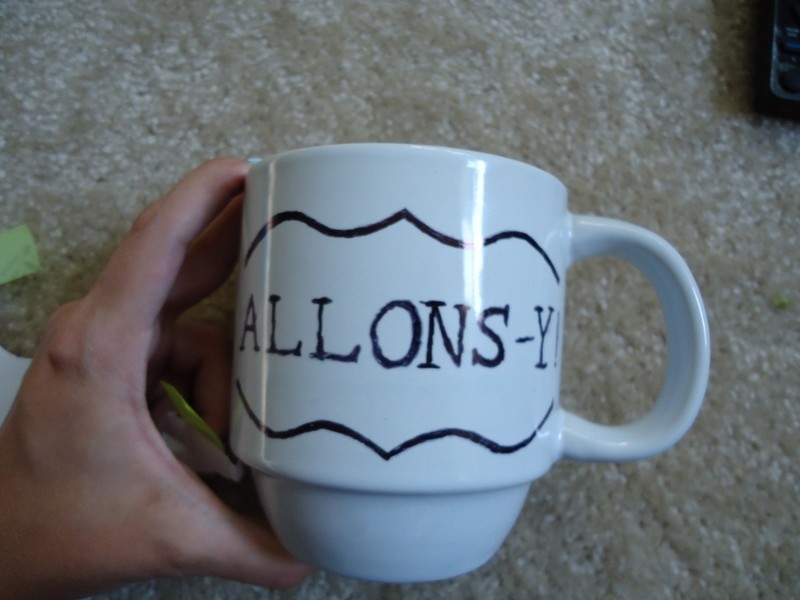
 Step 10
Now for the other side. I decided to add my favorite DW catch phrase "Allons-y." I went on google docs, and used the "Special Elite" font, which looks like type writer text. (Google Docs is free)
-
 Step 11
I then used a pencil (which is good for stenciling, but rubs off VERY easily so don't smudge it) and tried to imitate the font to the best of my ability.
-
 Step 12
Now, when drawing the text with the fine-point sharpie, sort of "loosely" control the marker and sketch in the letters to acheive the "type writer text" effect.
-
 Step 13
Next, to add a sophisticated look, I decided to put horizontal fancy parentheses around the "allons-y" and cut the shape out of paper (as it was folded in half) then taped it to the mug, drew a simple line and filled in the parentheses so they were thicker.
-
 Step 14
The top parenthes
-
 Step 15
Both Parentheses complete. Remember that you can clear any mistakes with a dry-erase marker!
-
 Step 16
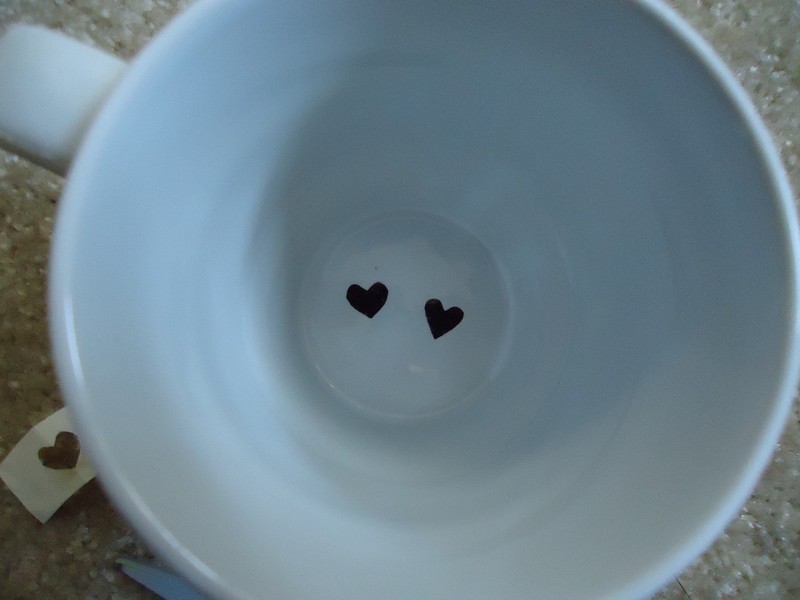
Final step is adding a cute addition to the inside of the cup. I had already watched a tutorial for sharpie mugs and a the person added a heart to the bottom. I figured that I could do the same, except add TWO hearts because The Doctor has two hearts. I folded small circular price marker stickers in half, cut out hearts, taped the outline to the bottom of the cup, and colored in with marker.
-
 Step 17
Two hearts colored in. A pin helps peel the stickers off.
-
 Step 18
I heated the mug up in a kitchen oven, 350 degrees for 30 minutes in a pan, as other sharpie mug tutorials recommended. I hope it doesn't fade! Some other mugs I made for my sister, they definitely took less time to make.
-
 Step 19
I hope you enjoyed this project and are as excited about the 50th anniversary special as I am!


Comments


