

About
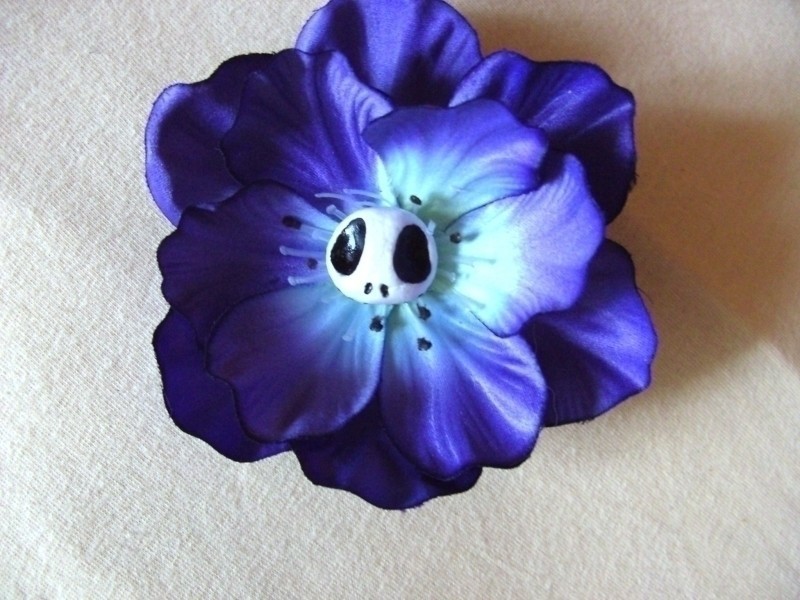
Skullflower Hairclips
I always wanted some scullflowers... And this is how you make them:
( Well, this is it, my first Cut Out + Keep project... I really hope everyone can understand :P )
Tags
-
 Melissa Beth favorited Skullflowers
03 Dec 05:44
Melissa Beth favorited Skullflowers
03 Dec 05:44
-
 Kaitlynn L. favorited Skullflowers
01 Sep 14:23
Kaitlynn L. favorited Skullflowers
01 Sep 14:23
-
 Xfluffy_unitatoX favorited Skullflowers
17 Nov 18:32
Xfluffy_unitatoX favorited Skullflowers
17 Nov 18:32
-
 lauren s. favorited Skullflowers
14 Nov 05:54
lauren s. favorited Skullflowers
14 Nov 05:54
-
 Jenna C. added Skullflowers to Crafts
06 Sep 17:22
Jenna C. added Skullflowers to Crafts
06 Sep 17:22
-
 Emma H. favorited Skullflowers
27 Jun 22:28
Emma H. favorited Skullflowers
27 Jun 22:28
-
Luna P. favorited Skullflowers
23 May 08:28
-
Alex Z. added Skullflowers to Интересное
23 Apr 21:14
-
 Krystal G. favorited Skullflowers
07 Apr 14:19
Krystal G. favorited Skullflowers
07 Apr 14:19
-
 Steph. favorited Skullflowers
09 Dec 08:46
Steph. favorited Skullflowers
09 Dec 08:46
-
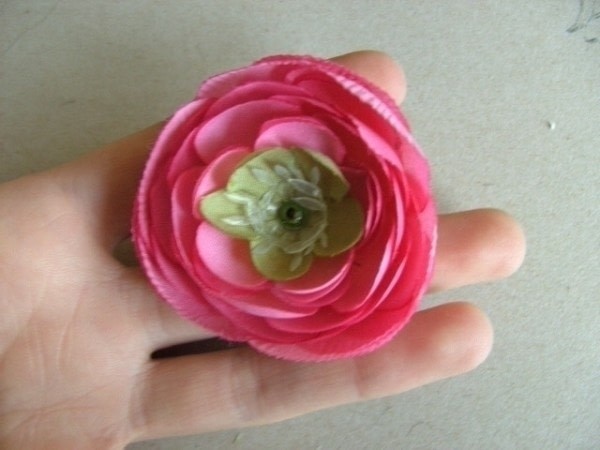
 Step 1
Get some beautiful fabric flowers of ANY colour and size and remove the petiole ( hope this is the right word ^^ ). Also you might want to remove some of the stuff in the middle of the flower, because you need a "basis" for your skull.
But do NOT remove the green thing in the center that holds your flover together. Never ever! >___< -
 Step 2
For the skull, take some modelling clay and make a nice, smooth little ball ( my skulls were about 2 cm ). Press the ball on a plain underground to flatten the backside.
-
 Step 3
Then take a pencil with an eraser ( CLEANED! ) on the end and carefully press in the "eyes" with this eraser. You may take Jack Skellington as a model ^^ But make sure the eyes are about 2/3 of the skull size, that's for the "awww, CUTE!"-effect. Smooten the borders of the eyes with your fingertips and a very little bit of water.
With the writing-side of the pencil, carefully press two small nose holes under the eyes ( see pictures :P ). Let your skull dry.
-
 Step 4
Afterwards, put some clear varnish all over it and paint the eyes and the nose ( CAREFULLY!!! ) with the black polish. You also may add a little smile on the skull ;)
After everything has dried, glue the scull to the middle of the flower! -
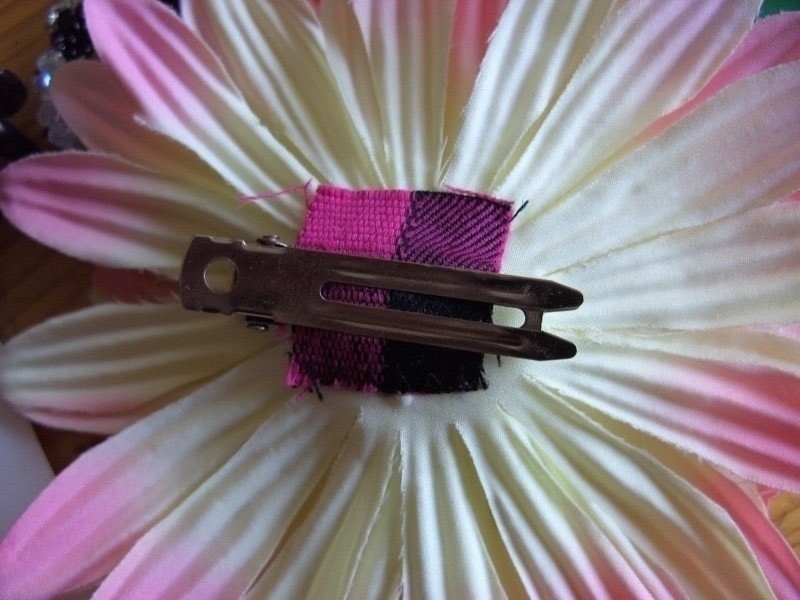
 Step 5
Now it's time to glue the clip on the backside of the flower. A little piece of fabric should help you ( see picture! ) and also it makes the clip less slippy :P If you use velvet, make sure that you put it "upside down" for the non-slippy-effect.
-
 Step 6
Explained in layers: backside of the clip -> piece of fabric -> glue on fabric -> front side of the clip -> some more glue on the clip itself -> flower. Gently press the fabric on the flower untill the glue works properly.
Make sure the clip is in the right direction ^^ I messed this up on my first clip xD -
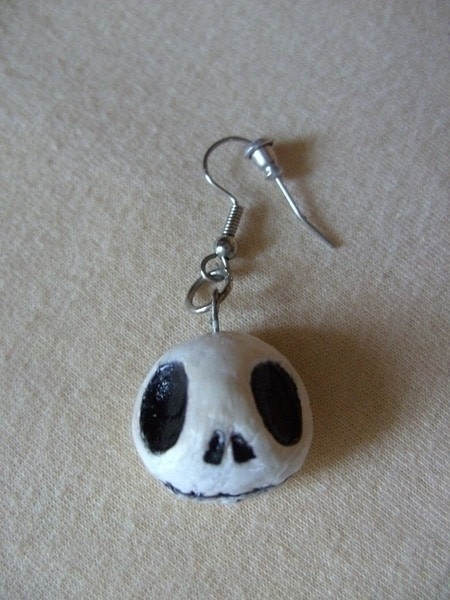
 Step 7
As you can see, I also made a scull earring ( and a button which is not photographed yet :P ).


I have to make this sometime, thank you for the great idea!