
About
Inexpensive and easy to make
You can create your own Self Replica Silhouette for under 10 dollars.This project can be completed in under 2 hours and some of the materials you may already have at home.
Tags
Downloads
- Missing file
- Missing file
-
 Penny R. favorited Self Wall Silhouette
26 Mar 18:46
Penny R. favorited Self Wall Silhouette
26 Mar 18:46
-
 Niche Y. favorited her project Self Wall Silhouette
05 Mar 12:29
Niche Y. favorited her project Self Wall Silhouette
05 Mar 12:29
-
Niche Y. published her project Self Wall Silhouette
05 Mar 07:21
-
 Step 1
Pixlr.com is a convenient online editing tool. Go to this program to crop your image. This prevents printing unnecessary empty areas.
-
 Step 2
Select "Launch web app" to go into the editor
-
 Step 3
Crop as close to the edge of your subject. After you have finished cropping your image select: File > Save as
-
 Step 4
Using posterizer.online will split your image into segments so that you can have a large size image as a result.
-
 Step 5
Setting your image to 5 x 5 and bigger will give you a realistic size object if you are printing it on A4 size paper. If you are able to print in A3, I would recommend setting it to 4 x 4 and higher. Save as pdf
-
 Step 6
Print out your pdf version in black and white, draft mode. The paper will be discarded eventually so you don't have to worry about printing it in good quality. (Tip: You can set your printer to only print the areas that your subject is including in.) Make sure that the papers are aligned properly with each other and tape the pieces together.
-
 Step 7
Cut around your image. This will be used to create an outline on the cardboard.
-
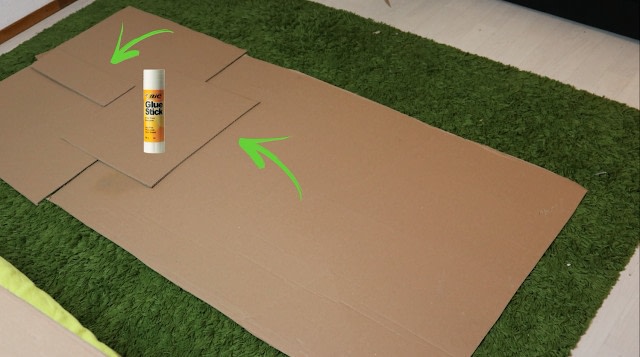
 Step 8
If the cardboard is not big enough to fit your subject, you can attach an additional piece to it. To hold them together, stick another smaller piece of cardboard over them with the glue stick.
-
 Step 9
Turn over the cardboard and outline your subject on it. Cut out the piece of cardboard with a safety knife
-
 Step 10
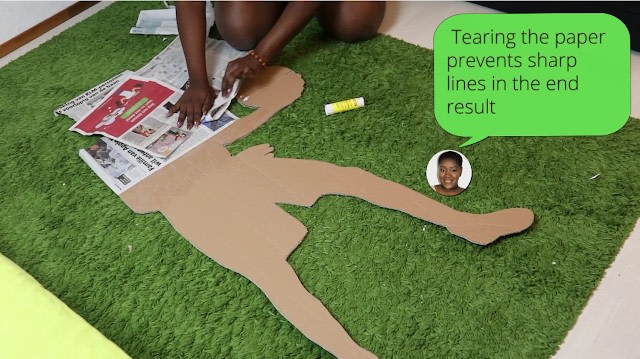
Apply newspaper over the subject. Make sure to apply glue all over the cardboard so that it sticks without bubbles. When applying the newspaper make sure that you leave about 3 cm around the subject.
-
 Step 11
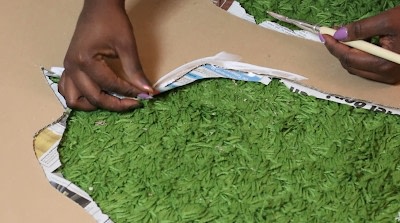
Tearing is a nice method which prevents sharp lines from showing at the end of your project. Do this before applying every piece of newspaper
-
 Step 12
When you are finished cut around your subject. Don't forget to leave more than 3 sm around it
-
 Step 13
Create slits in the newspaper to prevent bulking for the next step.
-
 Step 14
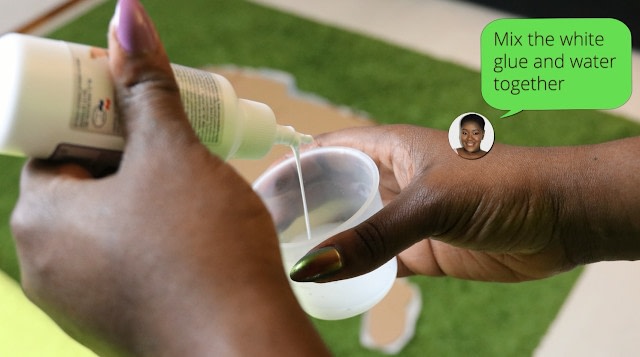
When mixing the paste. use half of the white glue and half water. It's best to start small and if you need more mix again.
-
 Step 15
Apply glue to the cardboard. Fold the newspaper over the cardboard and secure it by applying another layer of glue over it. When you are finished with this procedure, turn over your subject.
-
 Step 16
Apply the primer spray paint in a well-ventilated area. Using a primer before applying the black paint ensures better adhesion on the subject. It also increases durability and hides the newspaper from showing.
-
 Step 17
Next, apply the black spray paint
-
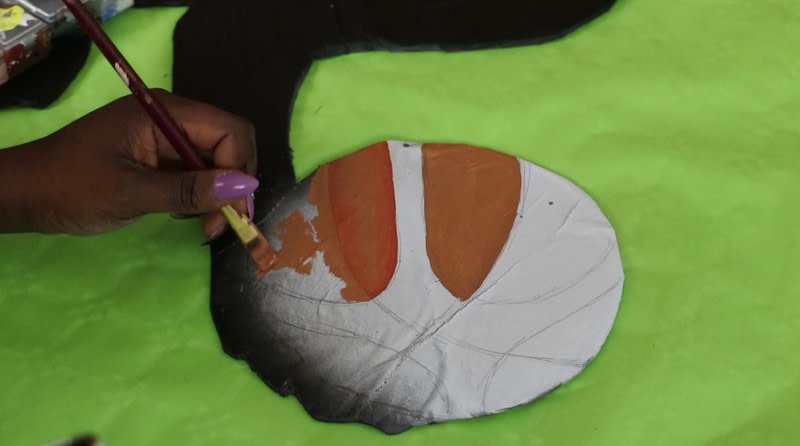
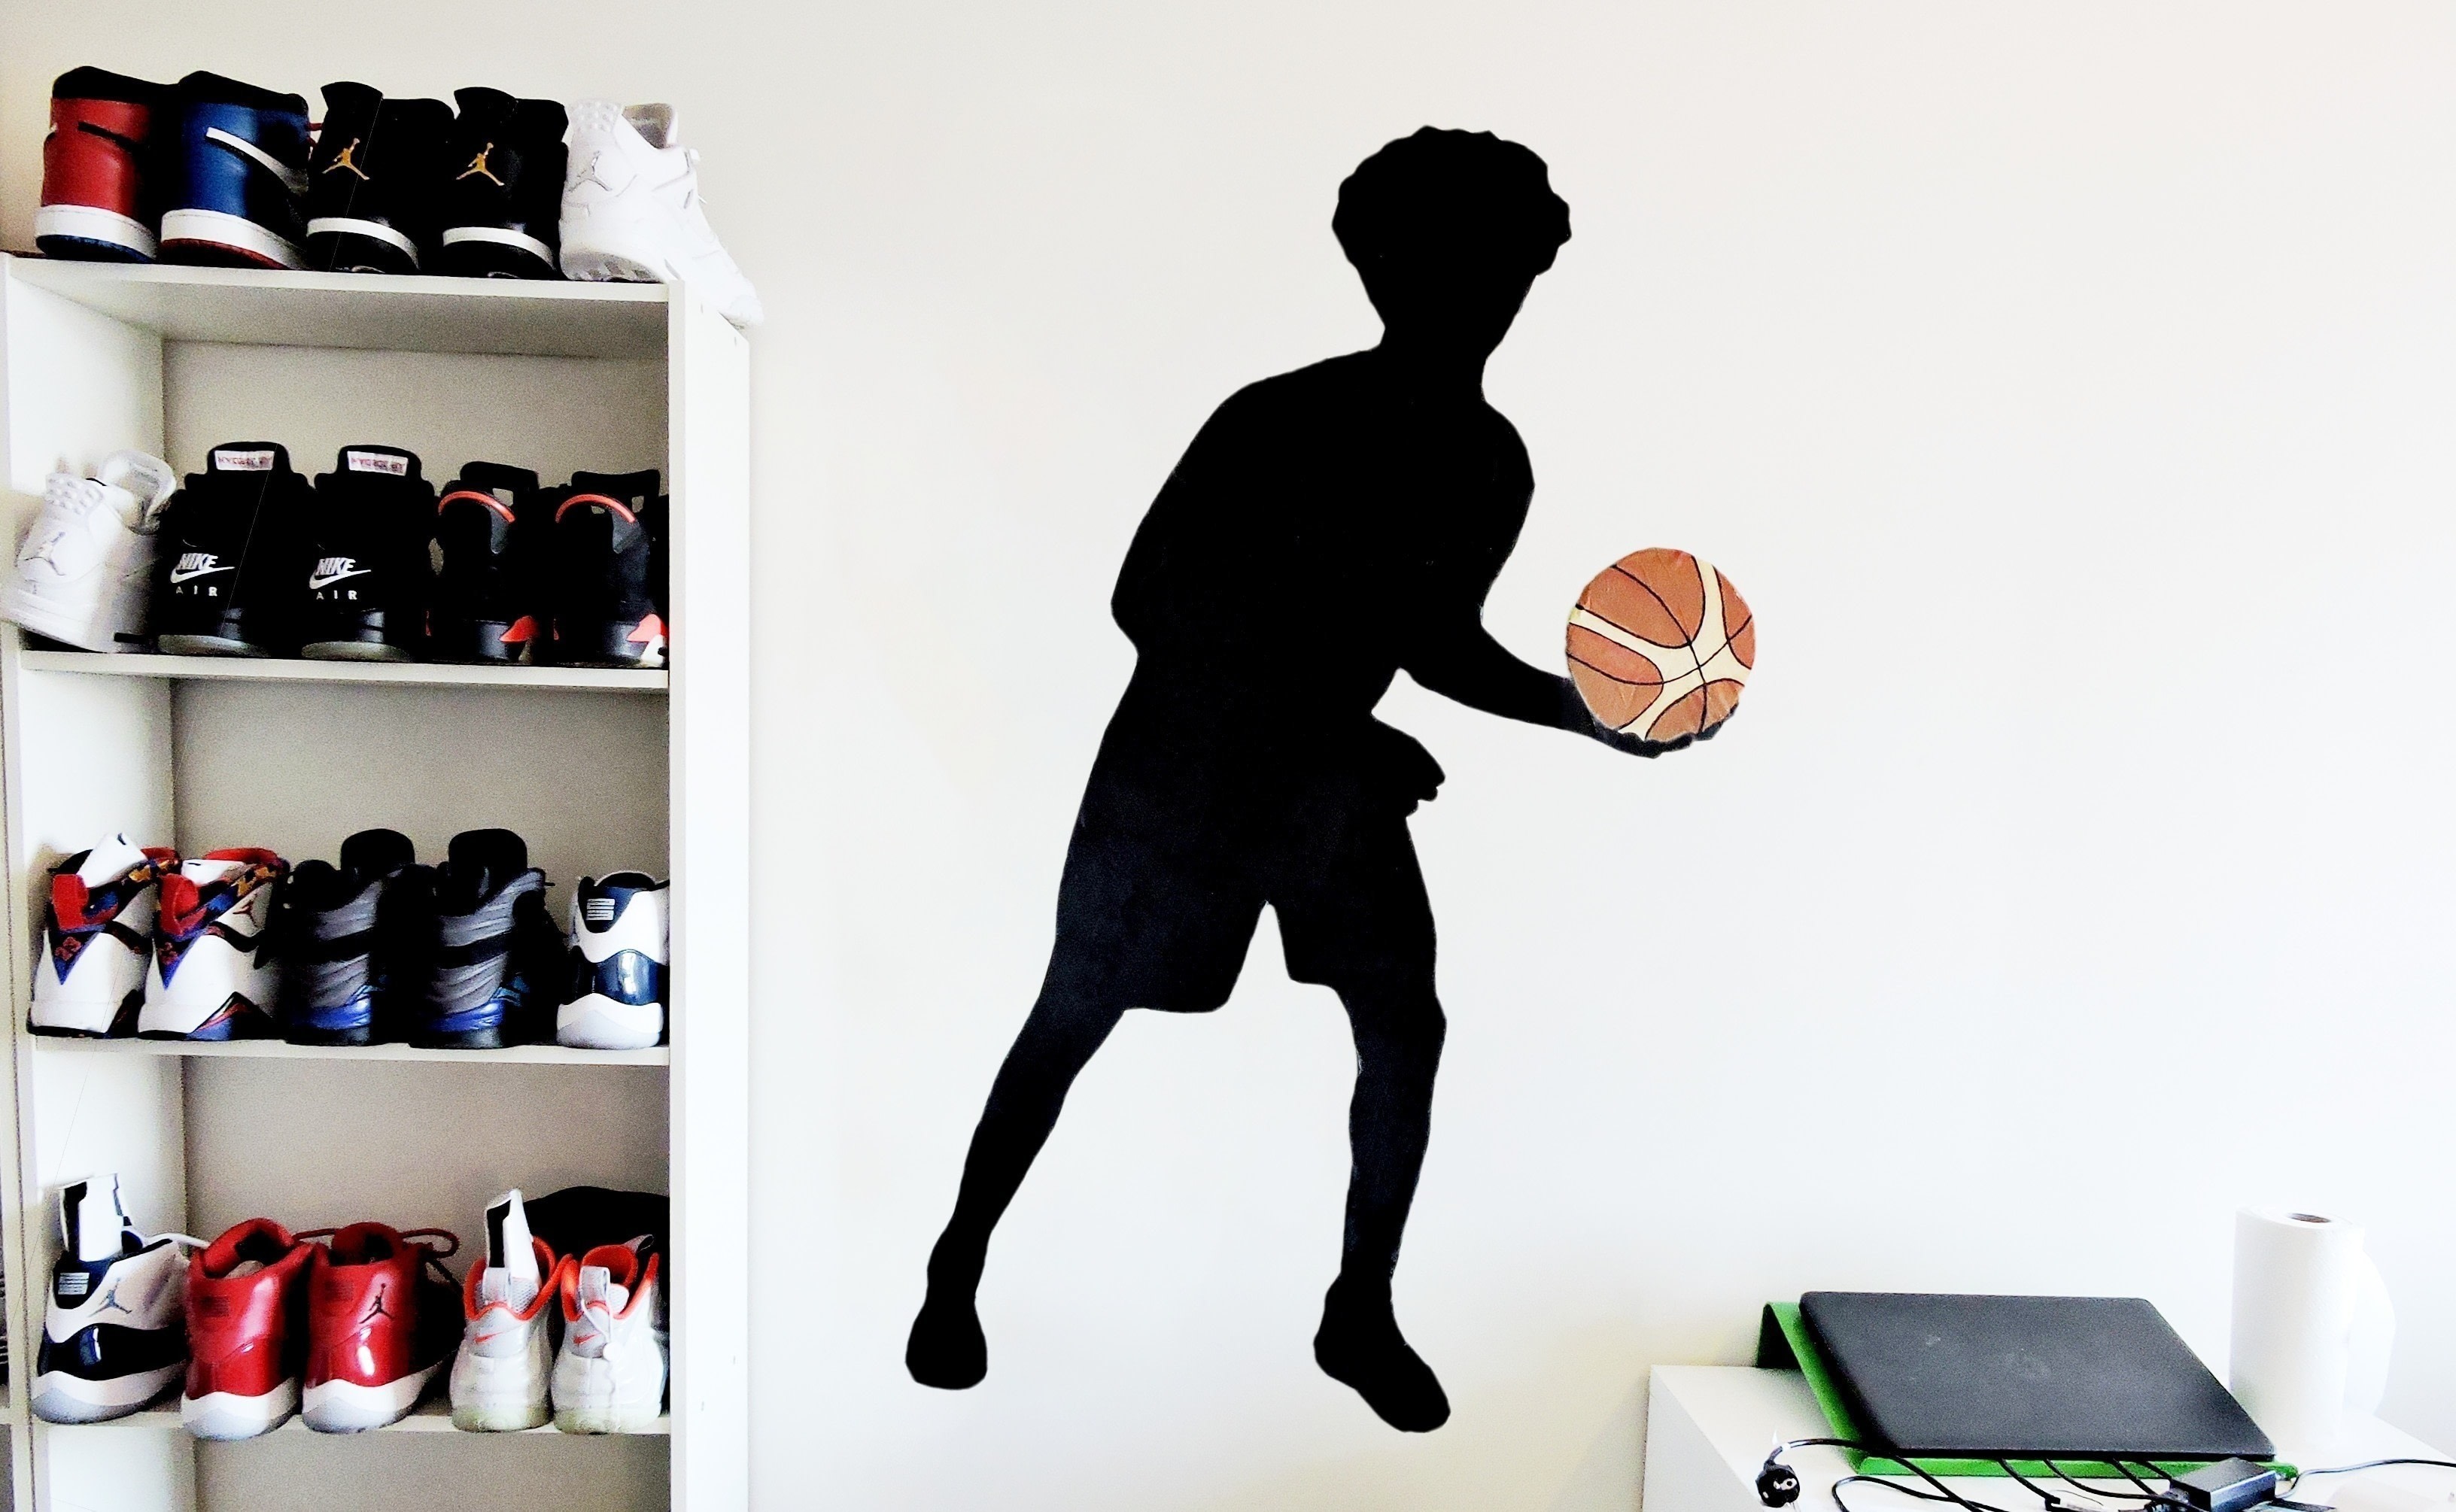
 Step 18
You can leave your subject completely black or add a pop of colour. I used acrylic paint for this. When you are done, apply the double sided tape on the back of your subject. It is best to apply it closer to the edge of your subject so that you can easily remove it with the safety knife.
-
 Step 19
I hope that you have enjoyed this tutorial. If you have any problems with understanding the steps, don't hesitate to leave a comment or send a message.