About
Never be without the basics again!!!
An easy compact Pincushion & Sewing Kit for the office, or garage or car, or the Boyfriend's house. I keep mine on my work bench.
A couple of other ideas for this would be for a party game at a shower. Stocking stuffers, or gift bag fillers for cousins or Nieces, or crafty Nephews.
Tags
-
 Step 1
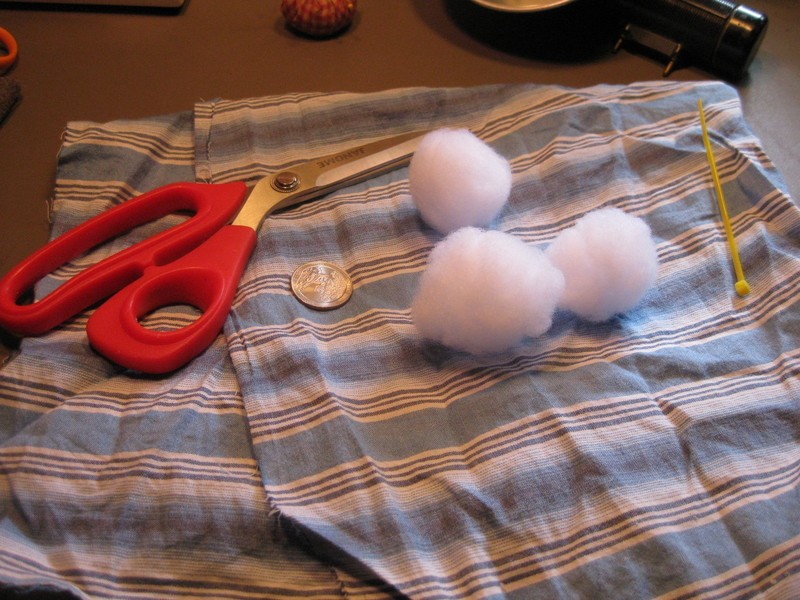
Gather your supplies on a clean work area.
-
 Step 2
Cut your scrap to about 6 inches or 15cm on a side. Notice mine's wrinkled cuz I'm a guy, which is also why I went with stripes.
-
 Step 3
Place your coin in the dead center of your scrap, this is important, it'll give a flat bottom, and a hard stop for your pins.
-
 Step 4
Take your 3 cotton balls and place them over the coin.
-
 Step 5
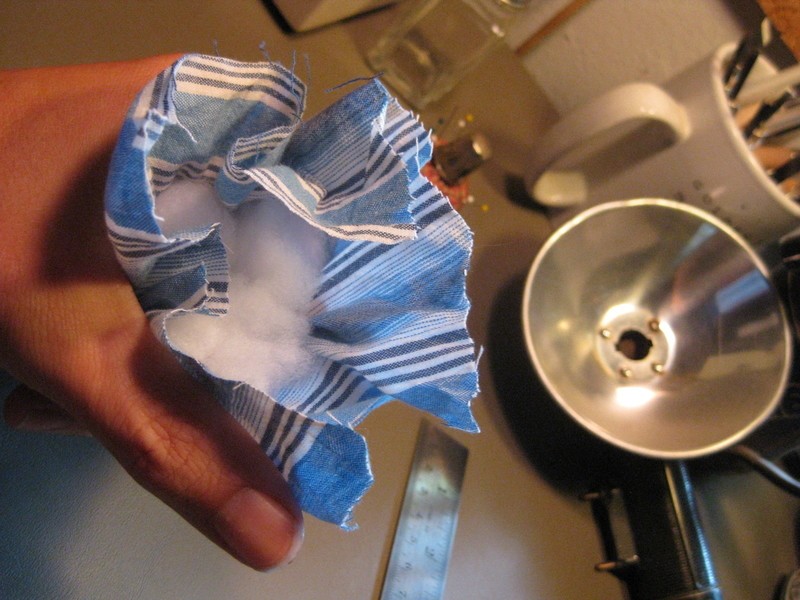
Draw your corners up together.
-
 Step 6
This might be the trickiest part if you have small hands. While holding the bundle, pack the cotton balls down, keeping the coin in the center of your scrap, and pulling the sides of the scrap up so that all the cotton is a ball centered over the coin.
-
 Step 7
When the cotton is tight make sure the sides of the scrap are well clear of the ball. The cotton should be packed into a well.
-
 Step 8
Double check that the coin hasn't shifted too far from the center, and that no cotton snuck under the coin.
-
 Step 9
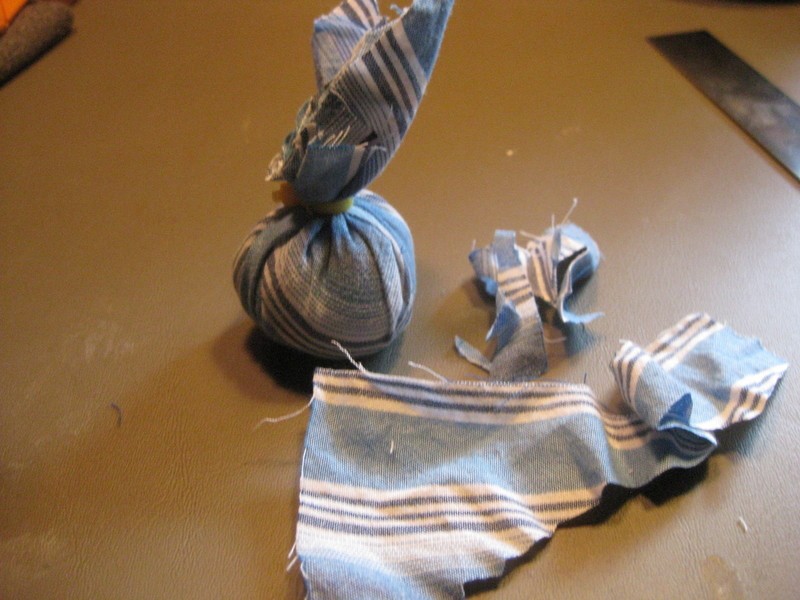
Give the top about half a twist, then zip that tie down on the top of the cotton ball. Be sure you are using a small zip tie.
-
 Step 10
QUALITY CONTROL CHECKPOINT!!!
Lay it on the work surface, the top should be sitting straight up. If it's not then the coin got off center. you can either nudge the coin to the right spot, or remove the zip tie. Also insure that the sides of the scrap are all above the zip tie, if a side got below the zip tie, cut off the tie and repeat step 9.
Stick some pins in in various places, they should go in easily, if they don't you've packed the cotton in too tight, cut off the zip tie and go do something else for a few minutes, come back and give your bundle a squeeze or two, then zip tie it again just above the spot from before.
If it looks good continue.
-
 Step 11
Now take your heavy duty scissors and cut the top at a steep angle just above the zip tie, then repeat on the other side.
-
 Step 12
Shape the top of the bundle, keep it compact, but leave some material bunched above the zip tie, this will hold your thimble snugly when finished.
-
 Step 13
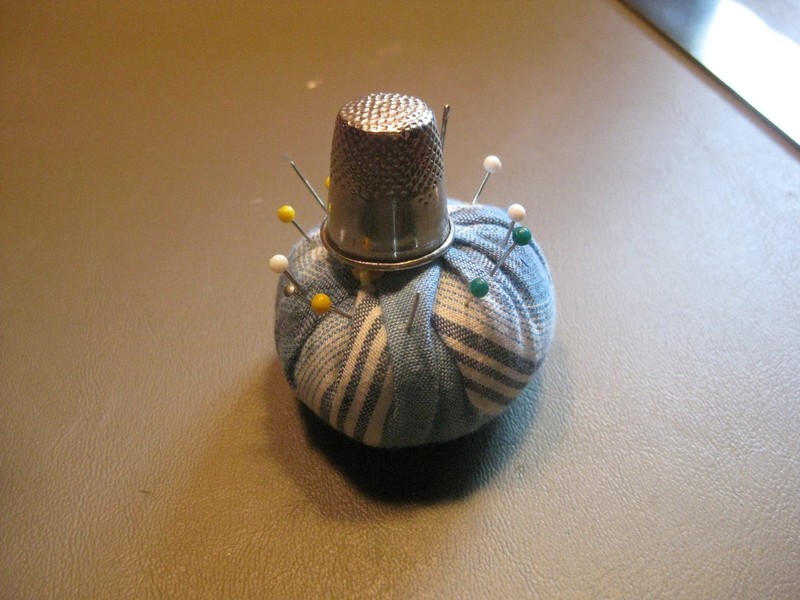
Add some pins & needles.
-
 Step 14
Throw on your thimble, and you are good to go. You can wrap several lengths of thread around the top, if you choose. I didn't get my zip tie on tight enough, so my thimble is cocked over, but each project should have it's own idiosyncrasies.
That's it. Hope it was fun, and it comes in handy somewhere further down the line.