

About
a super fun decoration that will look good throughout the year
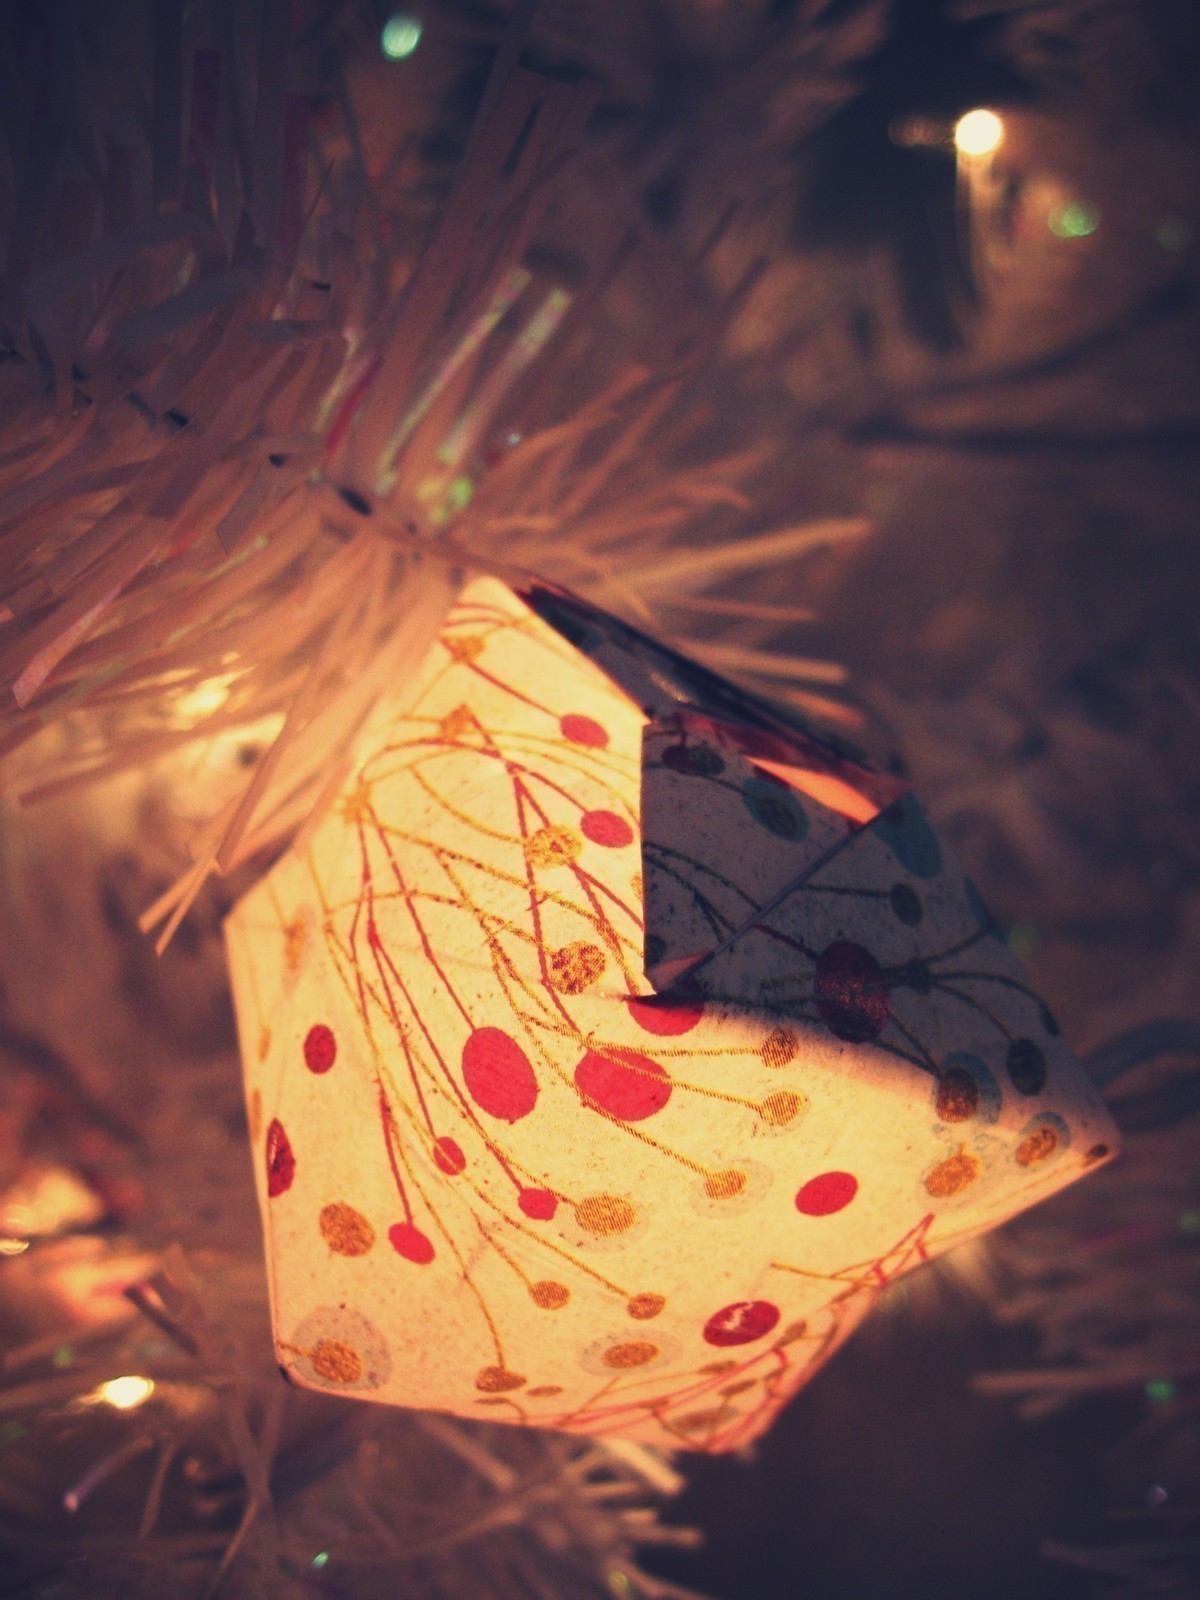
Paper should be cut into a square. squares that are 3x3 in. turn into really tiny balloons, they would probably work if you're using LED lights. I would suggest using paper that is 5x5 or 6x6 in., most origami paper comes in 6x6.
If you're using pre-cut origami paper, follow the tutorial to enough balloons to cover your lights. when you're done, stick the light through the hole that you used to blow up the balloon.
If you're using wrapping paper follow these steps:
-
 Debbie V. added Origami Balloon Lights to Crafts
16 Feb 03:00
Debbie V. added Origami Balloon Lights to Crafts
16 Feb 03:00
-
Debbie V. favorited Origami Balloon Lights
16 Feb 03:00
-
 Alex B. favorited Origami Balloon Lights
18 Dec 03:09
Alex B. favorited Origami Balloon Lights
18 Dec 03:09
You Will Need
-
Step 1
1. (*You can skip this step if you don't mind using slightly folded up wrapping paper) set up your iron (I used a Heidi Swapp mini craft iron, if you're using a iron with settings you should probably set it up on the lowest setting)
2. using a ruler, mark off where you want to cut out your pieces. then use the scissors to cut a strip of paper that will fit the trimmer. (or you can just cut out the individual squares with the scissors, I think that the trimmer method is easier and you get more even squares)
3. put the heat resistant sheet over the wrapping paper and iron until it lays flat
4. follow the tutorial to enough balloons to cover your lights. when you're done, stick the light through the hole that you used to blow up the balloon
hope everyone enjoys :)
